
The following sections describe this task for deployed servers with different versions of OME-M.
Edit VLANs on deployed servers with OME-M 1.20.00 and later
OME-M 1.20.00 adds the ability to edit VLANs on multiple servers at the same time. This section describes how to edit VLANs and deploy settings from a reference server to multiple target servers in SmartFabric mode. After deployment of SmartFabric and deployment of server templates, network settings can be changed by the following instructions.
- Open the OME-M console.
- From the navigation menu, click Device > Fabric.
- Select the fabric.
- Select Servers from the left pane.
- Choose Edit Networks.
Figure 165. Edit Networks 
- Select Reference Server, click Next. The Reference Server settings will be deployed on one more target servers in the fabric. In this example, Sled-1 is chosen as the Reference Server.
Figure 166. Select Reference Server 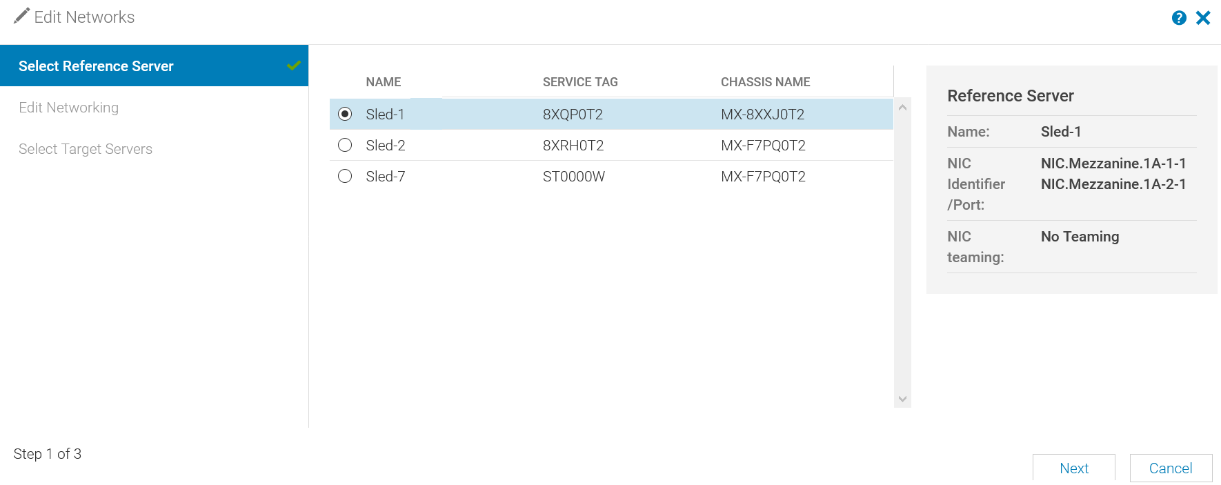
- Choose NIC teaming from LACP, No Teaming, and Other options.
- Modify the VLAN selections as required by defining the tagged and untagged VLANs.
- Select VLANs on Tagged and Untagged Network for each Mezzanine card port. Click Next.
Figure 167. Modify VLANs 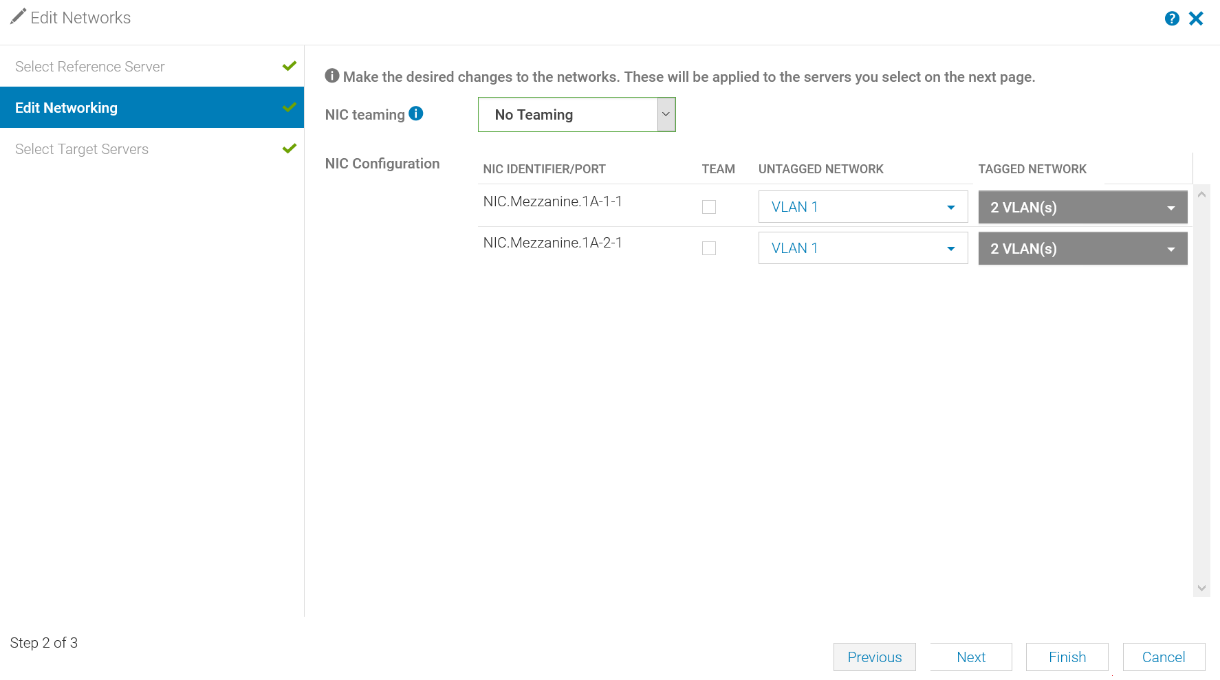
- Select Target Server(s).
- To select multiple Servers click Add and choose multiple servers from the list. Click Add again.
Figure 168. Select multiple target servers 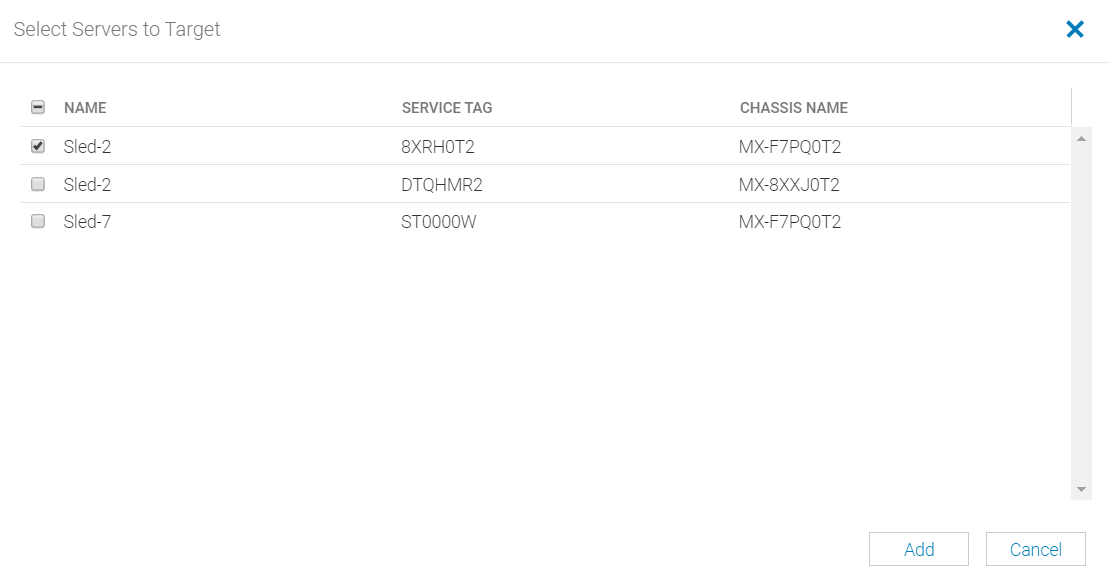
- Select the servers.
Figure 169. Select target servers 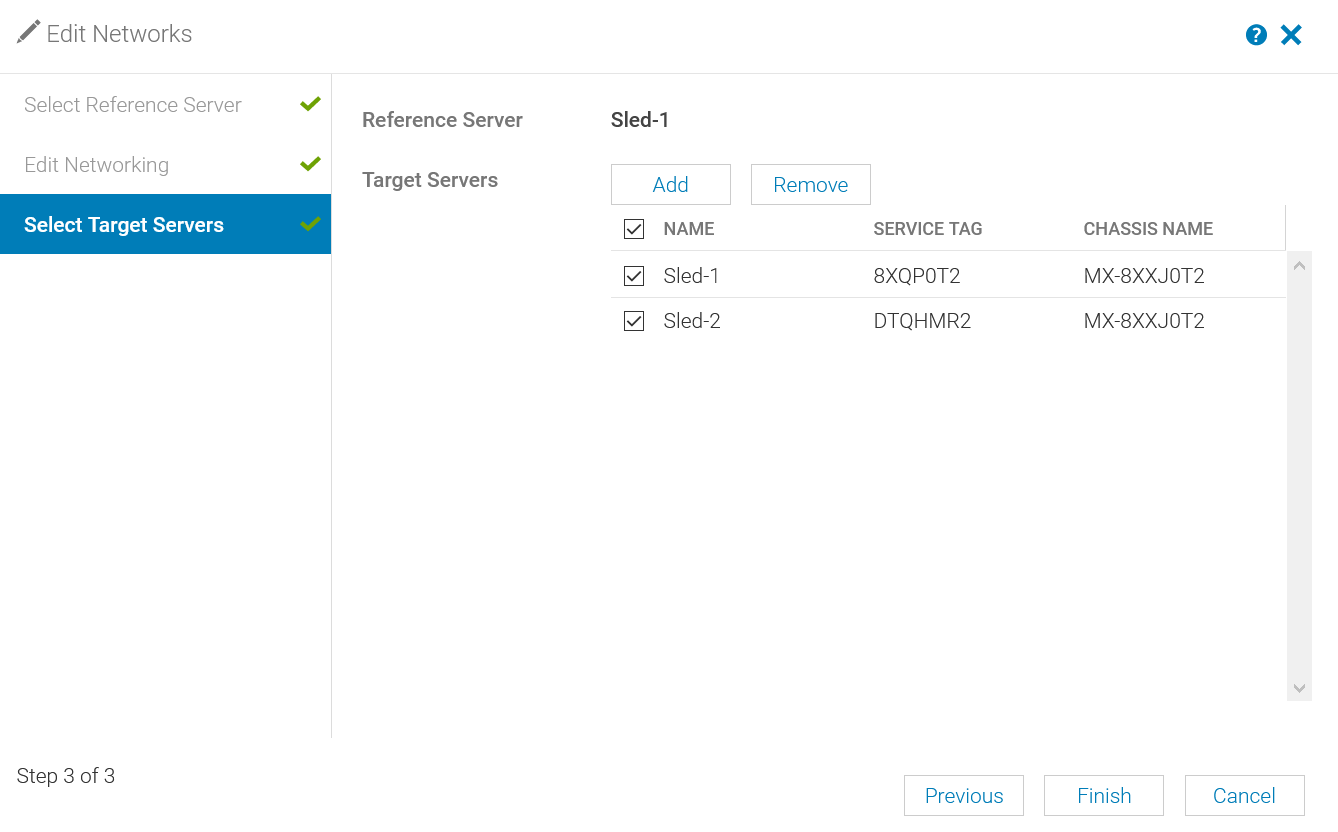
- Click Finish. Note: VLAN settings will be pushed to the selected servers and will overwrite any existing settings.
Edit VLANs on a deployed Server with OME-M 1.10.20 and earlier
Note: Instructions in this section are supported until OME-M 1.10.20. If you are using the updated Firmware OME-M 1.20.00 and later, follow the instructions in the next section.
The OME-M Console is used to add/remove VLANs on the deployed servers in a SmartFabric. Perform the following steps to add/remove VLANs on the deployed servers.
- Open the OME-M console.
- From the navigation menu, click Device > Fabric.
- Select the fabric.
- Select Servers from the left pane.
Figure 170. Add and remove VLANs. Add and remove VLANs 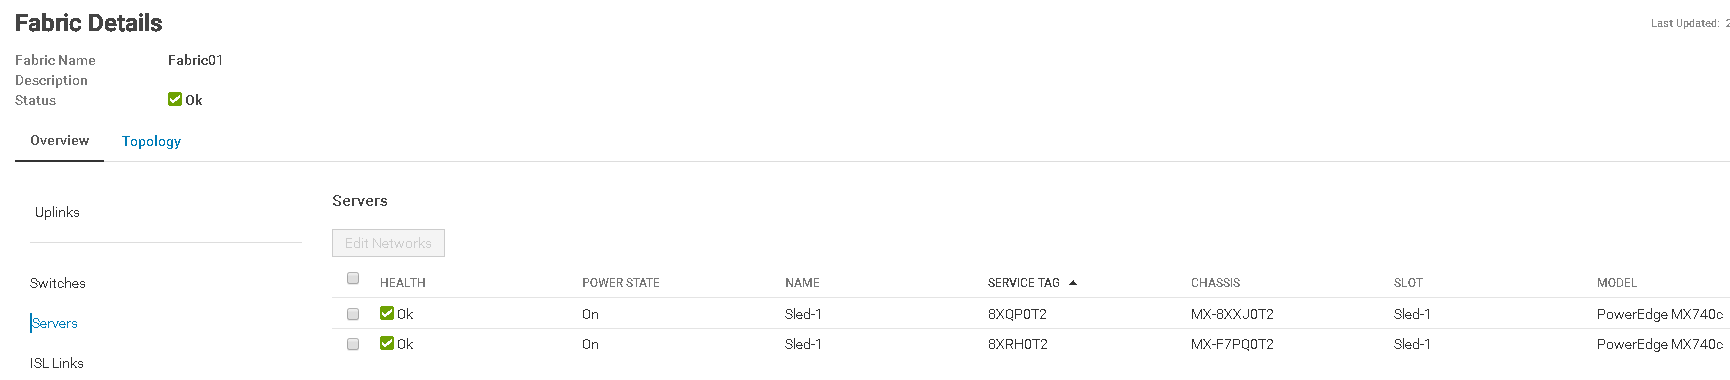
- Choose the wanted server. In this example, the PowerEdge MX740C with service tag 8XQP0T2 is selected.
- Choose Edit Networks.
- Choose NIC teaming from LACP, No Teaming, and Other options.
- Modify the VLAN selections as required by defining the tagged and untagged VLANs.
- Select VLANs on Tagged and Untagged Network for each Mezzanine card port.
- Click Save.
Figure 171. Modify VLANs. Modify VLANs 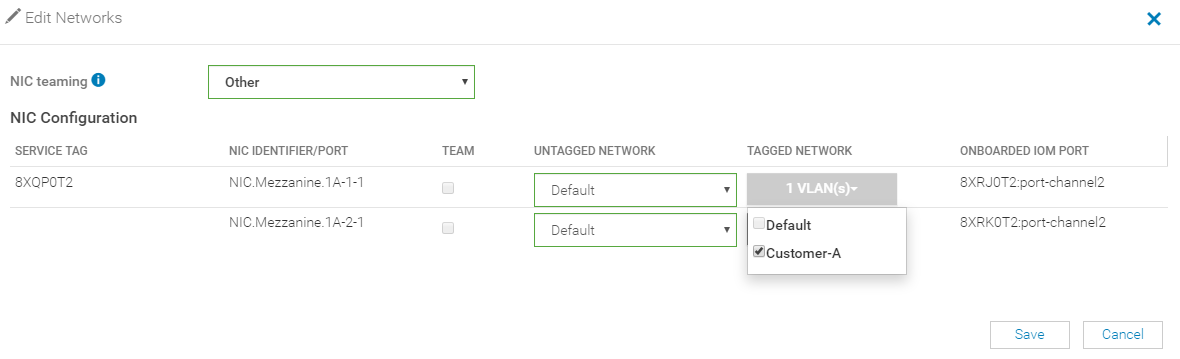 Note: At this time, only one server can be selected at a time in the UI.