- Click the Preferred Leader toggle button next to the first spine switch that will be a preferred leader. A confirmation dialog box displays, as shown.
Figure 76. Preferred Leader dialog box 
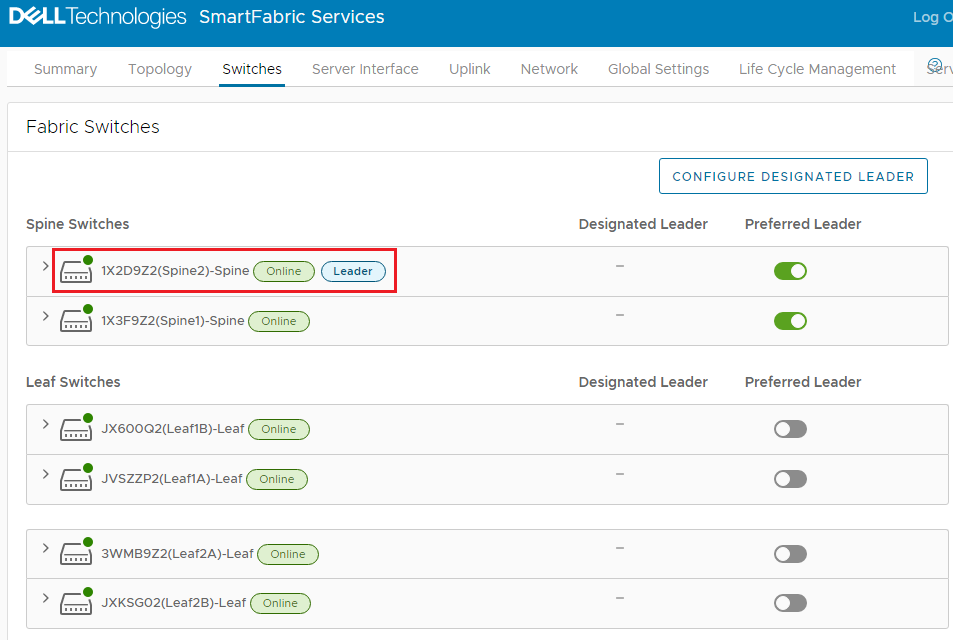
- Click OK. A success message displays and the Preferred Leader toggle button next to the first spine switch is on (colored green), as shown.
Figure 77. First spine switch set as preferred leader 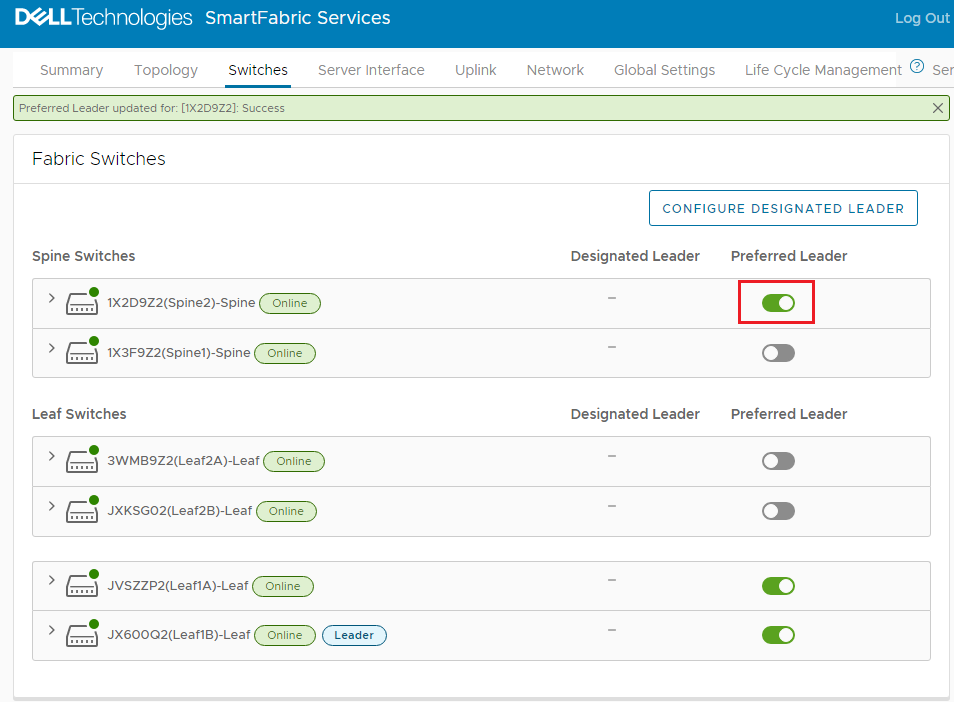
- Toggle the Preferred Leader to the off position for any leaf switches in the fabric that have it set to on. This is Leaf1A and 1B in this example. After toggling the Preferred Leader to the off position for the leaf switches, the Fabric Switches page displays as shown in the figure below.
Figure 78. Preferred leader settings complete 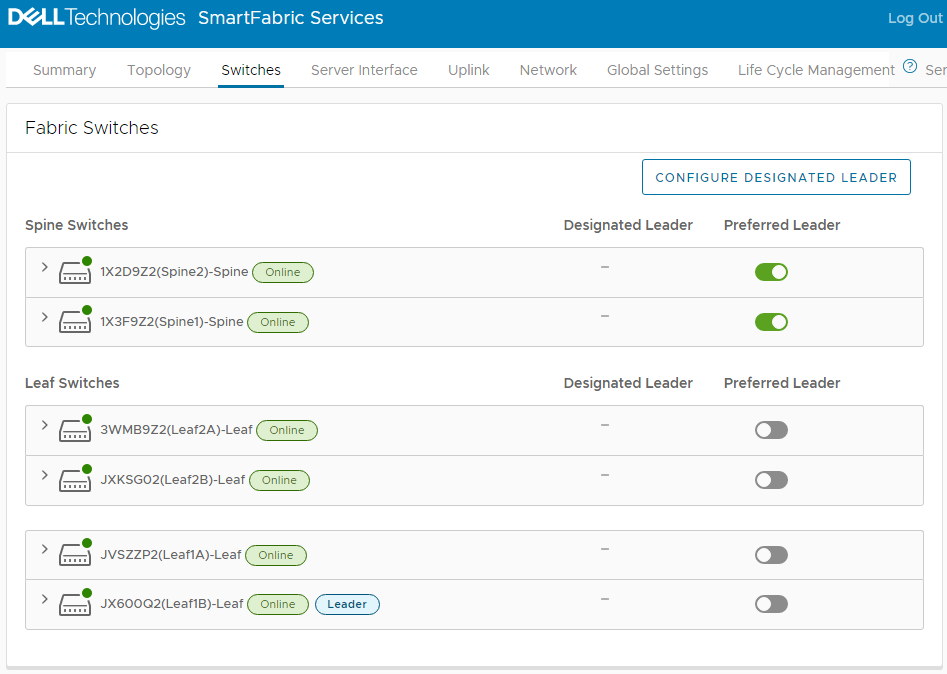
The preferred leader flag is toggled on for all spines, and off for all leafs in the SmartFabric.
- In the SFS UI, click the Switches tab. A spine switch is now the leader, as shown.
Figure 79. Spine switch elected as leader