Here are the high-level steps for installing SFSS on ESXi:
- Install the SFSS vApp.
- Modify the adapters if necessary.
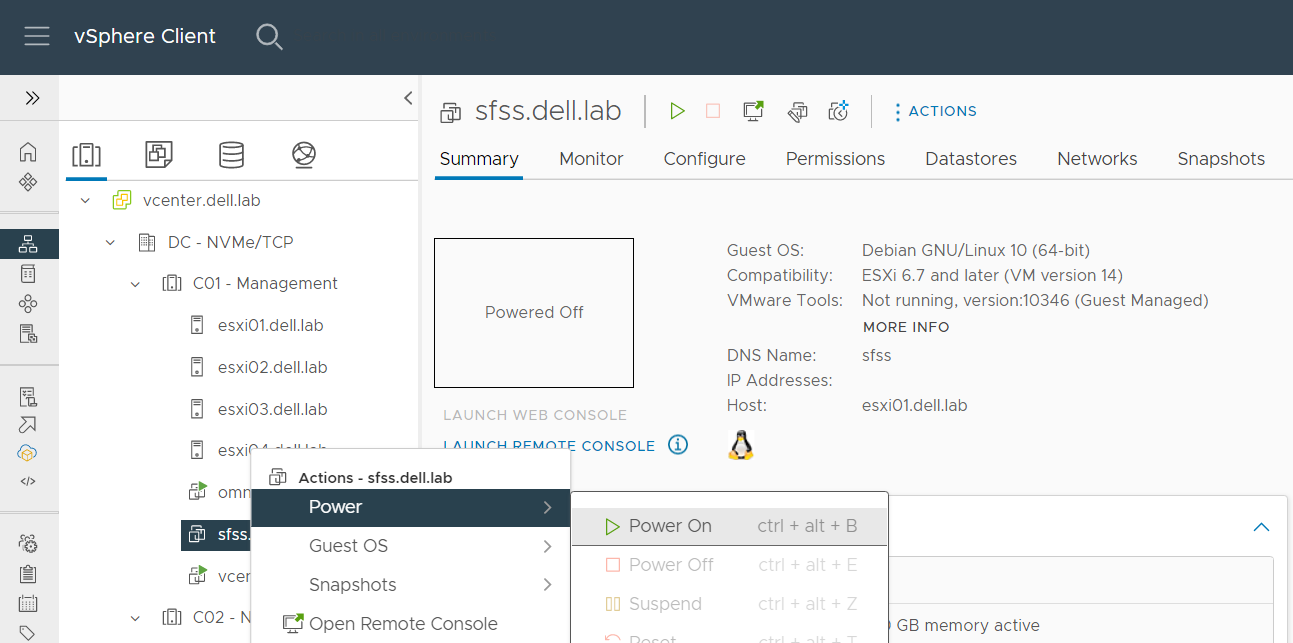
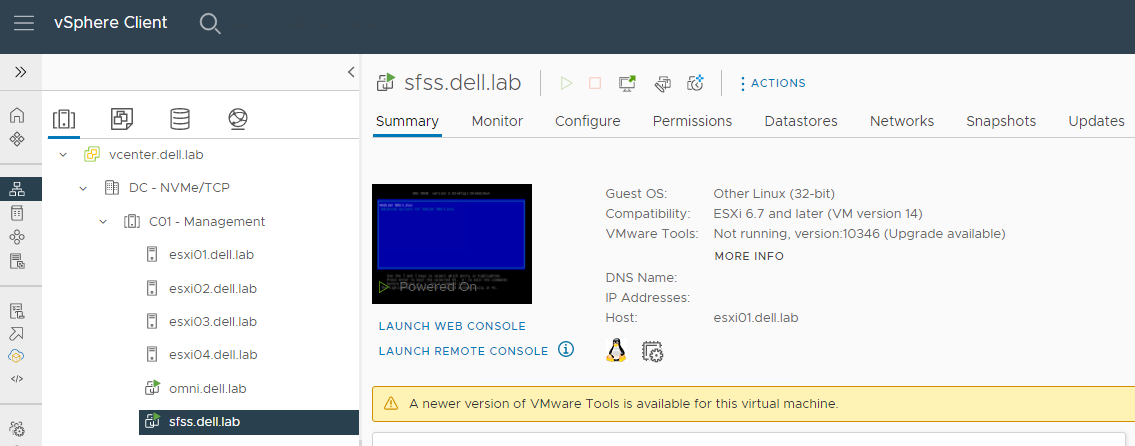
- Power on the SFSS vApp.
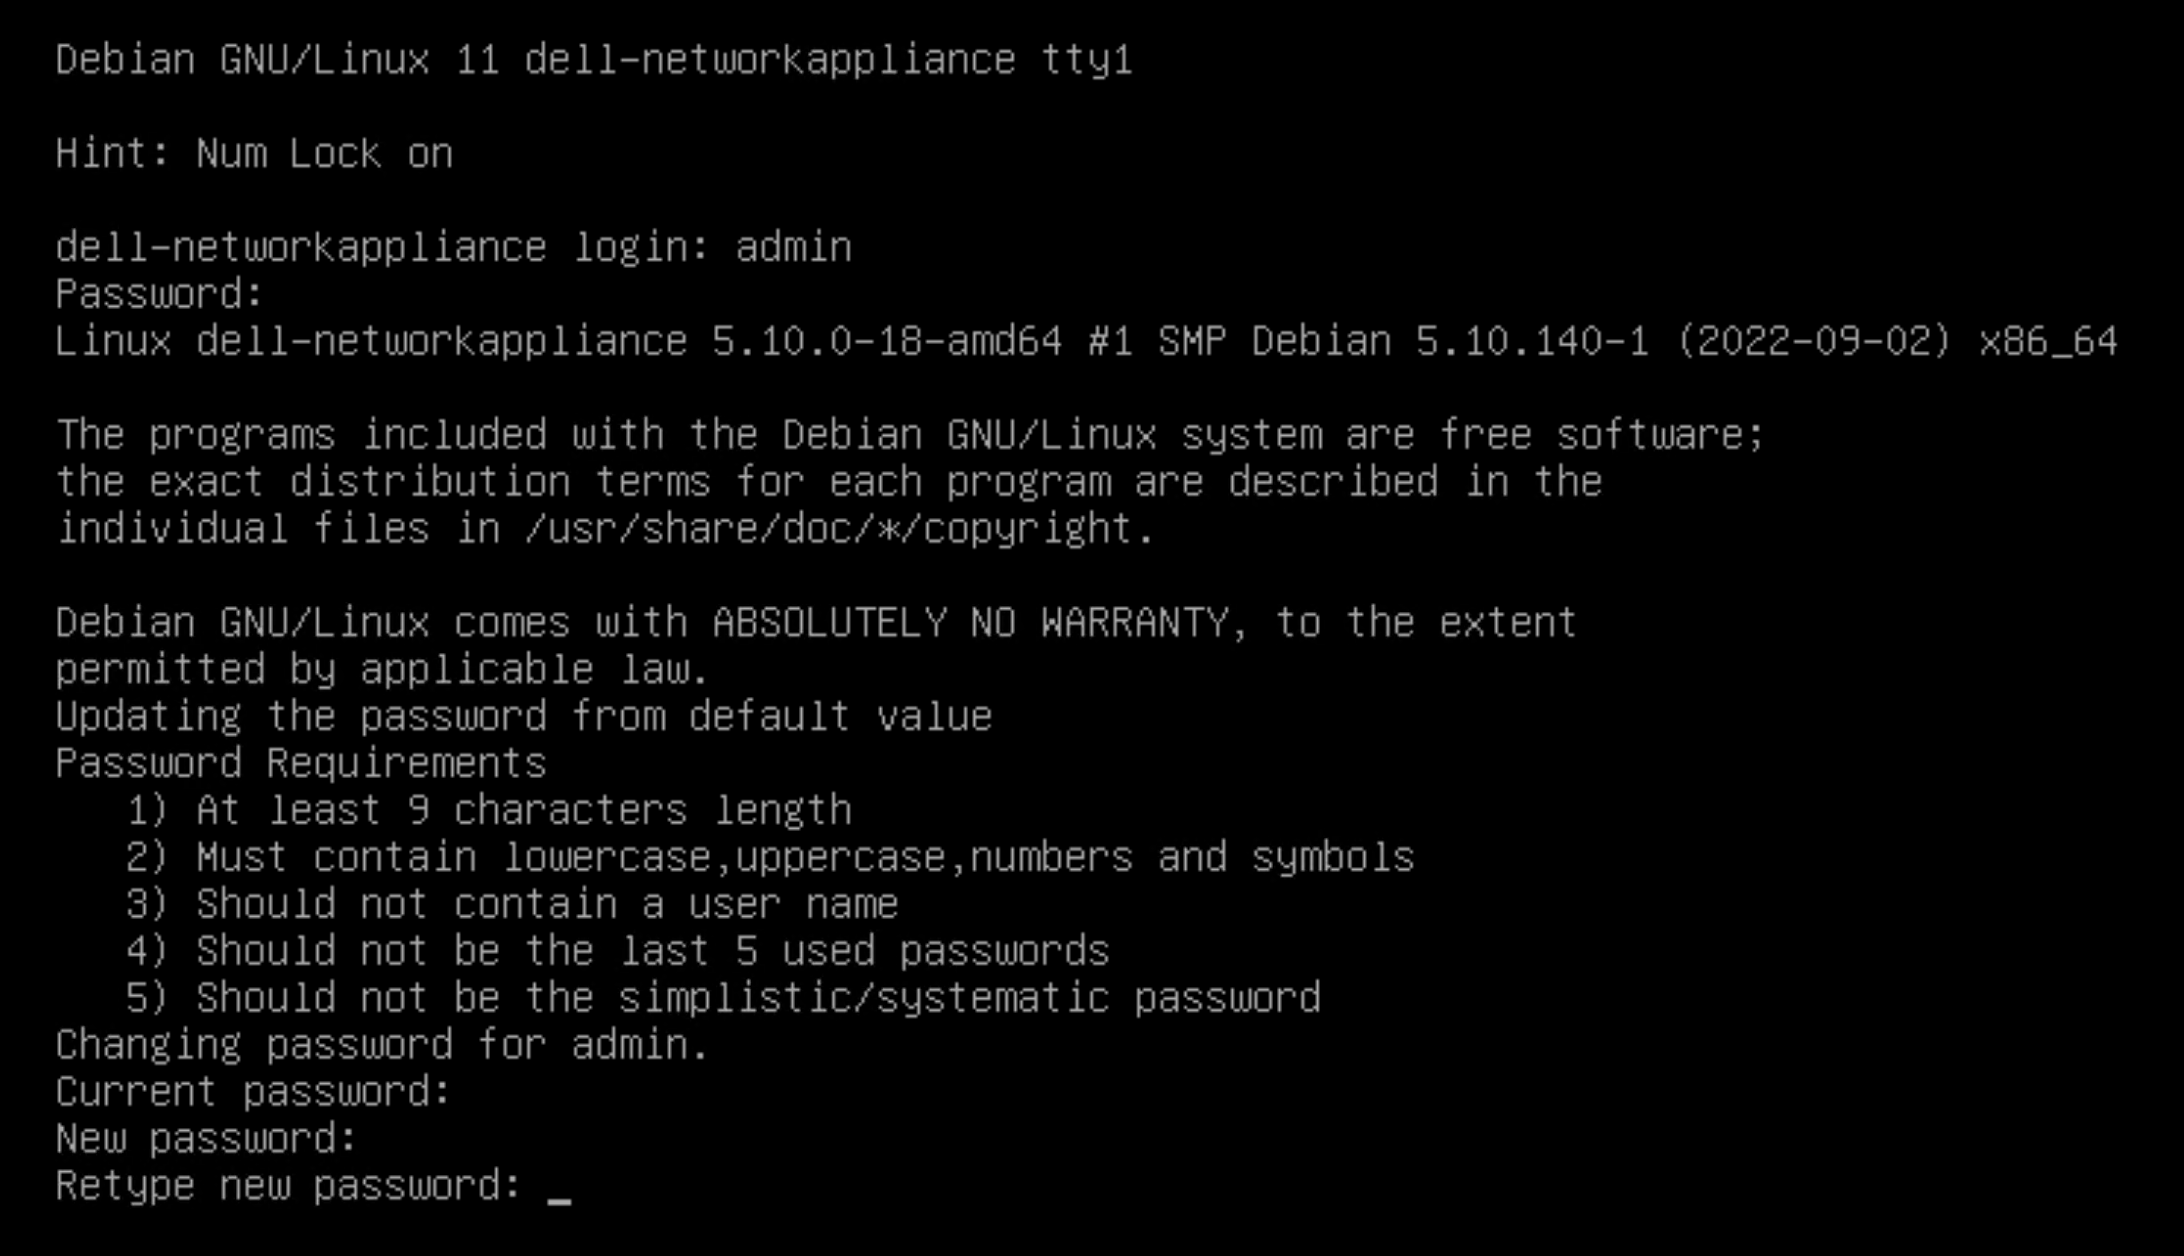
- Reset the admin user password.
- From the vSphere client, select Hosts and Clusters, and then right-click and select the Deploy OVF Template option.
Figure 123. vCenter OVF template deployment 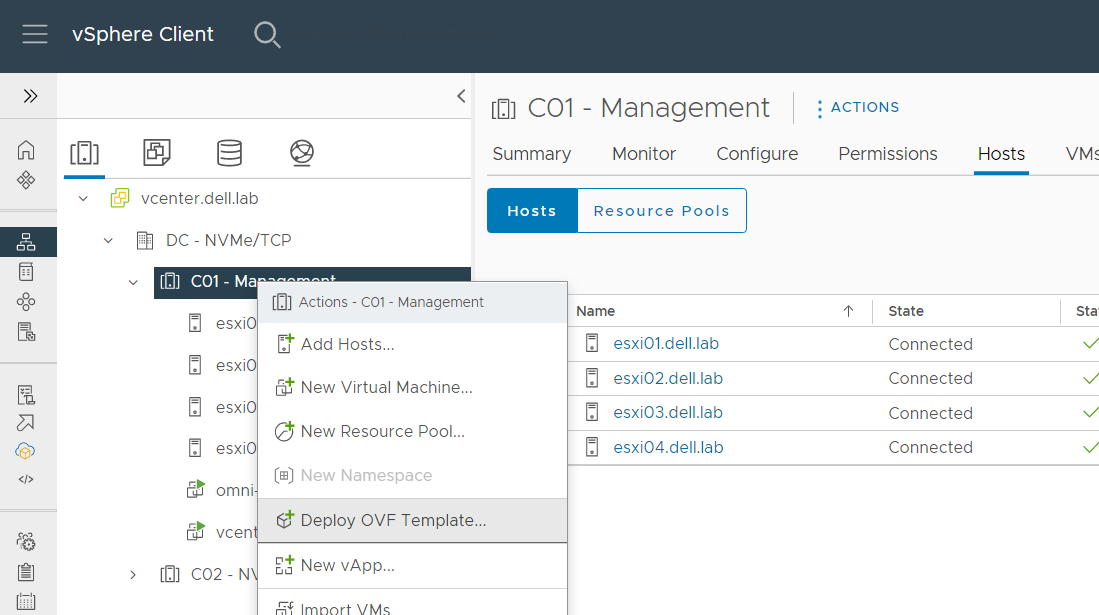
- On the Select an OVF template page, point to the location of the SFSS OVA file and click NEXT.
Figure 124. SFSS OVF template installation 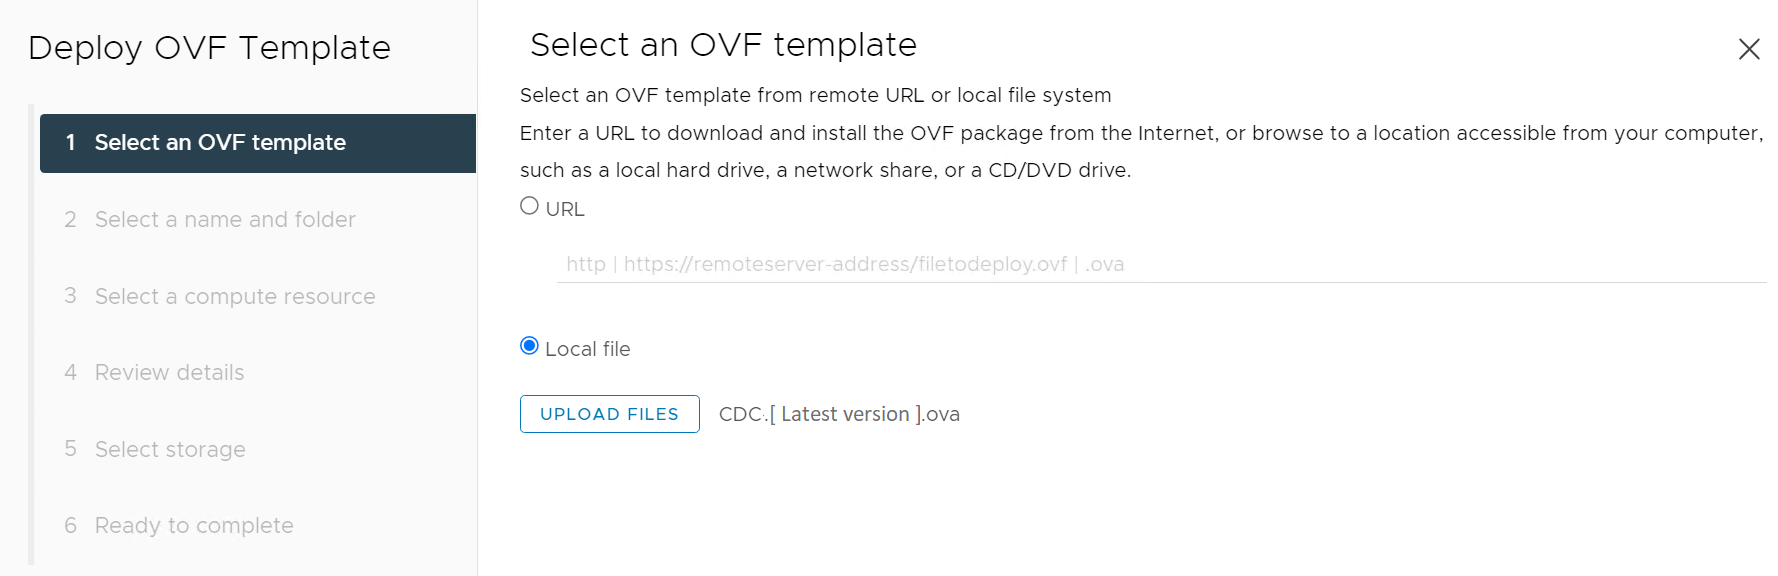
- Select a name and folder for the VM, and then click NEXT.
Figure 125. SFSS virtual machine name 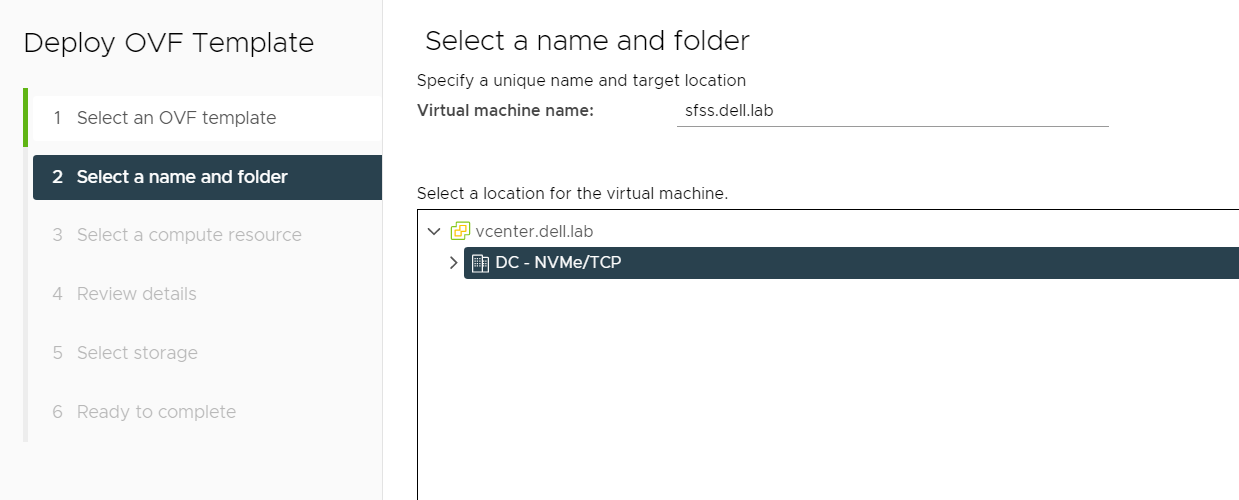
- Click NEXT.
Figure 126. Host selection 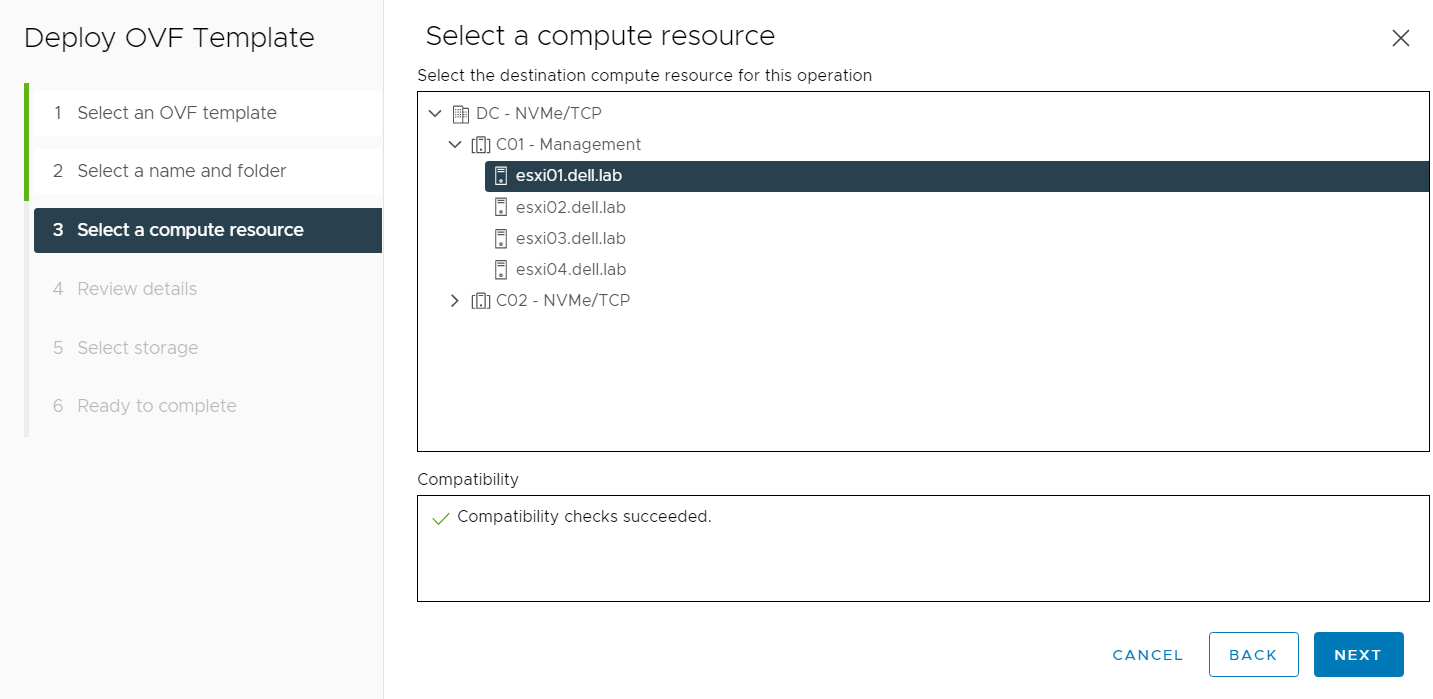
- Click NEXT on the Review details page.
Figure 127. Review details 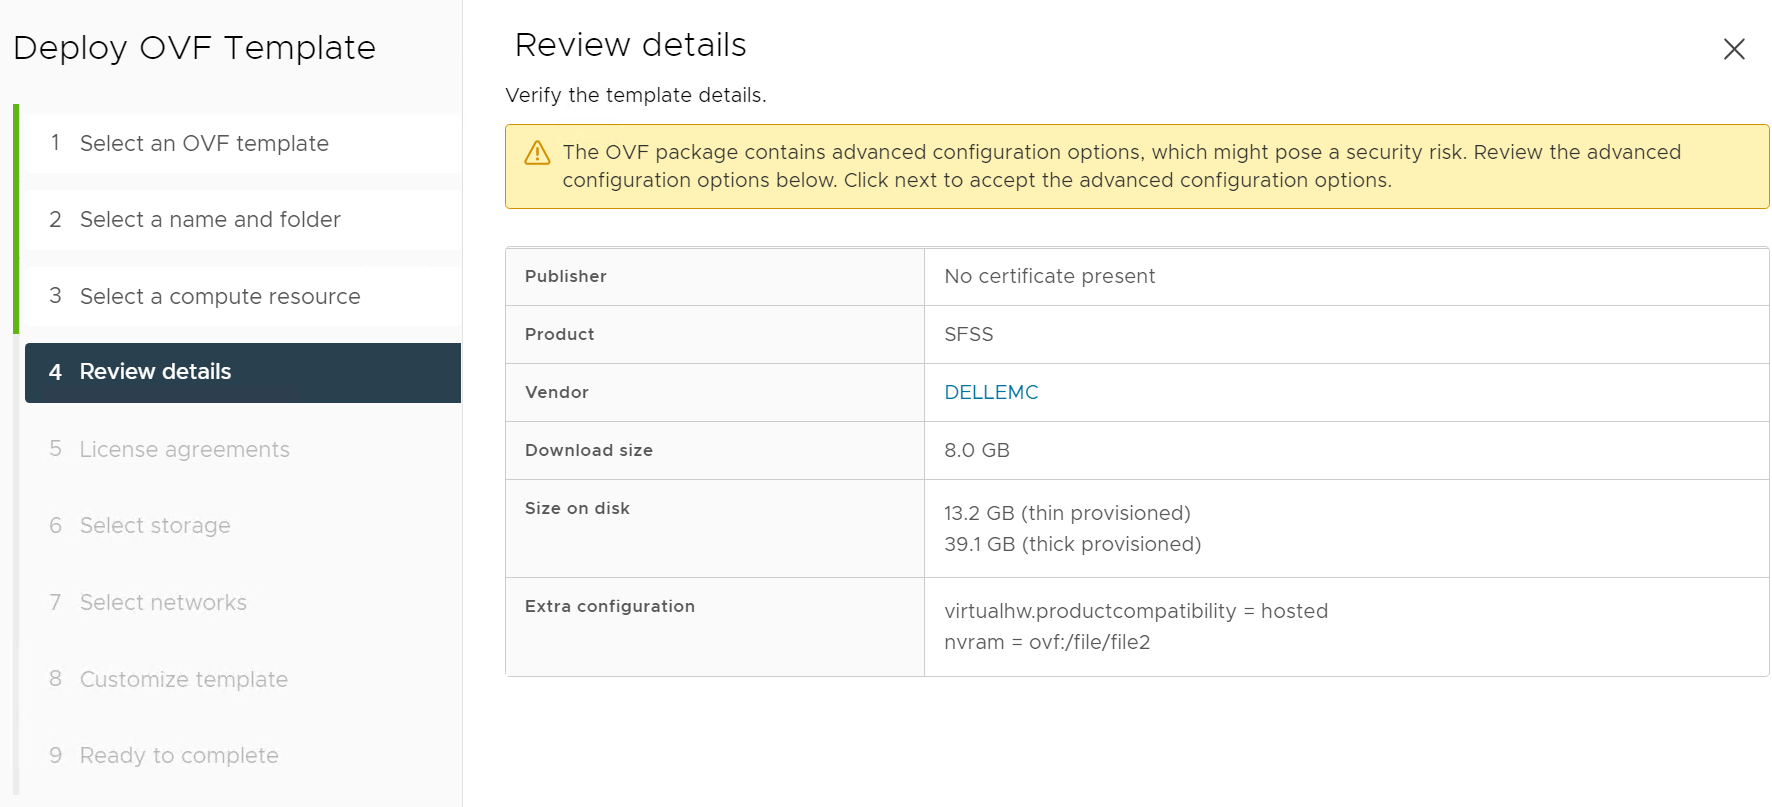
- On the Select storage page, first select the datastore, ensuring that Compatibility checks succeeded is displayed. Then, change Select virtual disk format to Thin Provision. Note: You must select the datastore before selecting the Virtual disk format. If you select the disk format first, you may lose the setting after selecting the datastore.
Figure 128. SFSS storage selection 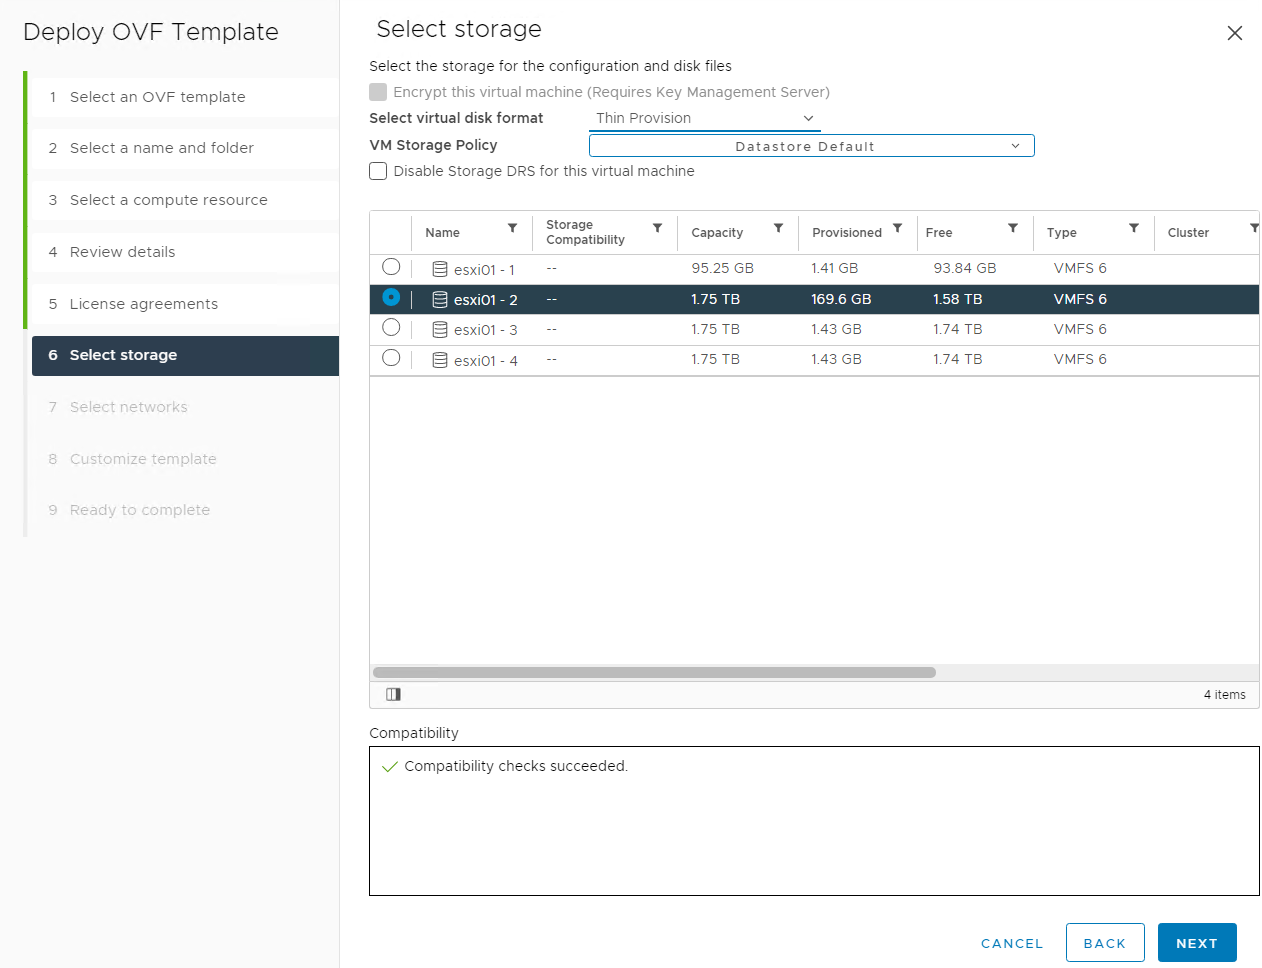
- On the Select networks page, change the required Destination Networks to the values as planned in the initial configuration worksheet. In this example, three interfaces are required and the following Source and Destination networks are used:
Source network Destination network VM Network C01-Management SAN Network 1 C01-NVMeTCP-SAN-A-SFSS SAN Network 2 C01-NVMeTCP-SAN-B-SFSS Figure 129. First new screen. 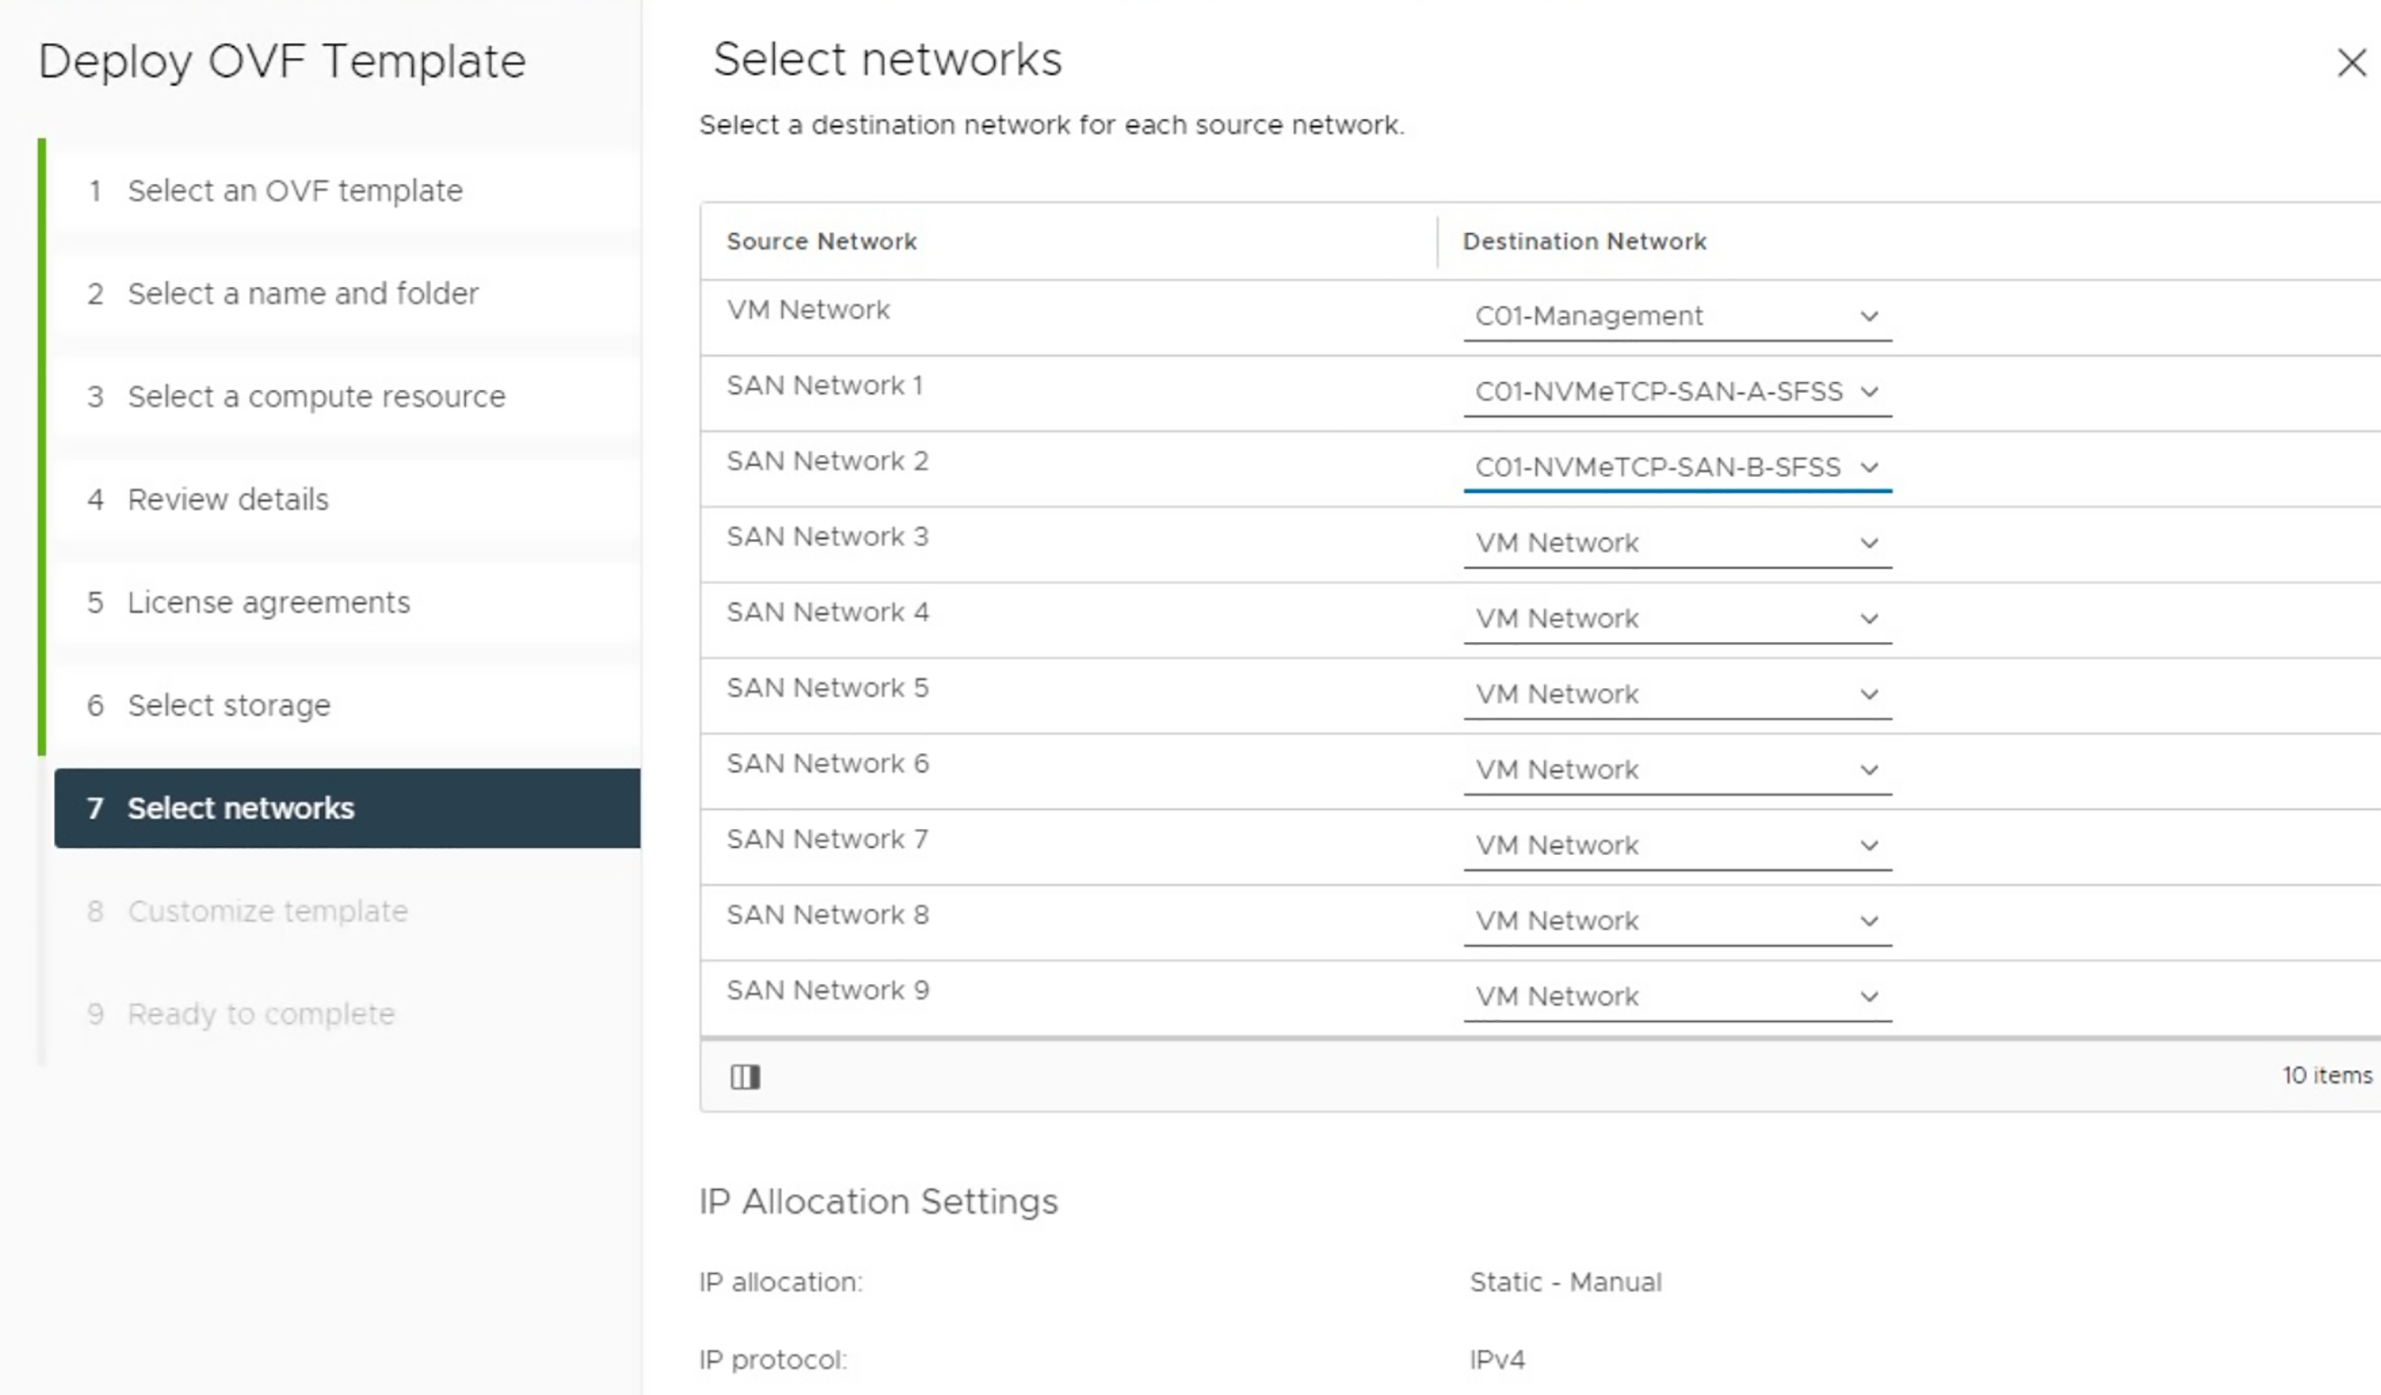
- In the Customize template section, the management interface settings information is provided. The following example data are used in this guide:
- For security reasons, SSH is disabled by default but can be enabled later through the console if necessary.
Figure 130. Customize management interface settings 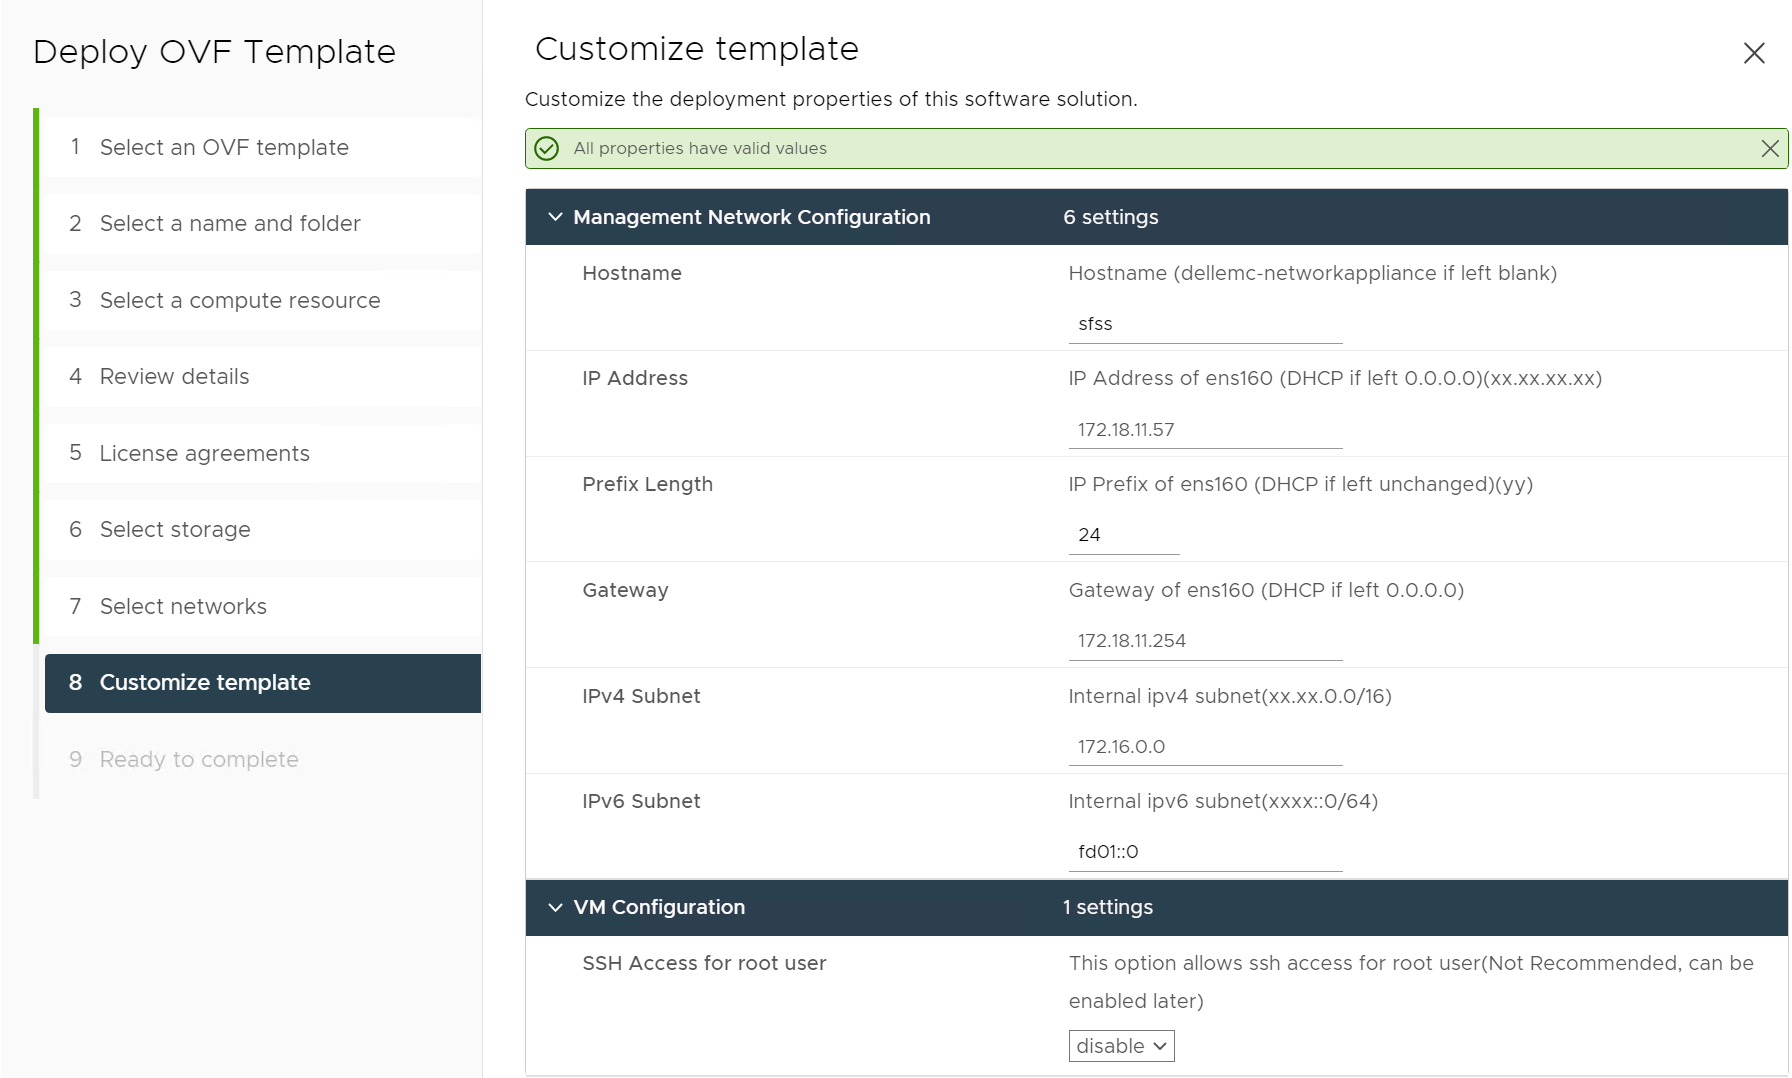
- Review the settings shown on the Ready to complete page and click FINISH to deploy the VM.
Figure 131. Review and finish the wizard 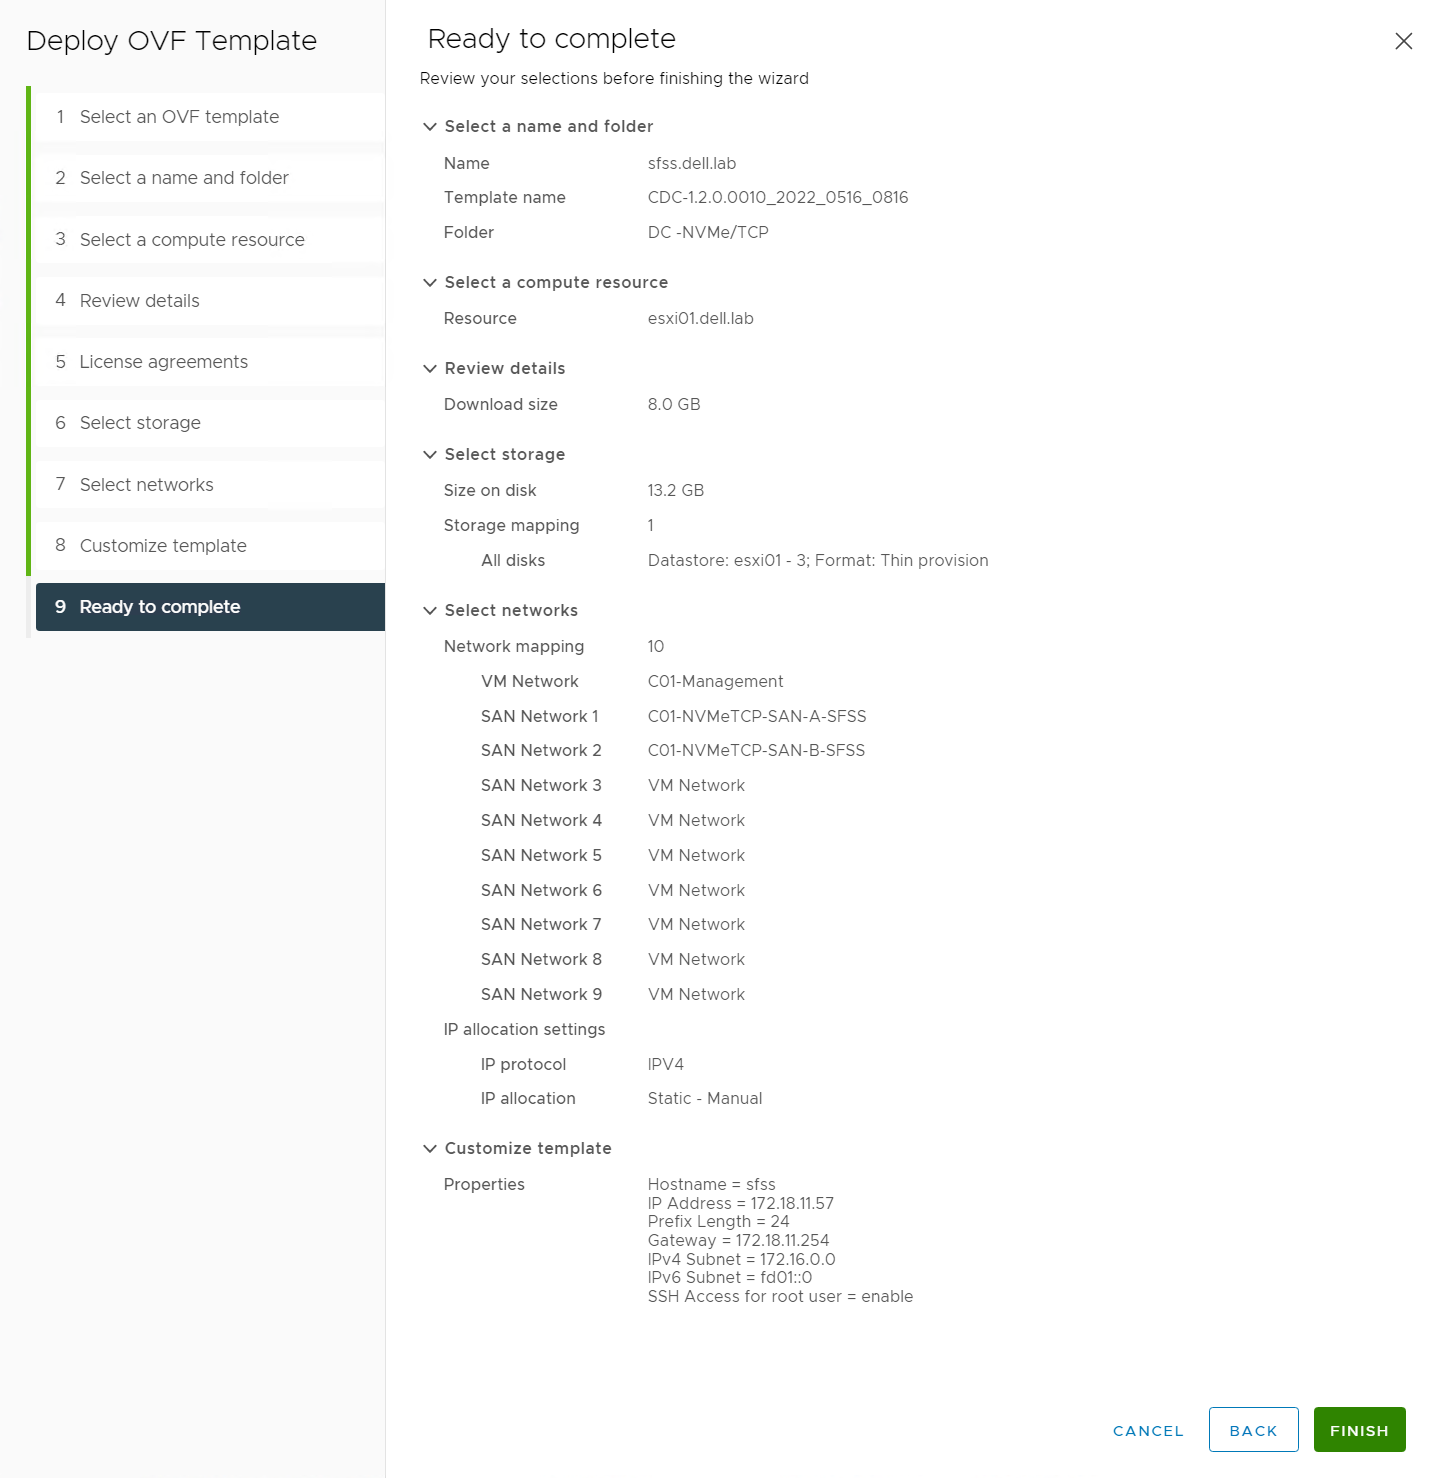
You can track the progress from the Recent Tasks section at the bottom of the vCenter page. The Import and Deploy tasks function may take several minutes to complete. - For security reasons, SSH is disabled by default but can be enabled later through the console if necessary.
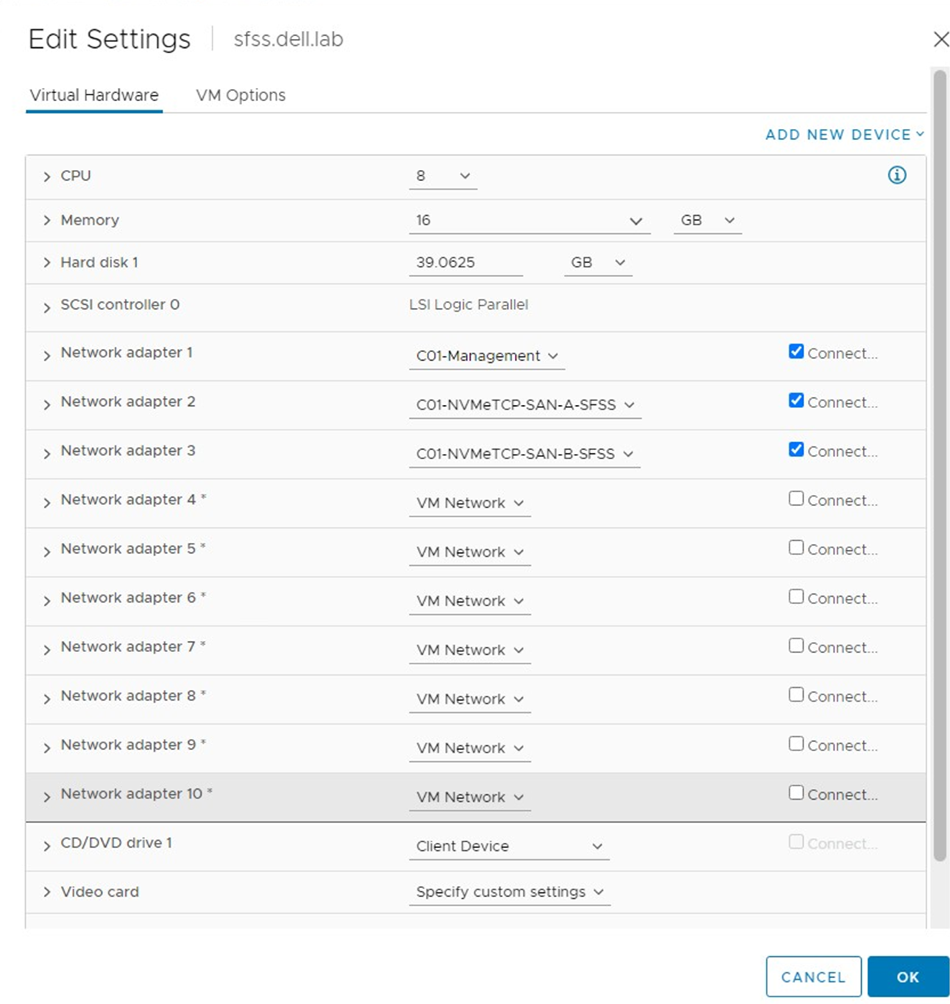
- Dell Technologies recommends that you disconnect unused network adapters by clearing the Connected check box for each one. Right-click the sfss.dell.lab VM, select Edit Settings. In vSphere 7.0, deselect the Connected checkboxes for each unused adapter. In vSphere 7.0 and 8.0, expand each unused adapter and deselect the Connect at Power On checkbox.
Figure 132. Edit Settings screen (8.0). 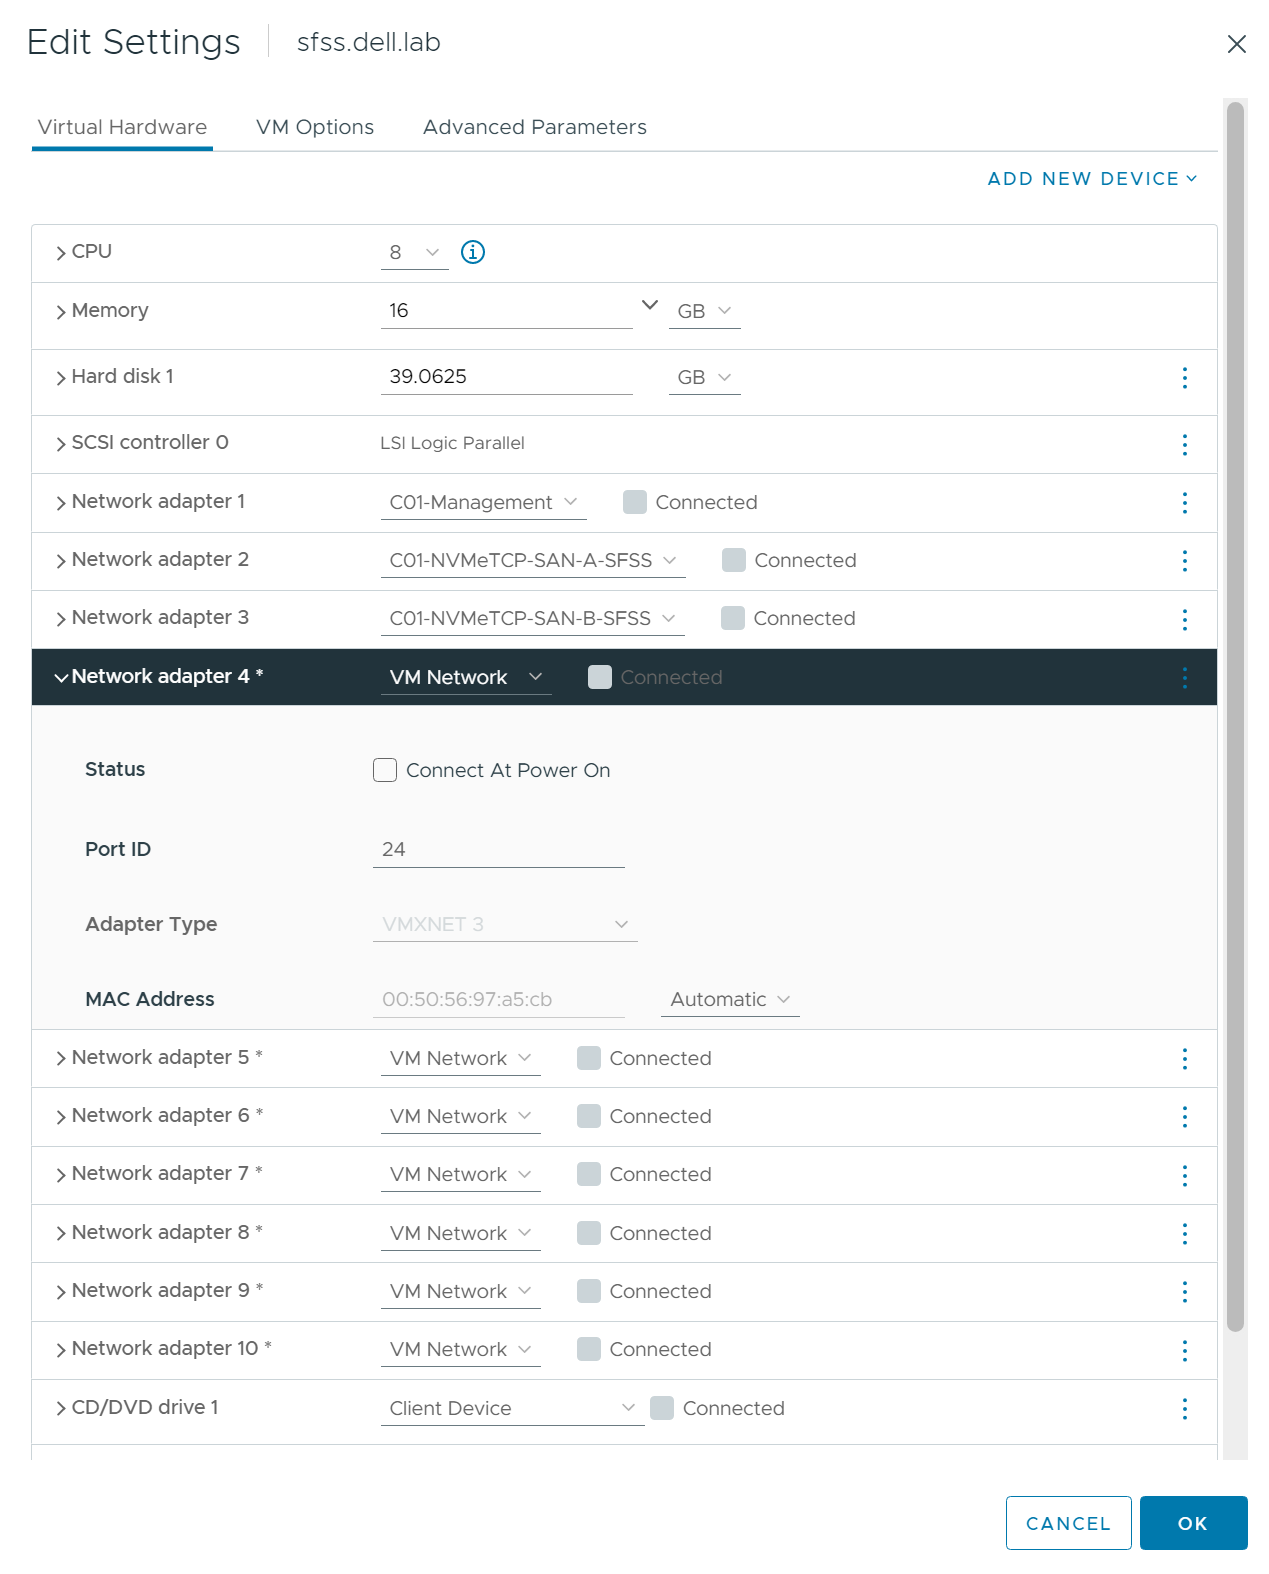
Figure 133. Edit Settings screen (7.0)