
PowerEdge MX environment supports Profiles with OME-M 1.30.00 and later. OME-M creates and automatically assigns a profile once the server template is deployed successfully. If the server template is not deployed, OME–M allows user to create server profiles and apply them to compute sled or slot.
Profiles with server template deployment
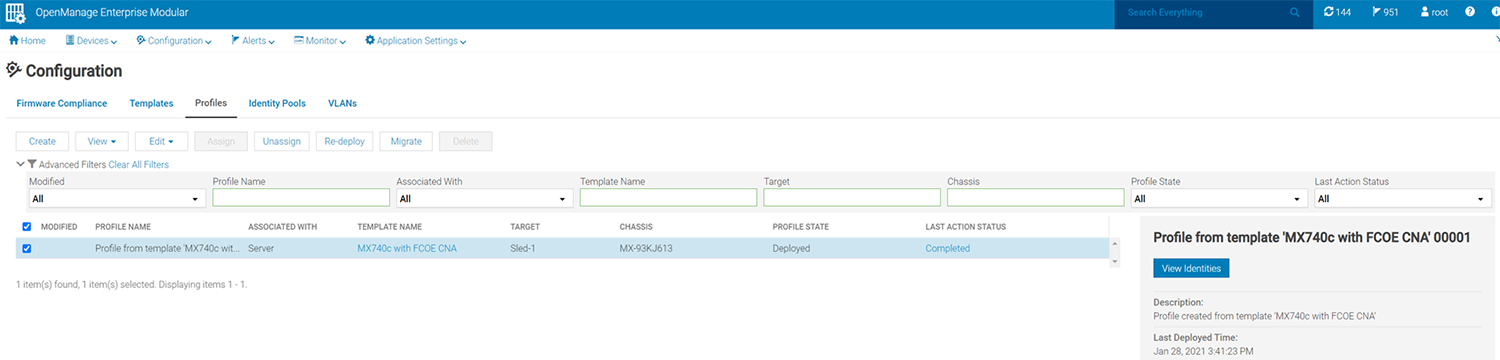
Once the server template is deployed successfully, OME-M automatically creates Profiles. In this example, Profile from template MX740c with FCOE CNA has been created and deployed as shown in figure below.
Create a profile
If the server template is not deployed, OME–M allows user to create server profiles and apply them to compute sled or slot.
To create a profile, perform the following steps:
- Open OME-M console and select Configuration.
- From the drop-down menu, select Profiles.
- From the Profiles pane, choose Create.
- From Select Template window, choose MX740c with FCOE CNA then click Next. Note: Ensure that you attach the server template to a virtual identity pool. Deploying the profile without an identity pool attachment will not change the virtual network addresses on the target devices.
Figure 133. Select template under Profiles 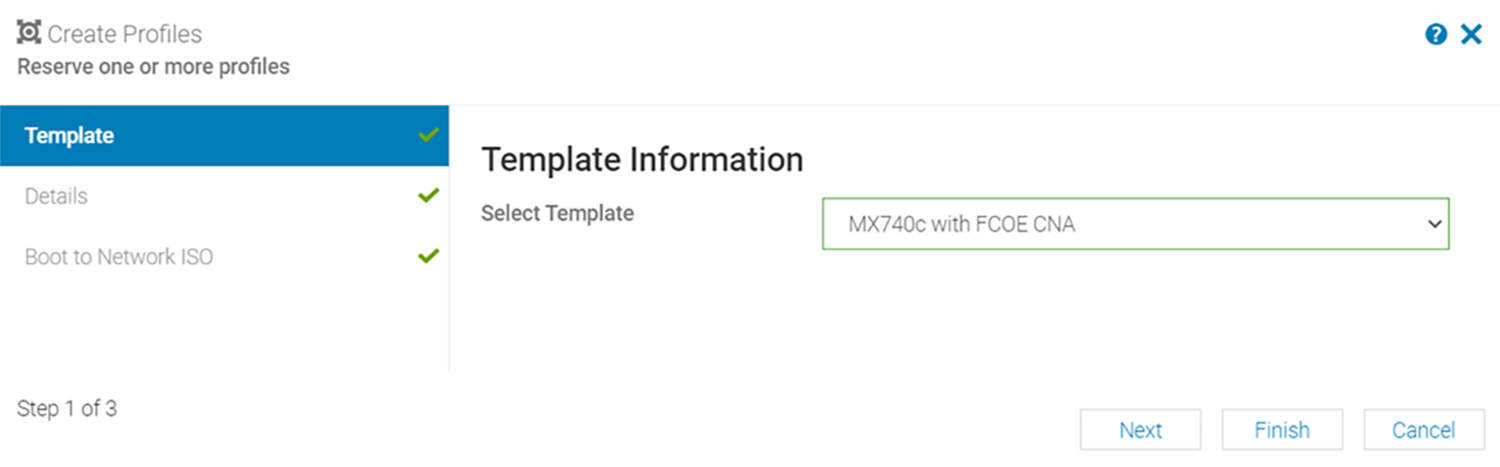
- On the Details tab, enter the Name Prefix, Description, and Profile Count of the profile and click Next. Note: You can create a maximum of 100 profiles at a time.
Figure 134. Details for profiles 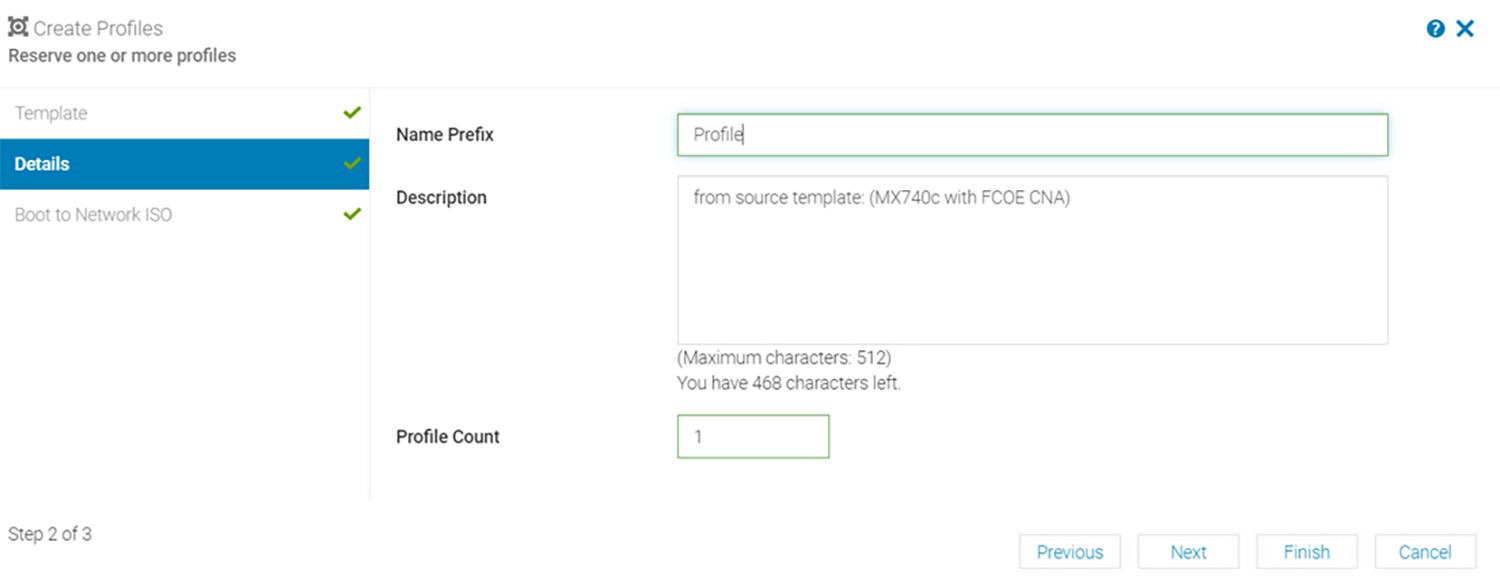
- Select Boot to Network ISO and enter the following file share information.
- Share Type—Select CIFS or NFS as required
- ISO Information—Enter the ISO path
- Share Information—Enter the Share IP Address, Workgroup, Username, and Password
- Time to Attach ISO—Select the time duration to attach ISO from the drop-down
- Test Connection—Displays the test connection status
- Click Next. The iDRAC Management IP tab displays.
- Click Finish.
View a profile
User can view a profile and network details under this option. On the Profiles page, select a profile and click View and select View Profile. The View Profile wizard is displayed.
- View Profile
- You can view Boot to Network ISO, iDRAC Management IP, Target Attribute, and Virtual Identities information that is related to the profile.
- View Network
- You can view Bandwidth and VLANs information that is related to the profile.
Edit a profile
The Edit Profile feature allows user to change the Profile name, Network options, iDRAC management IP, Target attributes, and Unassigned virtual identities. The user can edit the profile characteristics that are unique to the device or slot.
To edit a profile, perform the following steps:
- From the OME-M console, click Configurations > Profiles and select the profile to be edited.
- Select Edit > Edit Profile.
- On the Details tab, edit name and description of the profile and click Next.
Figure 135. Edit Profile description 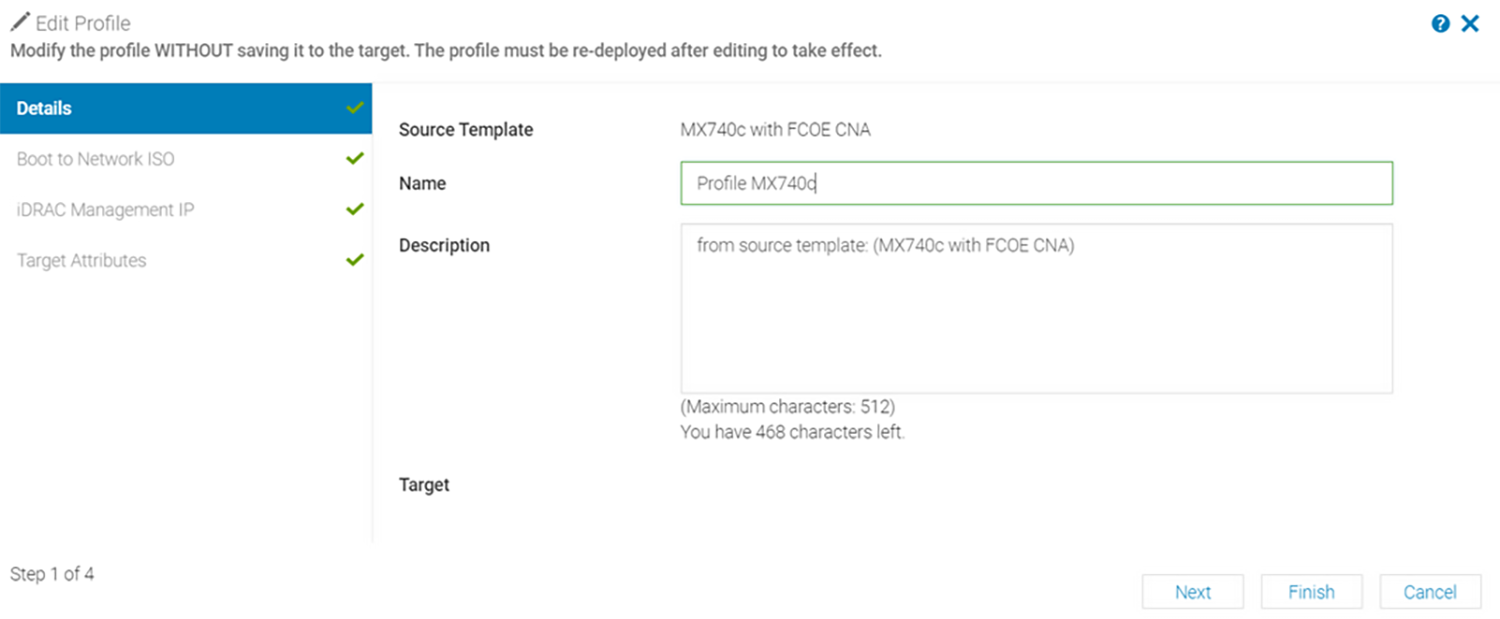
- From the Boot to network ISO tab, edit the information already entered while creating a profile, then click Next.
- Select the Target IP settings, then select one of the following options:
- Don't change IP settings
- Set as DHCP
- Set static IP
- Click Next.
Figure 136. iDRAC Management IP settings 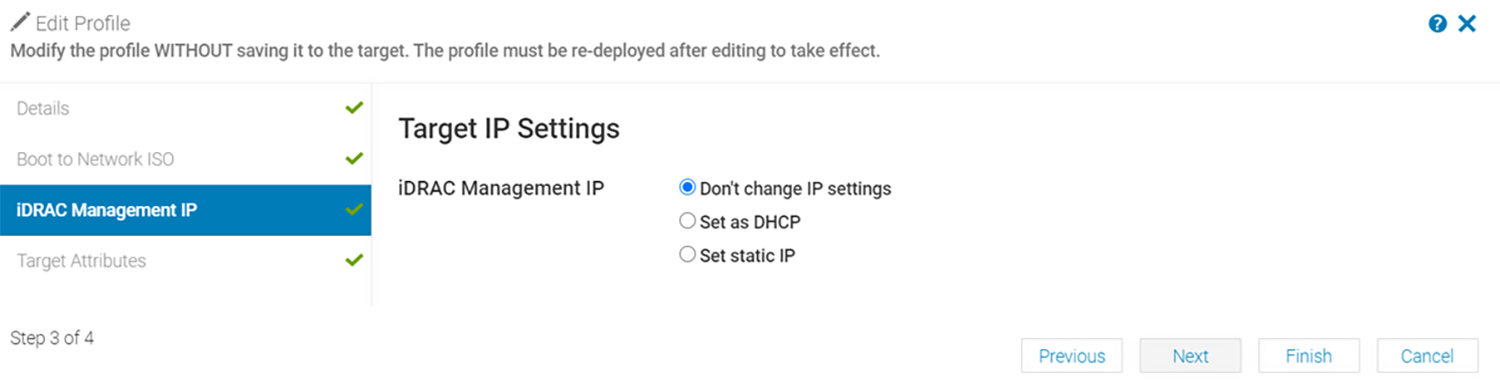
- From the Target Attributes screen, select the components or attributes in the iDRAC, NIC, and System sections to include in the template, then click Finish.
Figure 137. Edit Target Attributes 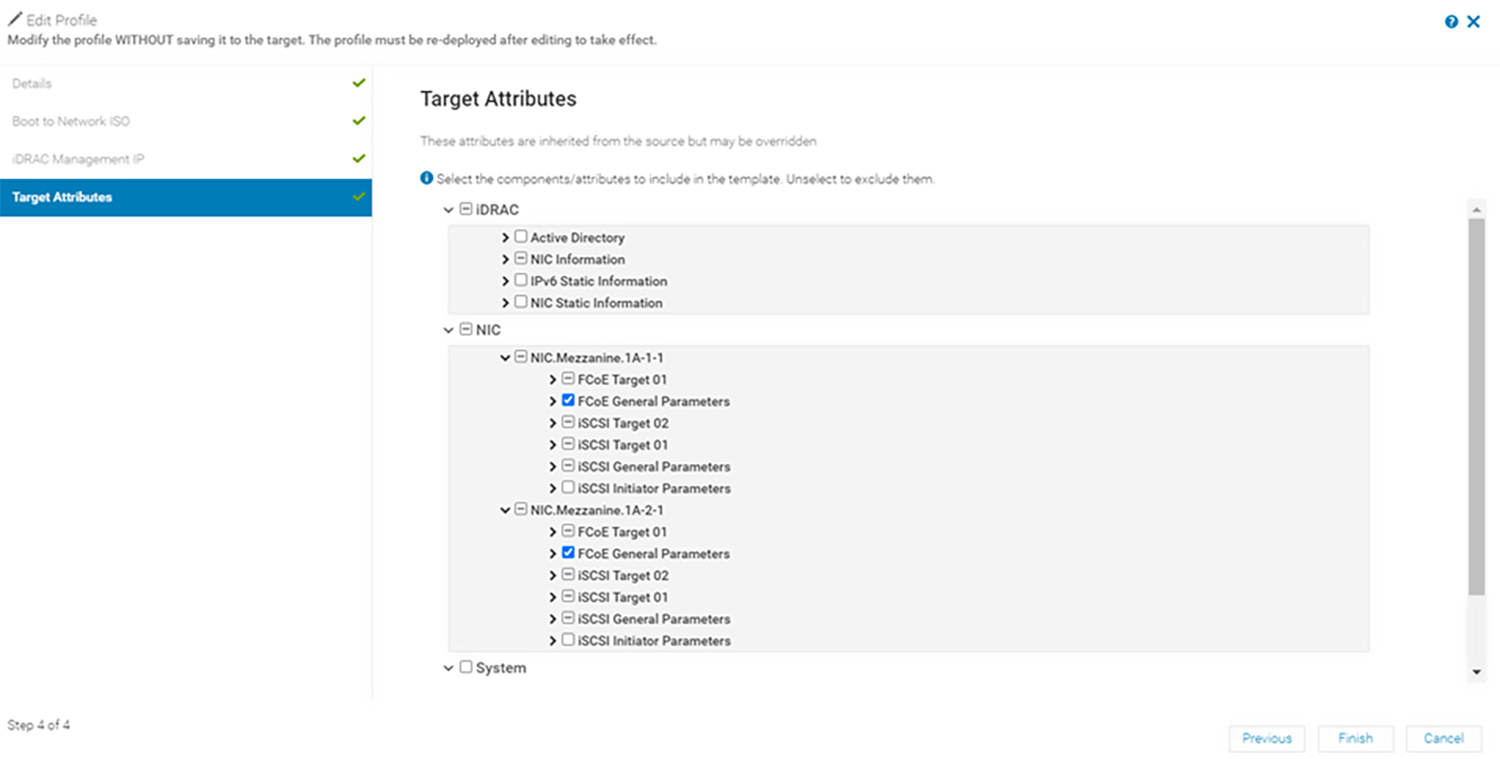
Assign a profile
The Assign a profile function allows the user to assign and deploy a profile on target devices.
To assign a profile, perform the following steps:
- From the OME-M console, click Configurations > Profiles and select a profile to assign.
- Click Assign.
- On the Details tab, verify the details and click Next.
- Select Attach to Slots or Deploy to Devices and click Select Slots or Sleds to choose the target servers.
Figure 138. Deploy Profile screen 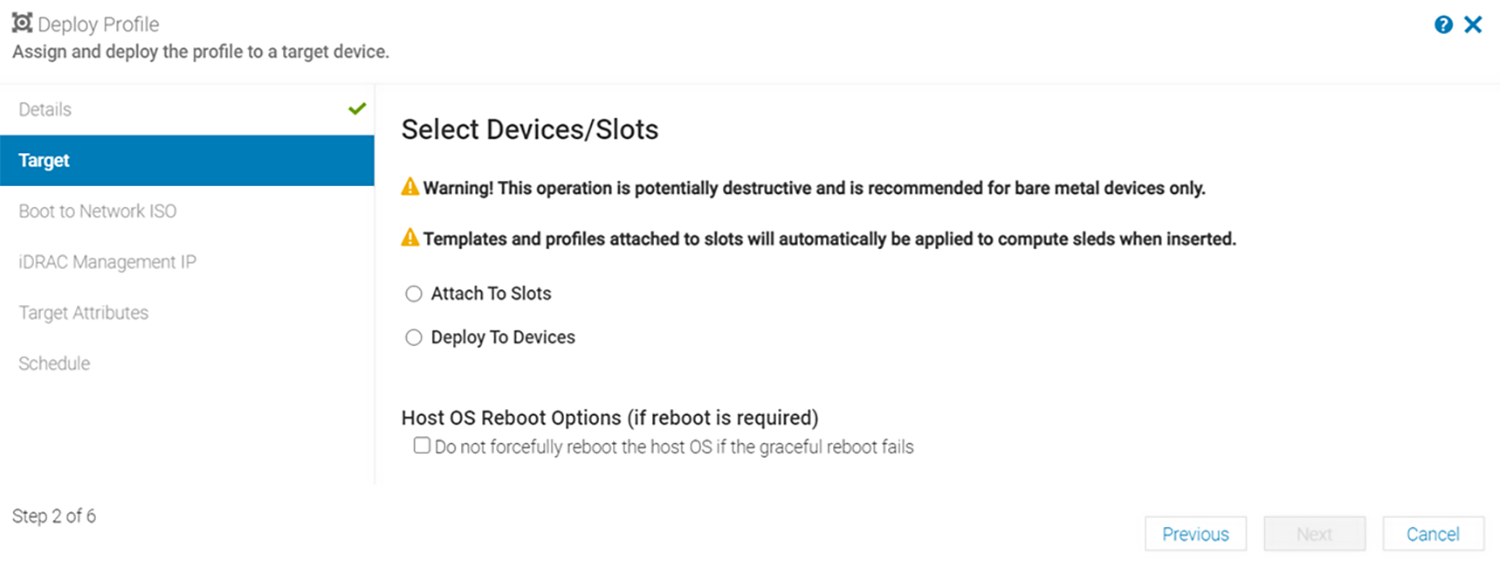
- Select the target server or servers where the profile is being deployed.
Figure 139. Select target servers 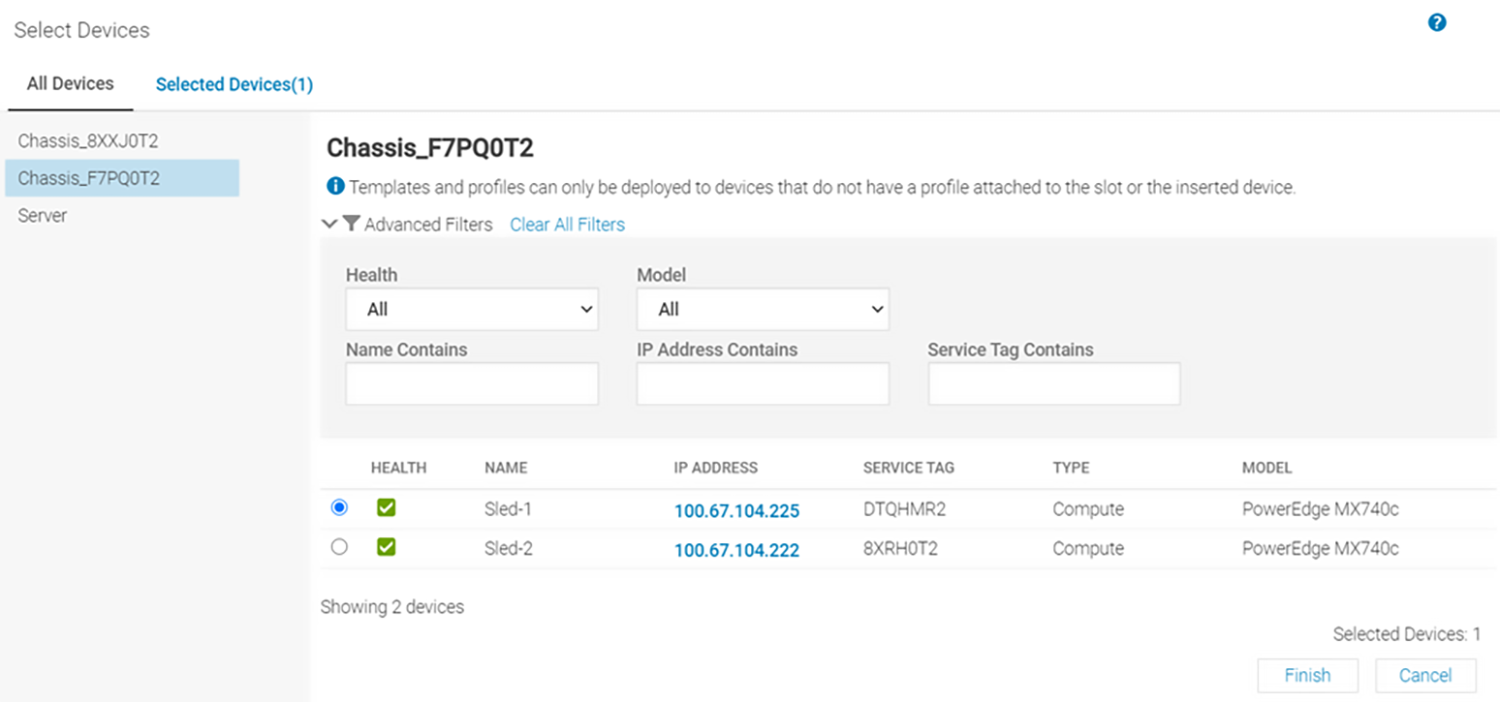
- Choose Do not forcefully reboot the host OS option and click Next.
Figure 140. Target servers deployed 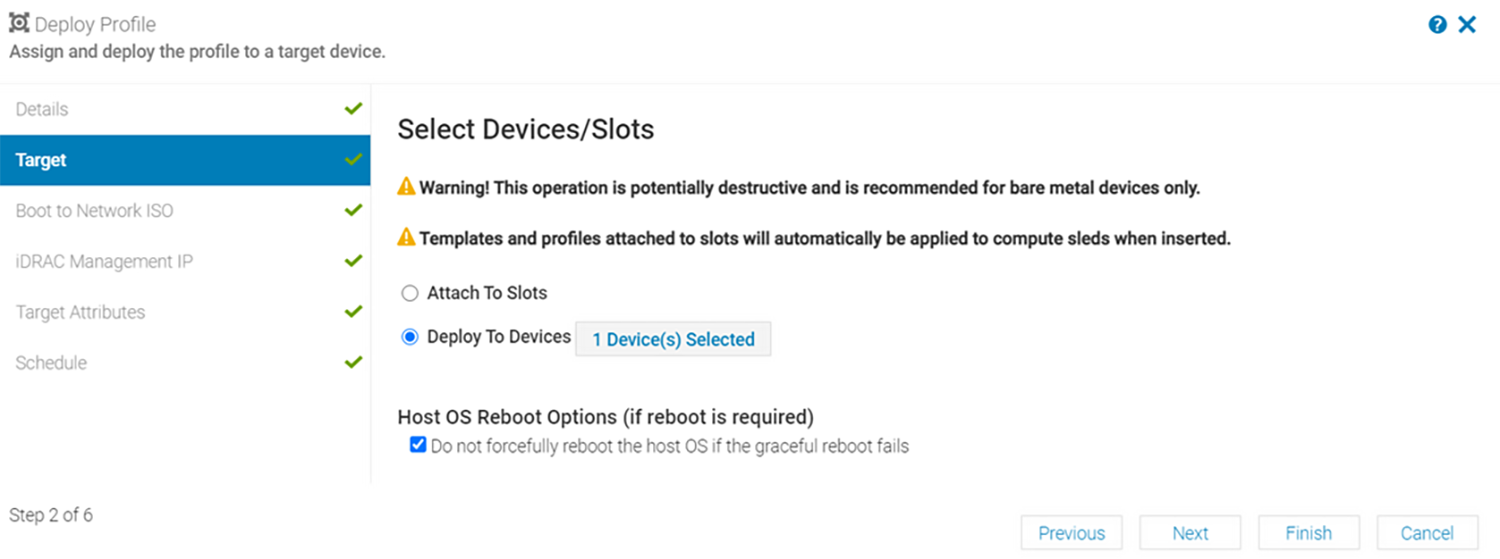
- Select Boot to Network ISO, enter the file share information as needed, then click Next.
- Select iDRAC Management IP settings then click Next.
- Select the Target Attributes under the iDRAC, NIC, and System options then click Next.
- Click Run Now or Enable Schedule then click Finish. Note: The Enable Schedule option is disabled for slot-based profile deployment.
CAUTION: When you select Enable Schedule, the profile deployment runs at the scheduled time, even if you have already performed a Run Now function before the schedule. The Deploy Profile job will fail when it is run at the scheduled time which results in an error message displaying.
Unassign a profile
Use the Unassign a profile function to disassociate profiles from the selected targets.
To unassign the profile:
- From the OME-M console, click Configurations > Profiles then select a profile to unassign.
- From the Actions menu, click Unassign. The Unassign Profile window displays.
- In the Unassign profile wizard, the Force Reclaim Identities is checked by default. This action reclaims the identities from this device, and the server is forcefully rebooted. All the VLANs configured on the server are removed.
- Click Finish. Note: The Unassign profile job is not created when the action is performed on the assigned profile that has the Last Action Status as Scheduled for device-based deployment.
Delete a profile
You can delete profiles that are not running any profile actions and is in the unassigned profile state. To delete the profile:
- From the Profiles page, select the profile or profiles that you want to delete and click Delete.
- Click Yes to confirm the deletion.