
Dell PowerProtect Data Domain with Veritas NetBackup - Configuration Guide
Executive summary
Introduction
Configuring PowerProtect DD with NetBackup using DDBoost OST plug-in
Configuring PowerProtect DD Storage Unit as BasicDisk Storage in NetBackup
Configuring PowerProtect DD Virtual Tape Library (VTL) Storage Unit with NetBackup
NDMP Storage Unit Configuration
Configuring Replication in NetBackup using PowerProtect DD
Configuring DD Cloud Tier
References
DDBoost OST plug-in deployment
DDBoost OST plug-in deployment
-
Pre-requisites
Preparing PowerProtect DD appliance for DDBoost
- Verify file system is enabled and running
- Enable DDBoost on the PowerProtect DD appliance
- Add the DDBoost license
- Enable DDBoost deduplication
- Create DDBoost user on the PowerProtect DD appliance
- Create one or more storage units on the PowerProtect DD appliance
- Ensure that the following ports are open in firewall for DDBoost backups and optimized duplication to work:
TCP 2049 (NFS), TCP 2051 (MFR), TCP/UDP 111 (NFS portmapper)
Installing the OST plug-in on media servers
Preparing for installation – UNIX
- Download the latest version of the OST plug-in from Online Support. Verify the SHA-256 digest of the download to assure its integrity
- Enter gunzip or an equivalent command to extract the tar file and save the file on the media server
- Stop the Remote Manager and Monitor Service (nbrmms) - # nbrmms -terminate
Installing the plug-in - UNIX
- Using the tar command, extract the file - # tar -vxf f<ilename>
- Using the installation script from the package install the plug-in using the command # install.sh, The shared library files that the script installs are libstspiDataDomain.so and libstspiDataDomainMT.so.
- After the plug-in is installed successfully, start the backup application service # nbrmms
Preparing for installation - Windows
- Download the latest version of Windows OST plug-in from Dell Online Support.
- Verify the SHA-256 digest of the download to assure its integrity. Extract the plug-in to extract libstspiDataDomainSetup.exe.
- Stop any NetBackup services.
- Remove any previous plug-in version by using the Windows Control Panel or by running the OST plug-in uninstall command in silent mode.
Installing the plug-in - Windows
- Run libstspiDataDomainSetup.exe to install the plug-in.
- Start the NetBackup services.
Verifying the plug-in installation
Use the following command to verify the plug-in installation and confirm that the output is like the following figure:
# bpstsinfo -pi -stype DataDomain
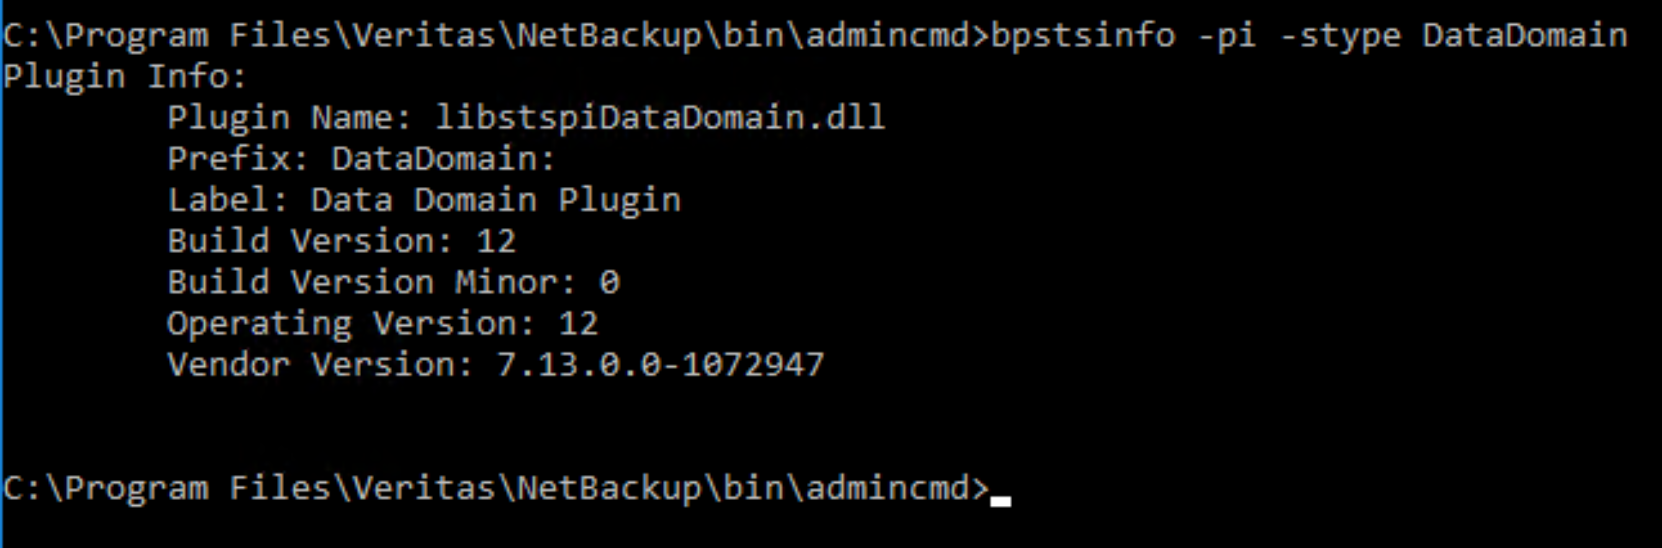
Figure 5. Verifying plug-in installation