
Configuring PowerProtect DD appliance with NetBackup using CLI
Configuring PowerProtect DD appliance with NetBackup using CLI
-
- Registering PowerProtect DD
On the media server, register the PowerProtect DD appliance using the following command:
nbdevconfig -creatests -stype DataDomain -storage_server <DD IP/FQDN> -media_server <media server name>

Figure 6. Registering the PowerProtect DD
- Adding credentials
On the media server, add the credentials to communicate with PowerProtect DD.
tpconfig -add -storage_server <DD IP/FQDN> -stype DataDomain -sts_user_id <username> -password <password>

Figure 7. Adding credentials
- Creating Disk Pools
Obtain the identity of the storage unit on the PowerProtect DD by using the following command:
nbdevconfig -previewdv -storage_server <DD IP/FQDN> -stype DataDomain > c:\tmp

Figure 8. Identity of the storage unit
Create a disk pool using the information obtained from the previous command by entering:
nbdevconfig -createdp -dp <Disk PoolName> -stype DataDomain -storage_servers <DD IP/FQDN> -dvlist c:\tmp
Note: The disk pool name must be unique.

Figure 9. Creating a disk pool
- Creating Storage Units
Create Storage unit using the following command:
bpstuadd -label <Storage Unit Name> -dp <Disk Pool Name> -host <Media Server> -M <Master Server>
Note: The storage unit name must be unique.

Figure 10. Creating a storage unit
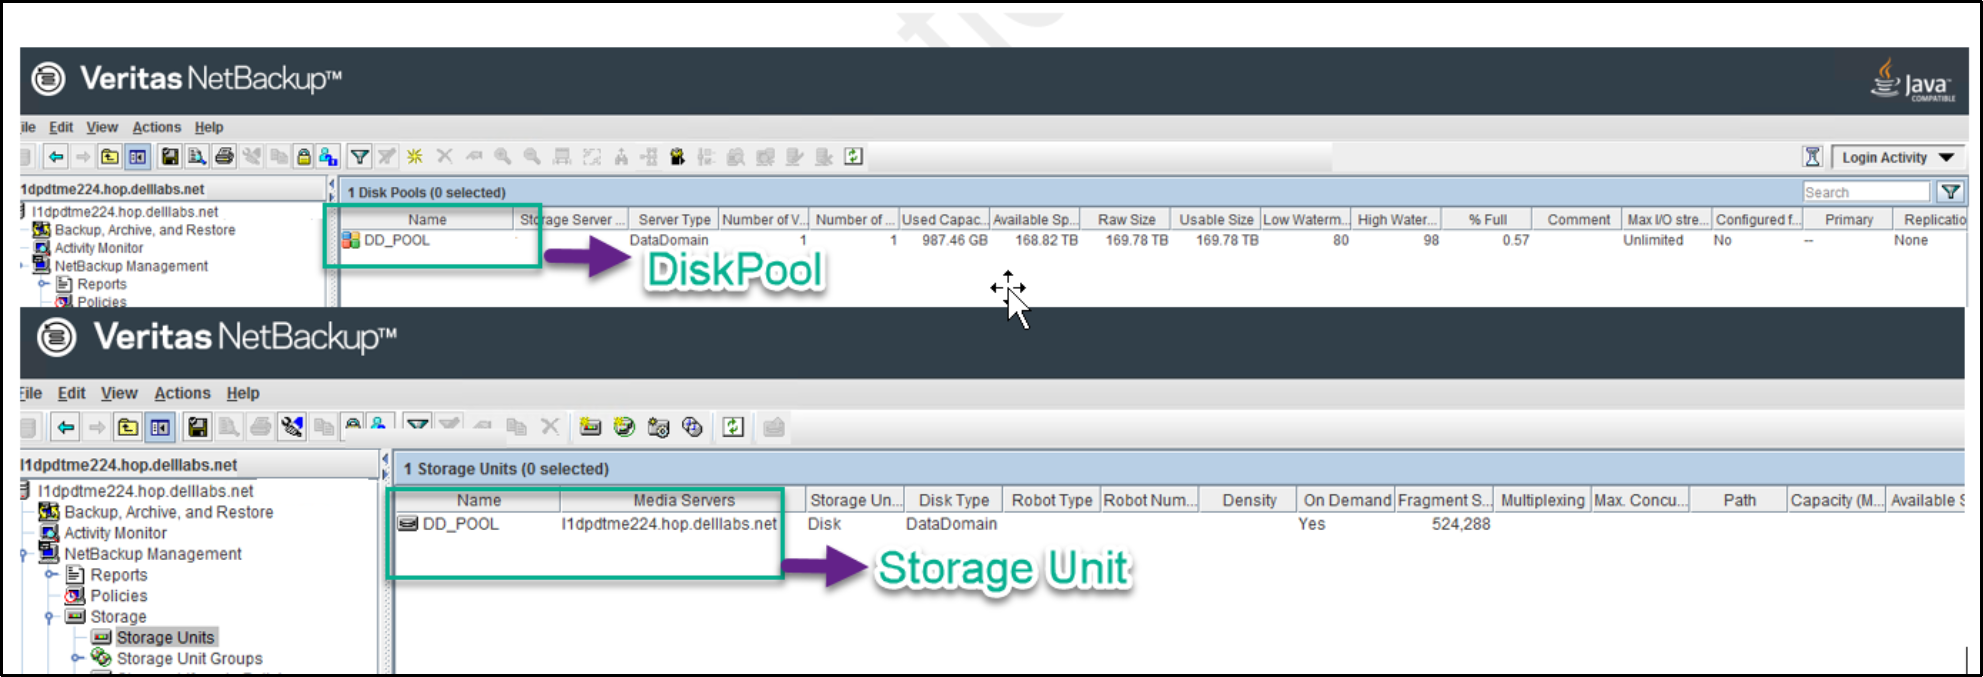
Figure 11. Disk Pool and Storage unit