
Configuring an NDMP Storage Unit
Configuring an NDMP Storage Unit
-
- From the NetBackup console, run the Configure Storage Devices wizard.
- Select the NetBackup media server to configure as the Device Host for NDMP.
- Click Change. The Change Device Host dialog box appears.
- Perform the following steps.
- Enter a DNS name in the Device Host field. The example shows ‘z’ as the device hostname.
- Click the NDMP server checkbox.
- Click OK to save the configuration and close the dialog box.
- Click Next in the Device Configuration Wizard.
The following figure shows an example of a Device Configuration Wizard and the Change Device Host dialog box configured for NDMP setup.
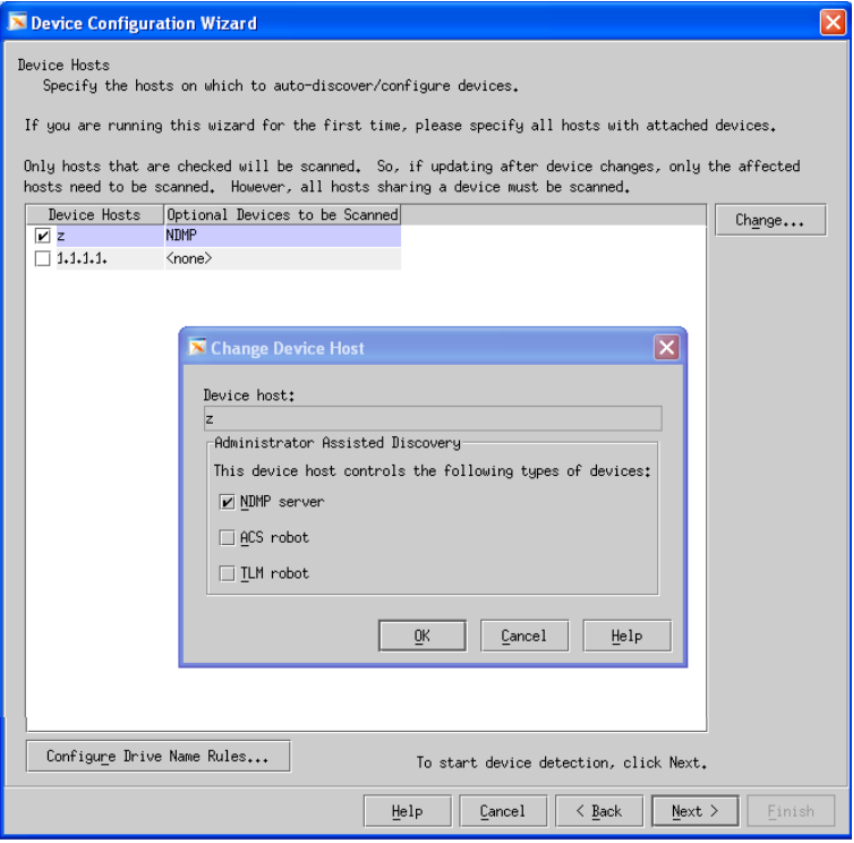
Figure 42. Device Configuration Wizard
- Perform the following steps in the NDMP Hosts window.
- Click New.
- Add the NDMP host and click OK. The New NDMP Host dialog box appears.
- Configure NDMP credentials.
See the Veritas NetBackup™ for NDMP Administrator's Guide for details on NDMP Host Credentials.
The following figure shows an example of an NDMP host configured to use global NDMP credentials.
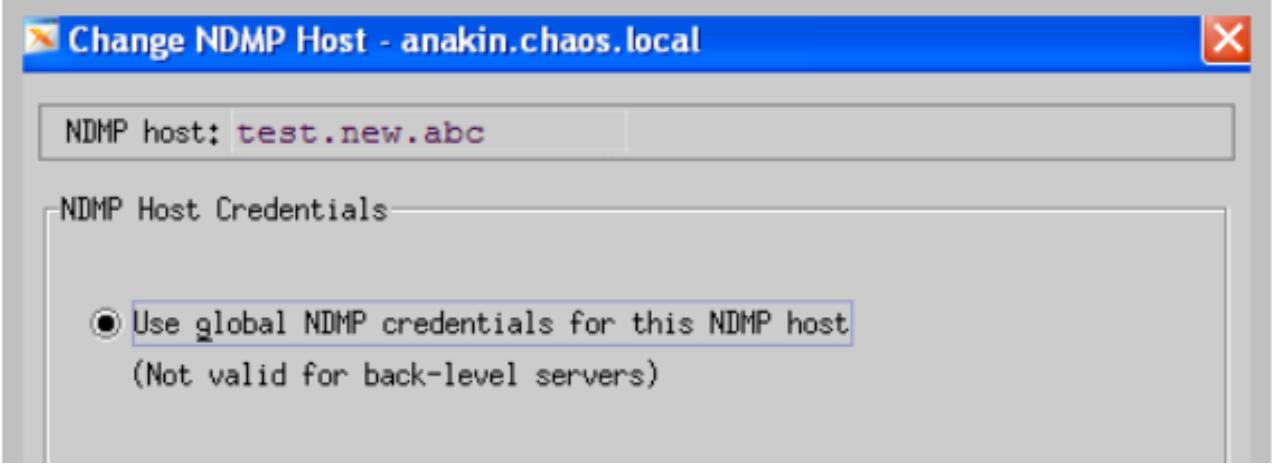
Figure 43. NDMP host configured to use global NDMP credentials
- Follow the wizard steps to complete the NDMP configuration.
- Verify the settings with the tpautoconf command with the –verify –nh options followed by the name of the NDMP enabled NAS filer.
# tpautoconf –verify –nh ndmp_host_name
The following example shows the relevant output of the tpautoconf command after the host’s NDMP credentials are successfully registered and configured.
Connecting to host "test.new.abc" as user "root"...
...Host info is:
host name "test.new.abc"
os type "NetApp"
os version "NetApp Release 7.x.x.x"
host id "xxxxx"
Login was successful
Host supports LOCAL backup/restore
Host supports 3-way backup/restore
- Configure the drives and robots using the NetBackup Device Configuration Wizard.
- Create a storage unit for the drives.
- Create an NDMP-type backup policy. Specify the storage unit that was created in the previous step as the backup target.