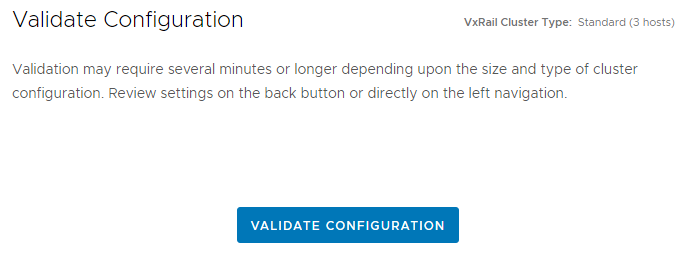
Return to the Validate Configuration screen in the VxRail deployment wizard on the jump host.Figure 52. Validate Configuration screen
Click VALIDATE CONFIGURATION.
Note: VxRail Manager must be able to reach the DNS server for validation to succeed. Expand Show history to view the validation status. Validation may take 5 to 10 minutes.
When validation is complete, a message indicating whether the configuration has passed or failed displays, as shown in the figure below.
Note: If validation failed, address the items that failed and validate again.
Note: Once validation passes, Dell Technologies recommends clicking the DOWNLOAD CONFIGURATION FILE button to save a JSON file with your VxRail settings.
Expand the Show Details section to view the deployment details.
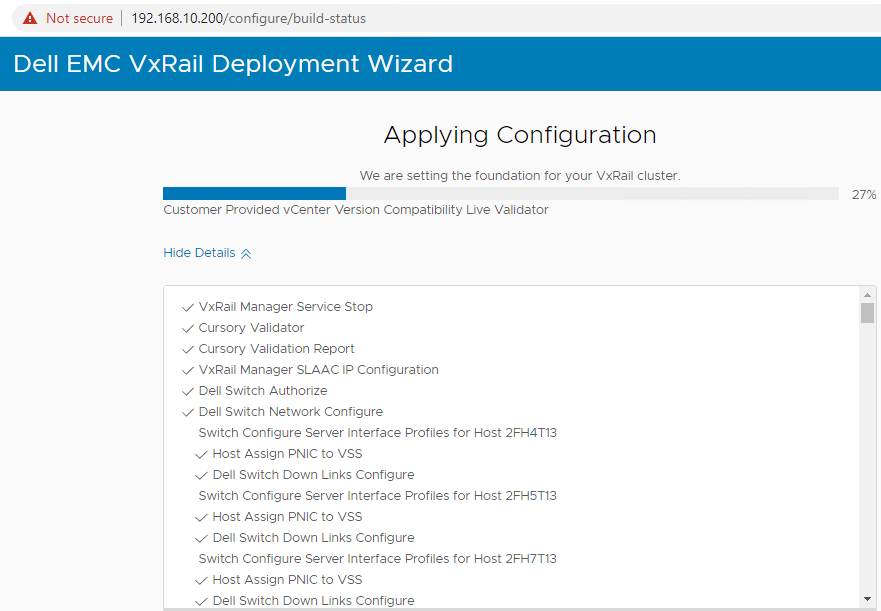
When the deployment is about 27 percent complete, the Redirected to new address prompt displays.
Note: Ensure the jump host NIC has an IP address on the new network, 172.18.11.0/24 in this example, before proceeding with the next step. The jump host port on the leaf switch is untagged, so do not configure a VLAN ID on the jump host NIC.
Click YES. You are automatically redirected to the new VxRail Manager IP address in the browser, and VxRail deployment continues, as shown in the figure below.
Note: If the Redirected to new address prompt does not appear when deployment is about 27 percent complete, and the screen has not updated for at least 5 minutes, perform the following steps :
At the CLI of the leaf switch that the jump host is connected to, run the show virtual-network command.
Make sure the port that the jump host is connected to (Leaf1A, port 1/1/9:1 in this example) has automatically been moved from VLAN 4091 to the external management VLAN (1811 in this example).
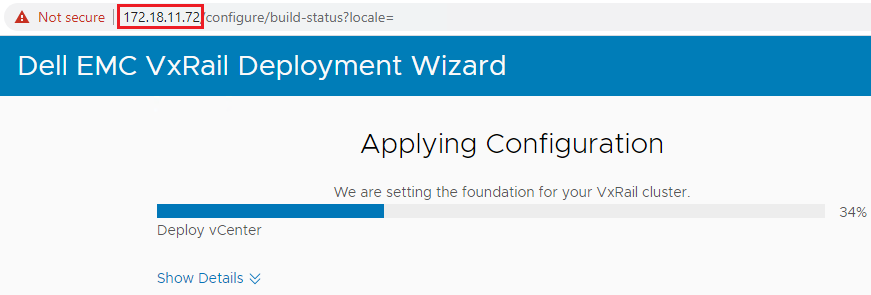
Once the jump host port has moved to the external management VLAN, manually change the IP address in the browser's address bar from 192.168.10.200 to the new VxRail Manager address, 172.18.11.72. The address is shown in the figure below. Leave the rest of the URL as-is. The browser connects to the new address and the deployment continues as shown in the figure below.
Figure 56. Deployment continues using new VxRail Manager address
The switch port connected to the jump host is automatically moved from VLAN 4091 to the External Management VLAN, VLAN 1811, on the leaf switch to enable it to reach VxRail Manager on the new network.
(Optional) To verify the change, run the show virtual network command on the leaf switch that the jump host is connected to. In the output below, the jump host port 1/1/9:1 is now untagged in VLAN 1811 and is no longer in VLAN 4091.
Note: Virtual networks 1812 through 1815 and 3939 have been removed from the output below for brevity. The output below is with an L3 uplink. If an L2 uplink is configured, the uplink port channel also appears as a member of VLAN 1811.
Deployment takes about one hour for a four-node cluster. When VxRail is successfully deployed, the VxRail Cluster Successfully Configured message displays, as shown.Figure 57. VxRail Successfully Configured screen
Click LAUNCH VCENTER to manage the cluster.
Note: The jump host or workstation used must be able to reach the DNS server to resolve the hostname of the vCenter server for the connection to succeed
Note: If prompted, click the LAUNCH VSPHERE CLIENT (HTML5) button. The older Flash-based vSphere Web Client (Flex) is deprecated and is not used in this guide
Log in using your vCenter credentials. In this example, the username is administrator@vsphere.local.
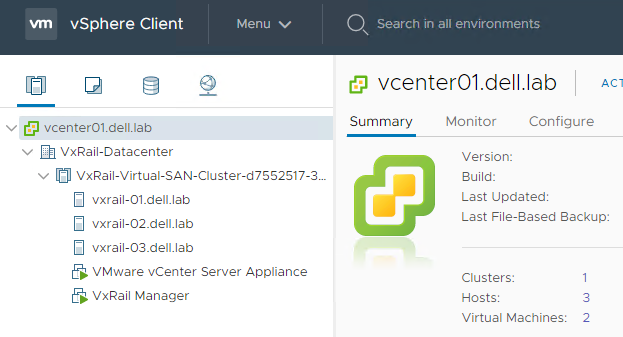
The Hosts and Clusters page of the vSphere Client appears, as shown in the figure below.
.Figure 58. Newly created VxRail cluster
CAUTION: Review any warnings that may appear in the vSphere Client.
 Note: Once validation passes, Dell Technologies recommends clicking the DOWNLOAD CONFIGURATION FILE button to save a JSON file with your VxRail settings.
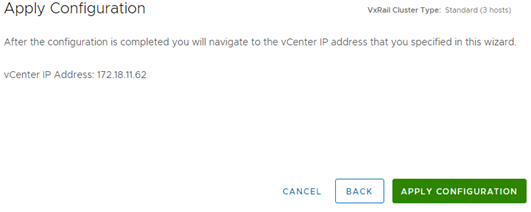

 CAUTION: Review any warnings that may appear in the vSphere Client.