
On the SFS UI Home page, click 1. Update Default Fabric, Switch Names and Descriptions. This opens the Set Fabric and Switch Name window.
- On the Network Fabric page, update the Name (optional) and Description (optional) of the fabric and click NEXT.Note: The Network Fabric ID is automatically set to 100 and cannot be changed. All directly connected switches in SmartFabric mode join this fabric.
- On the Racks page, the second rack appears. Update the Name (recommended) and Description (optional) of the second rack, as shown in the following figure.
Figure 61. Rack renamed to Rack 2 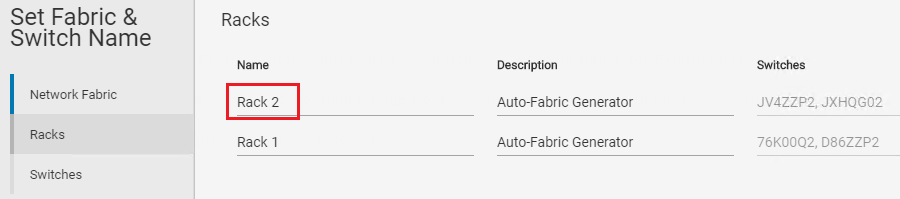
- Click NEXT.
- On the Switches page, the additional switches appear along with their service tags, roles, and models. Update the Names (recommended) and Descriptions (optional) of the newly added switches. The four additional switches with updated names are outlined in red in the figure below.
Figure 62. Switch name configuration page 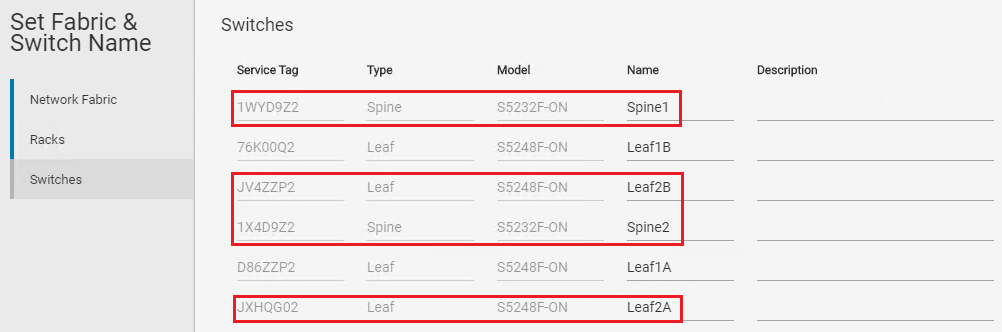
- Click FINISH to apply the settings.