


Serverless Workload and APEX Private Cloud
What is a serverless service?
To begin answering this question, let’s build upon my previous blog in which I walked through how a developer can deploy a machine-learning workload on APEX Private Cloud Services. Now, I’ll expand on this workload example and demonstrate how to deploy it as a serverless service.
A serverless service is constructed in a serverless architecture, a development model that allows developers to build and run applications without managing the infrastructure. Combining serverless architecture and APEX Cloud Services can provide developers with a robust environment for their application development.
Knative Serving and Eventing
Knative is a popular open-source Kubernetes-based platform to deploy and manage modern serverless workloads. It consists of two main components: Serving and Eventing.
Knative Serving builds on Kubernetes and a network layer to support deploying and serving serverless applications/functions. Serving is easy to get started with, and it scales to support complex scenarios.
The Knative Serving project provides middleware components that enable:
- Rapid deployment of serverless containers
- Autoscaling, including scaling pods down to zero
- Support for multiple networking layers such as Ambassador, Contour, Kourier, Gloo, and Istio for integration into existing environments
- Point-in-time snapshots of deployed code and configurations
Knative Eventing enables developers to use an event-driven architecture with serverless applications. An event-driven architecture is based on the concept of decoupled relationships between event producers that create events and event consumers, or sinks, that receive events.
Examples of event sources for applications include Slack, Zendesk, and VMware.
Deployment demo
Following the Knative installation instructions, I configured Knative in my cluster. Next, I configured real DNS in my environment.
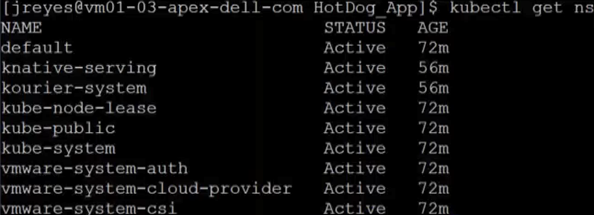
I also installed the Knative CLI through homebrew to make deploying of Knative services easier. Using the kn CLI, I wrapped my flask server in the serving framework. After a successful deployment, I used the following command to view the current Knative services:
kubectl get ksvc
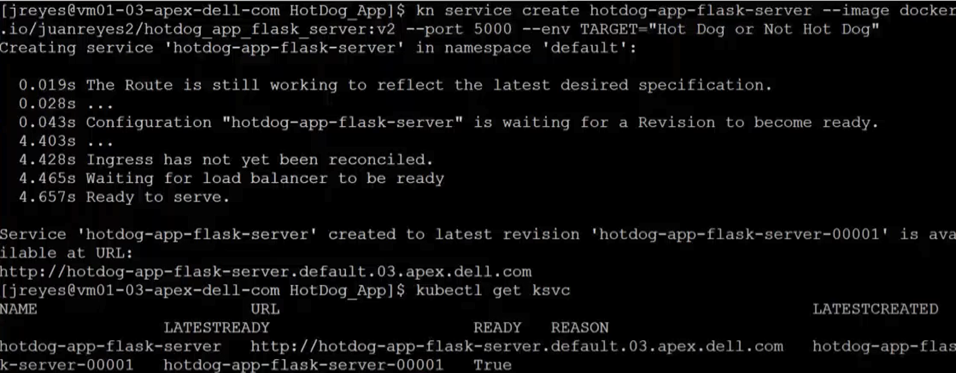
You can see from the screenshots how the pods get created and destroyed as the service receives traffic.

Now, the serverless user interphase can request predictions from my model.
Kserve
My first attempt to wrap the TensorFlow service with Knative wasn't effective. The service dropped the opening requests, and the response times were slower. The spinning up and down of the pods was creating the delay and the execution drops. I fixed these issues by having a constant heartbeat so that the pods would stay active. Unfortunately, this workaround defeats some of the benefits of Knative. This was not the way for me to move forward.
In my quest to have the model in a serverless framework, I came across Kubeflow.
Kubeflow is a free and open-source machine-learning platform designed to use machine-learning pipelines to orchestrate complicated workflows running on Kubernetes.
Kubeflow integrates with Knative to deploy and train ML models. Kserve is the part of Kubeflow used for serving machine-learning models on arbitrary frameworks. Kserve recently graduated from the Kubeflow project, and you can configure it by itself without installing the whole suite of Kubeflow.
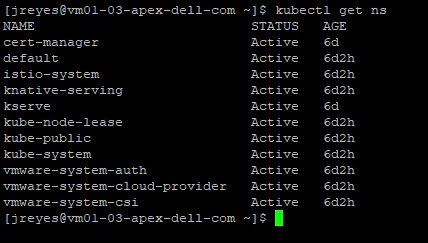
Following the Kserve installation guide, I configured it in my cluster.
Creating the YAML file for this service is straightforward enough. However, the tricky part was entering the correct storageUri for my APEX Private Cloud environment. This parameter is the path to the model’s location, and depending on the storage used, it can look a little different. For example, for APC, we need to save the model in a persistent volume claim (pvc).
Here is the YAML file code snippet I used to create the pvc:
apiVersion: v1
kind: PersistentVolumeClaim
metadata:
  name: task-pv-claim-1
spec:
  storageClassName: vsan-default-storage-policy
  accessModes:
    - ReadWriteOnce
  resources:
    requests:
      storage: 1Gi
Once the pvc is formed, we need to copy the model to the pv. I achieved this by creating a pod and attaching the volume. After the pod is created, we can copy the model to the pvc directory.
#pv-model-store.yaml
apiVersion: v1
kind: Pod
metadata:
  name: model-store-pod
spec:
  volumes:
    - name: model-store
      persistentVolumeClaim:
        claimName: task-pv-claim-1
  containers:
    - name: model-store
      image: ubuntu
      command: [ "sleep" ]
      args: [ "infinity" ]
      volumeMounts:
        - mountPath: "/pv"
          name: model-store
      resources:
        limits:
          memory: "1Gi"
          cpu: "1"
  imagePullSecrets:
    - name: regcred
By running the following command, we can copy the model to the PVC:
kubectl cp [model folder location] [name of pod with PVC]:[new location within PVC] -c model-store
kubectl cp /home/jreyes/HotDog_App/hotdog_image_classification_model/new_model model-store-pod:/pv/hotdog/1 -c model-store
The critical part is not forgetting to add a version number to the model. In this case, I added version number 1 to the end of the path.
Once the model is stored, we can log in to the pod to verify the contents using the following command:
kubectl exec -it model-store-pod – bash
After verification, we need to delete the pod to free up the pvc.
We can now run the Kserve Inference service YAML file that will use the pvc.
apiVersion: "serving.kserve.io/v1beta1"
kind: "InferenceService"
metadata:
  name: "hotdog"
spec:
  predictor:
    tensorflow:
      storageUri: "pvc://task-pv-claim-1/hotdog"
The TensorFlow serving container automatically looks for the version inside the folder, so there is no need to add the version number in the storageUri path.

After executing the YAML file, we can find the address of our Kserve service with the following command:
kubectl get isvc

With this address, we can update the resnet client to test the model.
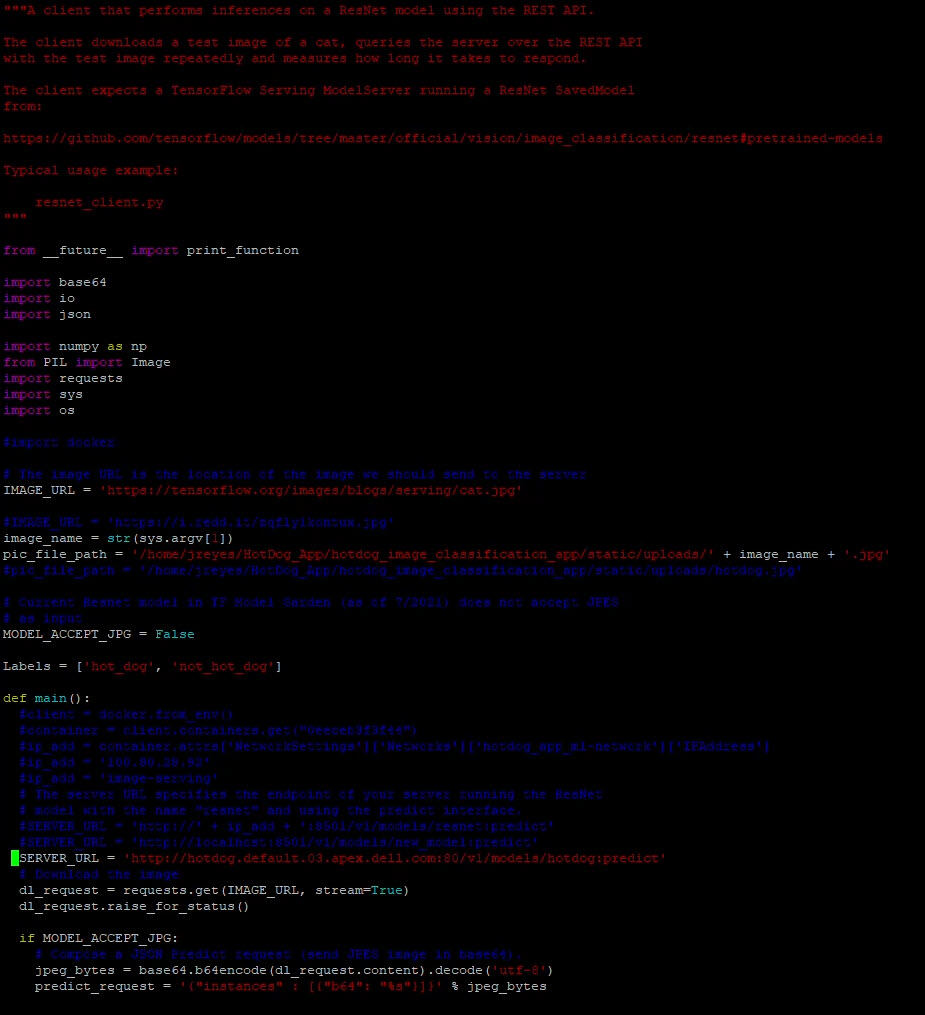
Here are the predictions when we run the client with two different images:

We have successfully made our user interface and model use a serverless framework. The final step is to update the flask server to point to the new address.
Note: I could not get an inference service to listen to two ports at a time (REST and gRPC). My solution was to create two inference services and adjust the flask code as necessary.
Conclusion
Now, we have a complete image-recognition application on a serverless architecture. The serverless architecture grants us greater resource flexibility with autoscaling and facilitates a canary deployment for the machine-learning model. Furthermore, combining this architecture with APEX Private Cloud services provides an environment that is powerful and flexible for many edge application deployments. In my next blog, I will cover migrating the application to the public cloud to compare the differences and provide a cost analysis.
Until next time!
Author: Juan Carlos Reyes