Dell’s SFS implementation is fully integrated with any device that supports Link Layer Discovery Protocol (LLDP) to perform auto-discovery of the connections. This environment has two types of workloads, PowerStore (storage) and PowerEdge (standard servers). Both connections are detected by the fabric and the methodology to onboard them is the same.
Note: See Figure 1 to keep track of the PowerEdge connections to the leaf switches (1/1/1 and 1/1/2).
- Click Server Interface
- Click IMPORT FROM FABRIC
Figure 12. Importing workloads 
- Select the items connected to switch ports 1/1/3 – 1/1/6 (PowerStore) and 1/1/1 – 1/1/2 (PowerEdge) — see the two following figures.
- Click ADD TO SERVER PROFILE to add these connections. A new window will appear.
Figure 13. Select imported connections 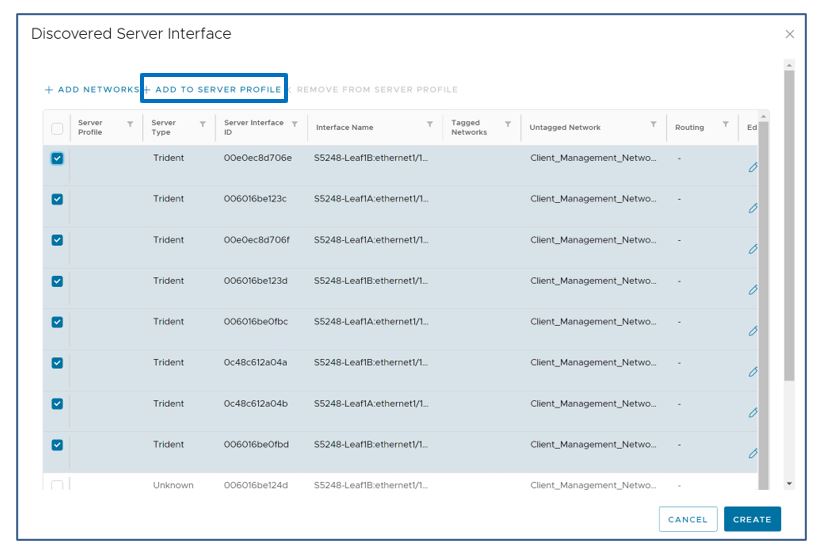 Note: A known cosmetic issue in the SFS UI shows a PowerStore connection as “Trident.” This issue will be resolved in a future software release.
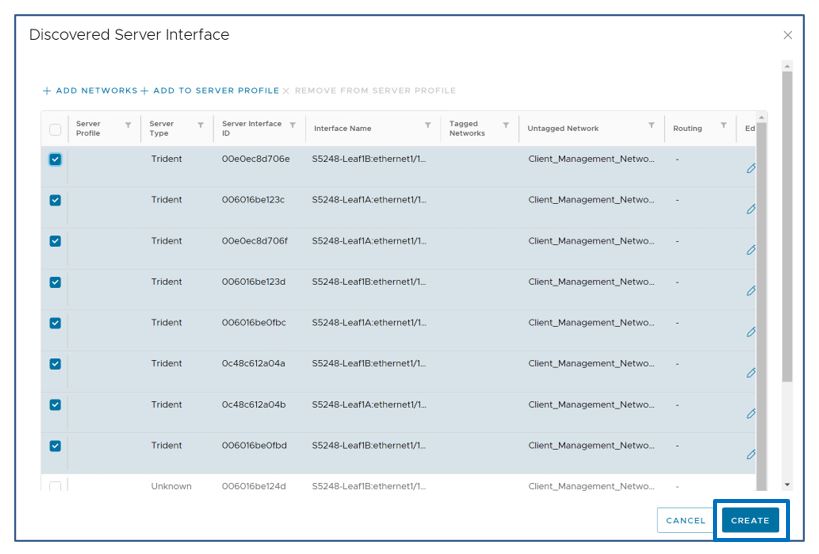
Figure 14 shows two of the four connections to the PowerEdge servers (see Figure 1) for the other two connections. In this case, only two connections are shown. To access the other two connections, click “ > ” icon on the bottom of the screen to move through the list until the other two connections to 1/1/1 and 1/1/2 on leaf 1A and 1B are shown.
Figure 14. First set of PowerEdge connections to leaf 1A and 1B 
- Click New Server Profile to create a new profile.
- Enter a new profile ID.
- Leave the bonding type as Autodetect. This option informs the leaf switches to honor the NIC bonding type being advertised to the switches.
- Click ASSOCIATE.
Figure 15. Accessing the embedded SFS UI 
- Click ADD NETWORKS (see Figure 8) to add the relevant networks on the connections.
- Click Tagged Networks. There are two types of networks, tagged and untagged. In this case, we are tagging the networks at the leaf switches' ingress.
- Click ADD to add the networks.
Figure 16. Accessing the embedded SFS UI 
- Select the connections (PowerStore and PowerEdge).
- Click CREATE to attach the networks.
Figure 17. Accessing the embedded SFS UI