
Follow these steps to deploy a Horizon Desktop pool:
- Log in to the VMware Horizon portal and click Desktops under Inventory on the left pane.
- Click Add under Desktop Pools on the right pane.
Figure 27. Desktop Pools 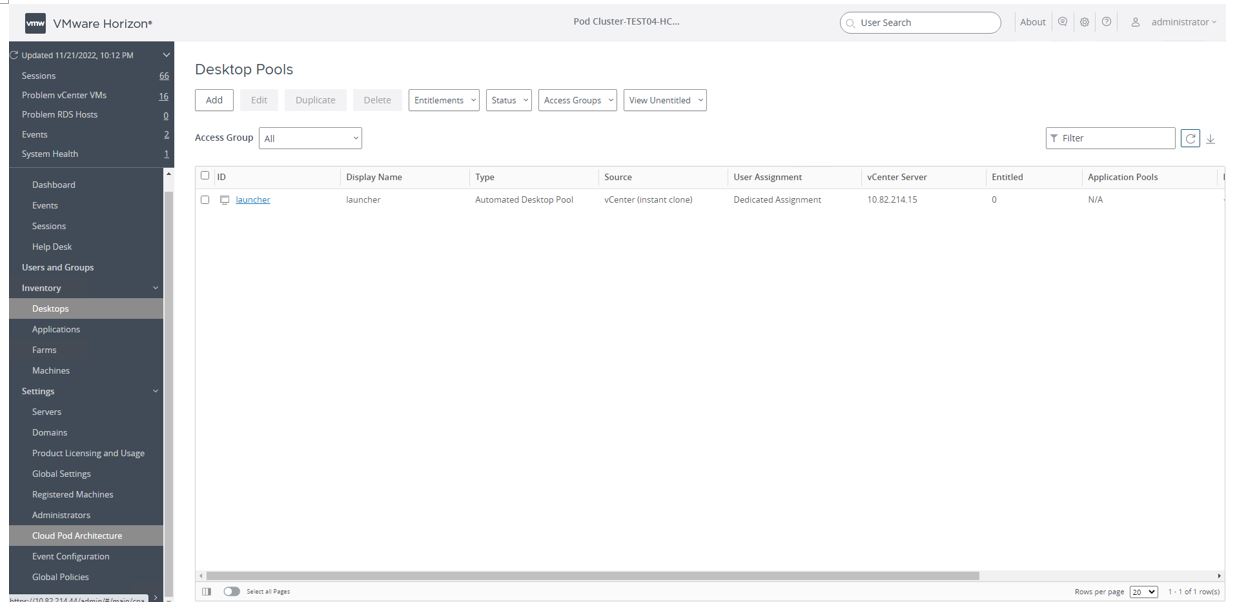
- In the Add Pool wizard, select Automatic Desktop Pool and click Next.
Figure 28. Add Pool 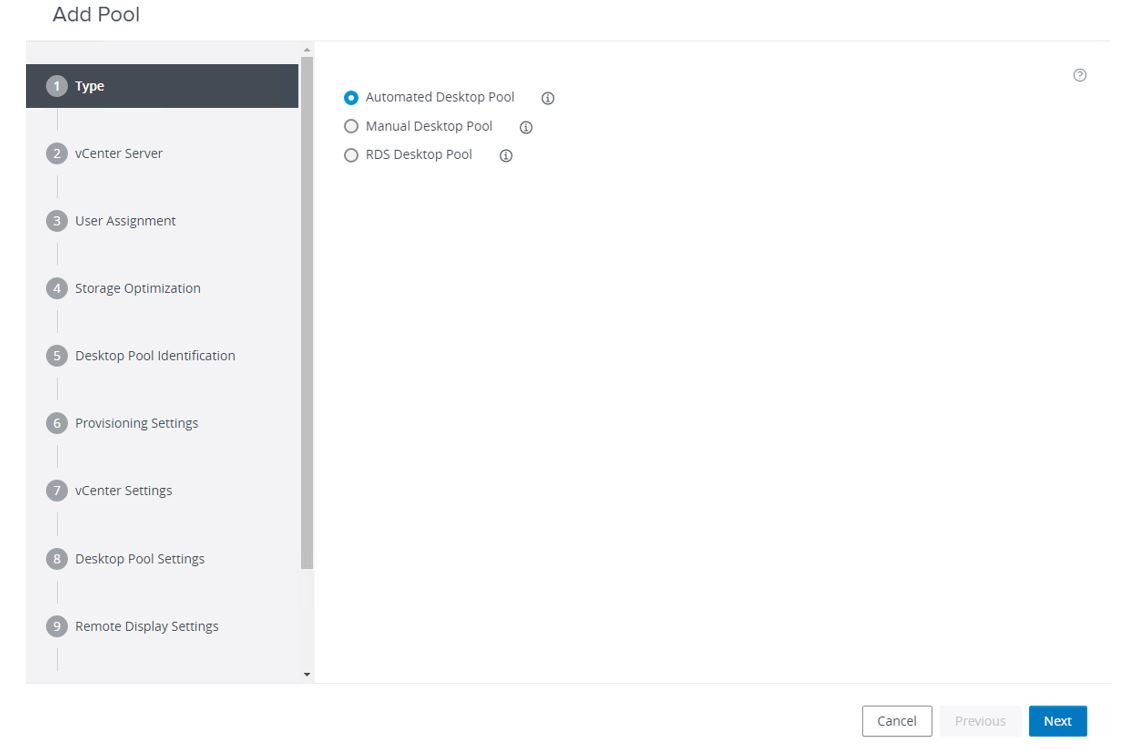
- Select Instant Clone and choose the vCenter Server. Click Next.
Figure 29. Add Pool 
- For the User Assignment, select Floating and click Next.
Figure 30. Add Pool 
- Choose the Storage Policy Management and click Next.
Figure 31. Add Pool 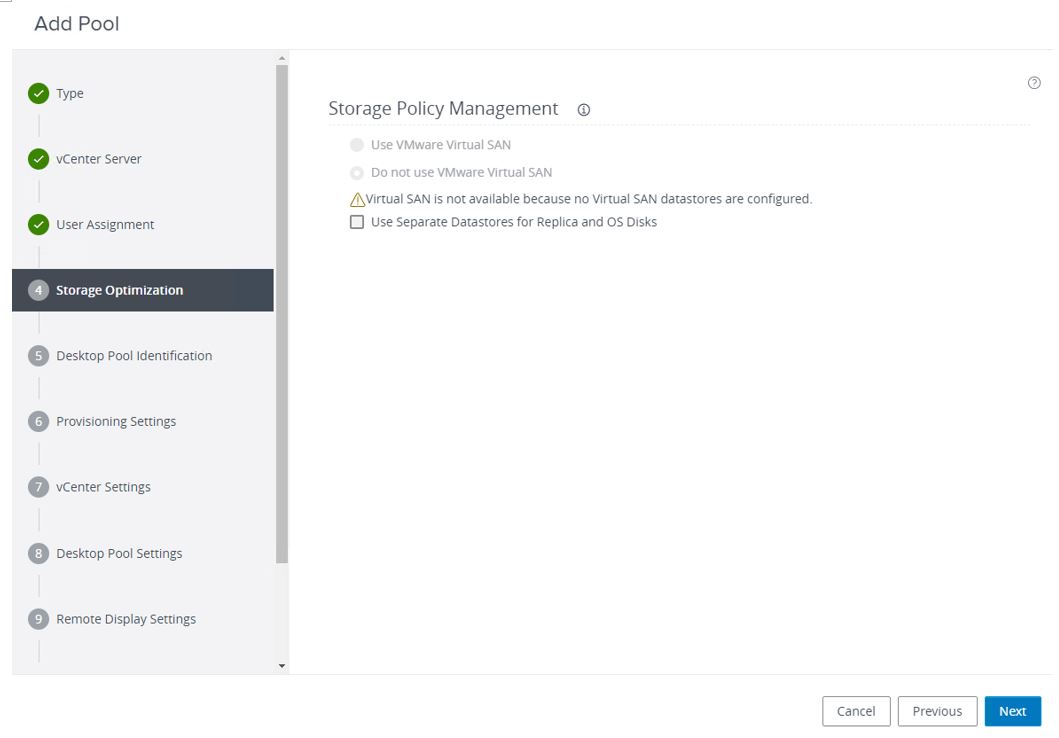
- Type ID and Display Name for Desktop Pool Identification. Keep the default value for Access Group and click Next.
Figure 32. Add Pool - desktop 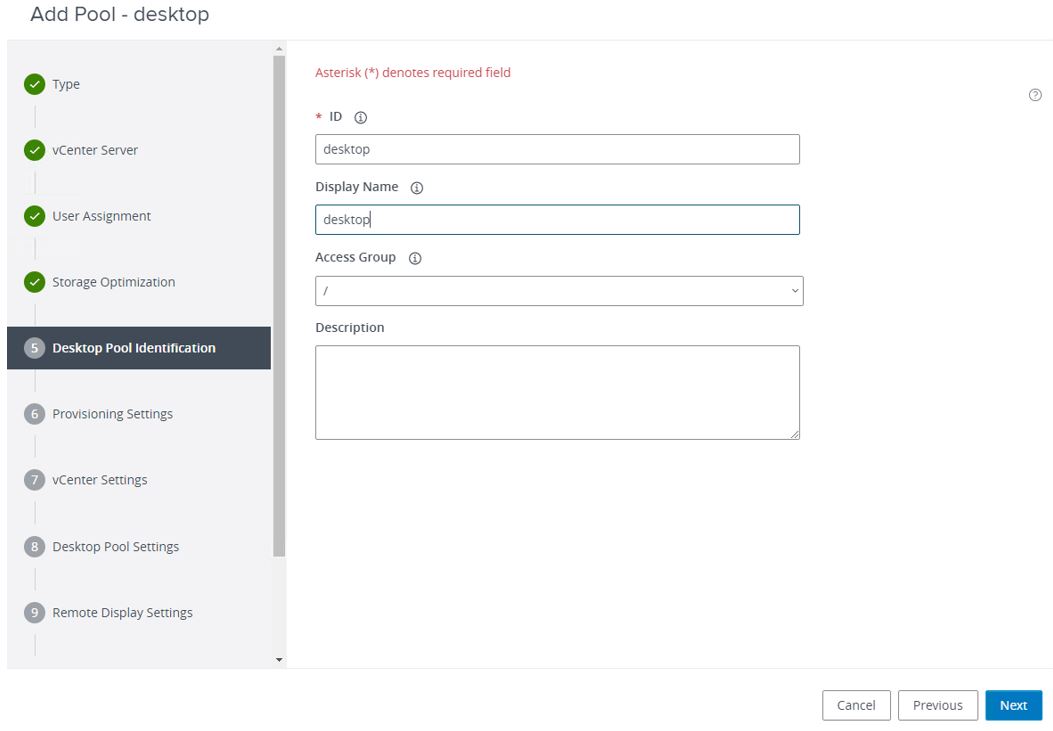
- For the Provisioning Settings, select Enable Provisioning and Stop Provisioning on Error under Basic. Select Use a Naming Pattern for Virtual Machine Naming and type an appropriate name. Select All Machines Up-Front under Provision Machines. Enter how many machines to be created under Maximum Machines. Click Next.
Figure 33. Add Pool - desktop 
- Choose the Golden Image in vCenter and Snapshot by clicking the respective Browse buttons. Select the VM Folder Location. Under Resource Settings, select an appropriate location for Cluster and Resource Pool. Select the Datastores and click Next.
Figure 34. Add Pool - desktop 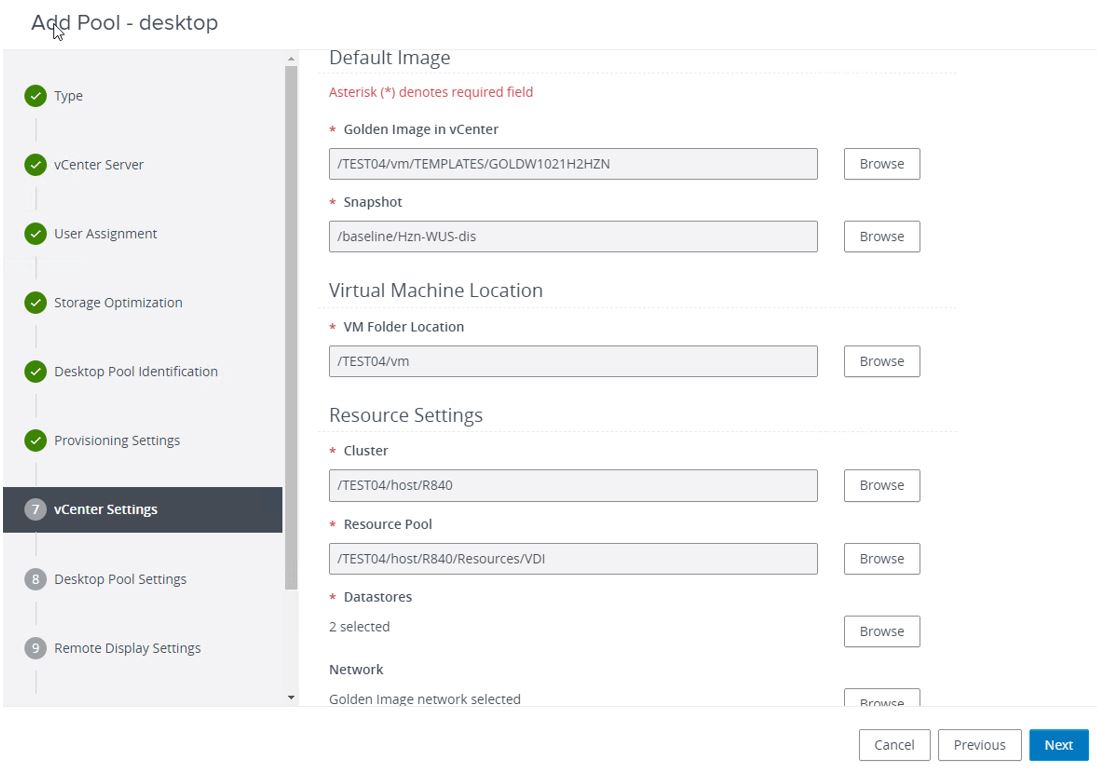
- For Desktop Pool Settings, keep the default selections. Click Next.
Figure 35. Add Pool - desktop 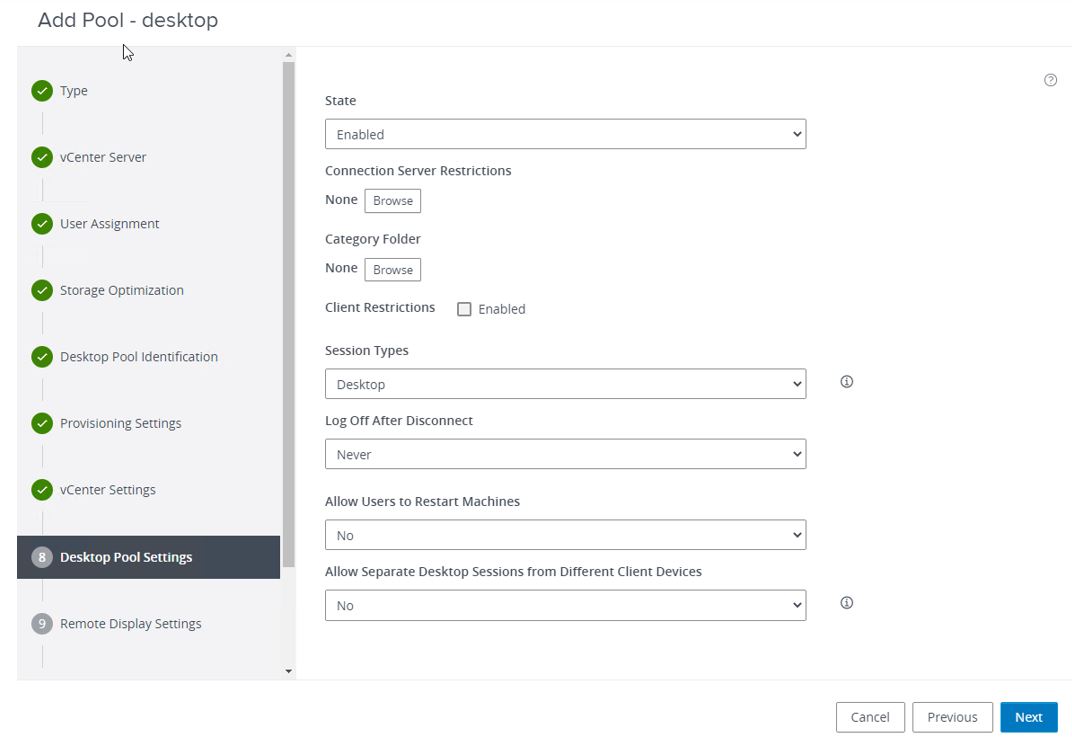
- Select VMware Blast from the dropdown menu for Default Display Protocol. Keep default values for other fields. Click Next.
Figure 36. Add Pool - desktop 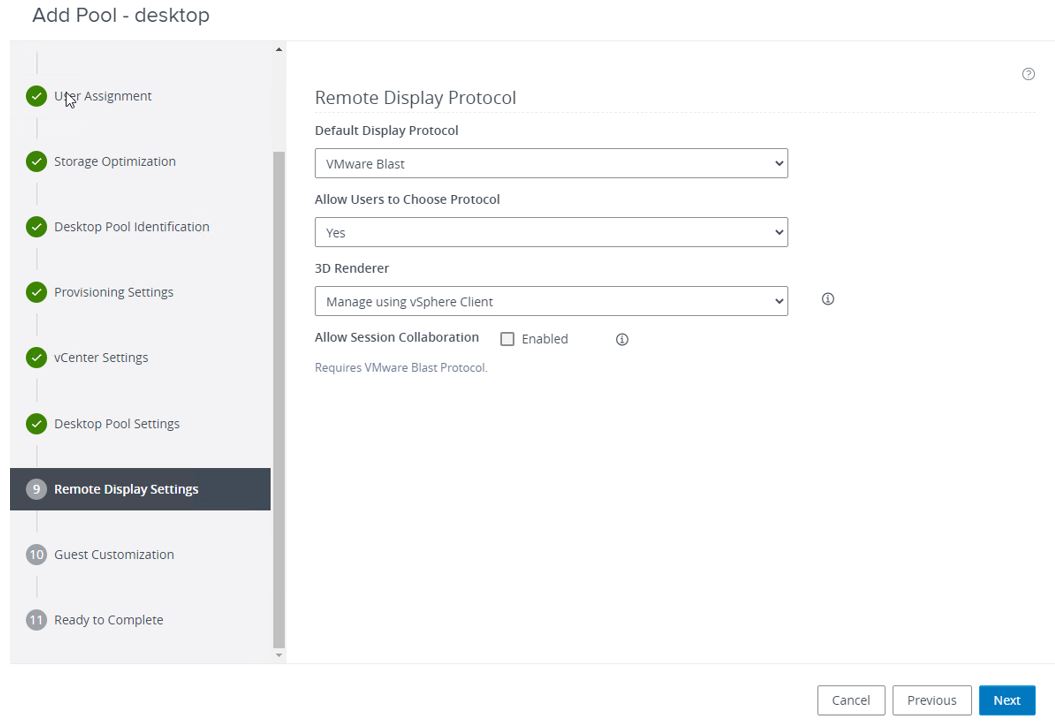
- Choose the appropriate Container by clicking on Browse. Ensure Allow Reuse of Existing Computer Accounts is selected. Select Use Clone Prep. Keep default values for other fields. Click Next.
Figure 37. Add Pool - desktop 
- Tick the checkbox next to Entitle Users After Adding Pool to entitle the desired users/groups. Verify the settings and click Submit to start creating the desktop pool.
Figure 38. Add Pool - desktop 
- The progress can be viewed on the vSphere client.
Figure 39. vSphere client 