
Launching a Jupyter notebook
Launching a Jupyter notebook
-
Jupyter is a collaborative tool that data scientists use to develop and execute code, documentation, and visualization in their ML model development process. For more information, see the Jupyter website.
To create and manage notebook servers in your Kubeflow deployment:
- In the Kubeflow dashboard, click Notebooks.
A notebook management window opens, as shown in Figure 4.

Figure 4. Jupyter Notebook Servers window
- Click New Server in the top right corner of the Notebook Servers pane.
Figure 5 shows the menu that is now available for configuring the notebook server with various options. The user should at a minimum
- Set a name for the new notebook server.
- Choose the namespace to which the notebook server will belong.
- Choose one of the standard TensorFlow notebook server images that come as part of the Kubeflow deployment.
- After you have chosen your options, click Spawn at the bottom of the window.
A pod is deployed using the TensorFlow container image that you specified, and it can be verified by opening the Notebook section of the Kubeflow dashboard, as shown Figure 6.

Figure 5. Creating a Jupyter Notebook Server
A notebook server is created using your selected options, as shown in the following figure:
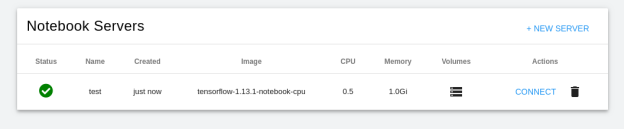
Figure 6. Configured Notebook Server
- Click Connect.
The Jupyter notebook opens, as shown in Figure 7.
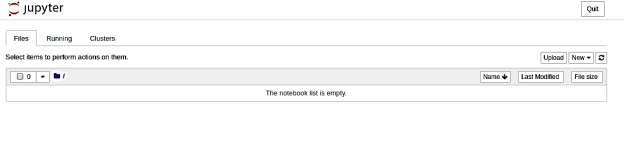
Figure 7. Jupyter notebook
- To verify that the correct TensorFlow version was installed, click New.
An empty code cell opens in which you can run Python code to display the TensorFlow version that is installed in the notebook. Figure 8 shows the expected version, v1.13.1:
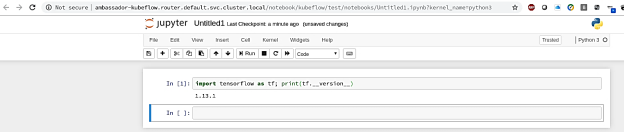
Figure 8. Verifying the TensorFlow installation