
Oracle database installation and upgrade
Oracle database installation and upgrade
-
Oracle database 19.3.0.0 Installation
Perform the following command to install Oracle database 19.3.0.0 on Red Hat Enterprise Linux operating system 8.5 in virtual machine:
oracle@dbhost1 dbhome_1]$ export CV_ASSUME_DISTID=OL7
[oracle@dbhost1 dbhome_1]$ ./runInstaller &
Select software only.

Figure 9: Oracle Database 19c installation
Use the installer UI steps to complete the installation.
Oracle Database 19cR15 Upgrade
Use the following steps to upgrade Oracle Database to 19.15.0.0:
- Apply patch 6880880 to the Oracle database home to upgrade the Opatch utility from 12_2.0.1.17 to 12.2.0.1.30
- Upgrade the Oracle database home from 19c base version to 19cRU15 by applying patch 33806152. Follow the update instructions in patch 33806152 readme.
The following example is the main patch apply step:
[oracle@obpvm4 patches]$cd /home/oracle/patches/33806152
[oracle@obpvm4 33806152]$ opatch prereq CheckConflictAgainstOHWithDetail -ph ./
[oracle@obpvm4 33806152]$$ opatch apply
ASM disk groups creation
Before creating a test database, we created four disk groups for DATA, REDO, FRA, and TEMP for the datafiles, REDO logs files, FRA/archive logs files and Temp files for the HammerDB test database.
Table 13 shows the volume mapping of ASM disk groups: DATA, REDO, FRA, and TEMP. For the baseline configuration, we included one volume for each of the DATA, REDO, and FRA disk groups.
Table 14: ASM disks and disk groups
Volume Group
Volume Name
VMware Datastore
Volume size (GB)
ASM device name
Diskgroup
orabp22-vm1-os
orabp22-vm1-os
orabp22-vm1-os-ds
400
NA
NA
orabp22-vm1-db1
orabp22-vm1-db1-data-001
orabp22-vm1-data-001-ds
1000
/dev/oraudev/disks/ora-data1
DATA
orabp22-vm1-db1-redo-001
orabp22-vm1-redo-001-ds
55
/dev/oraudev/disks/ora-redo1
REDO
orabp22-vm1-db1-fra-001
orabp22-vm1-fra-001-ds
60
/dev/oraudev/disks/ora-fra1
FRA
orabp22-vm1-temp
orabp22-vm1-db1-temp
orabp22-vm1-temp-ds
500
/dev/oraudev/disks/ora-temp1
TEMP
To create these ASM disk groups, log in as the grid user and run the following asmca command:
$ asmca
Figure 10: ASM disk groups layout
Select the proper DISK Path for each disk group, as shown in Figure 11. After creating these disk groups, all disk groups should appear as shown in the following display:
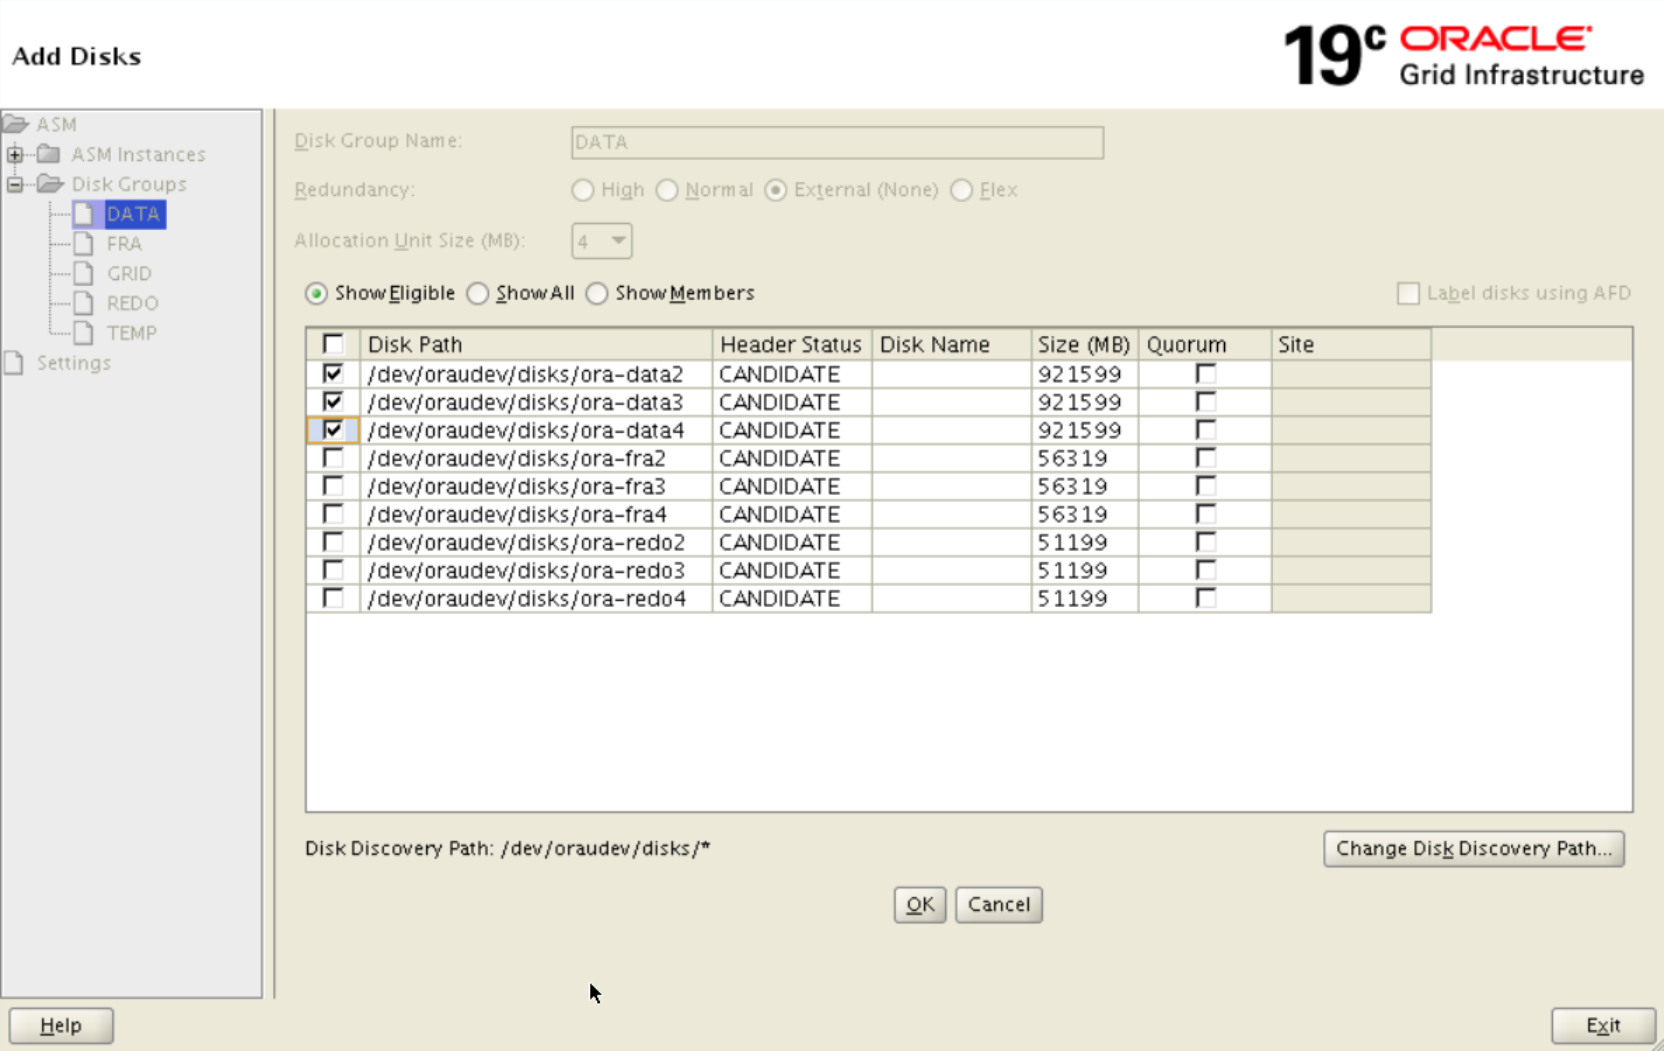
Figure 11: Available ASM disks