
Install CDP Data Services
Install CDP Data Services
-
Note: this document installed a containerized cluster using the Embedded Container Service (ECS) and the default configuration which installs embedded docker repository, vault, and database. Hence some installation screens are not shown in the below steps.
Step 1: Data Services can be installed from the Cloudera Manager by choosing ‘Data Services’ from the left navbar:
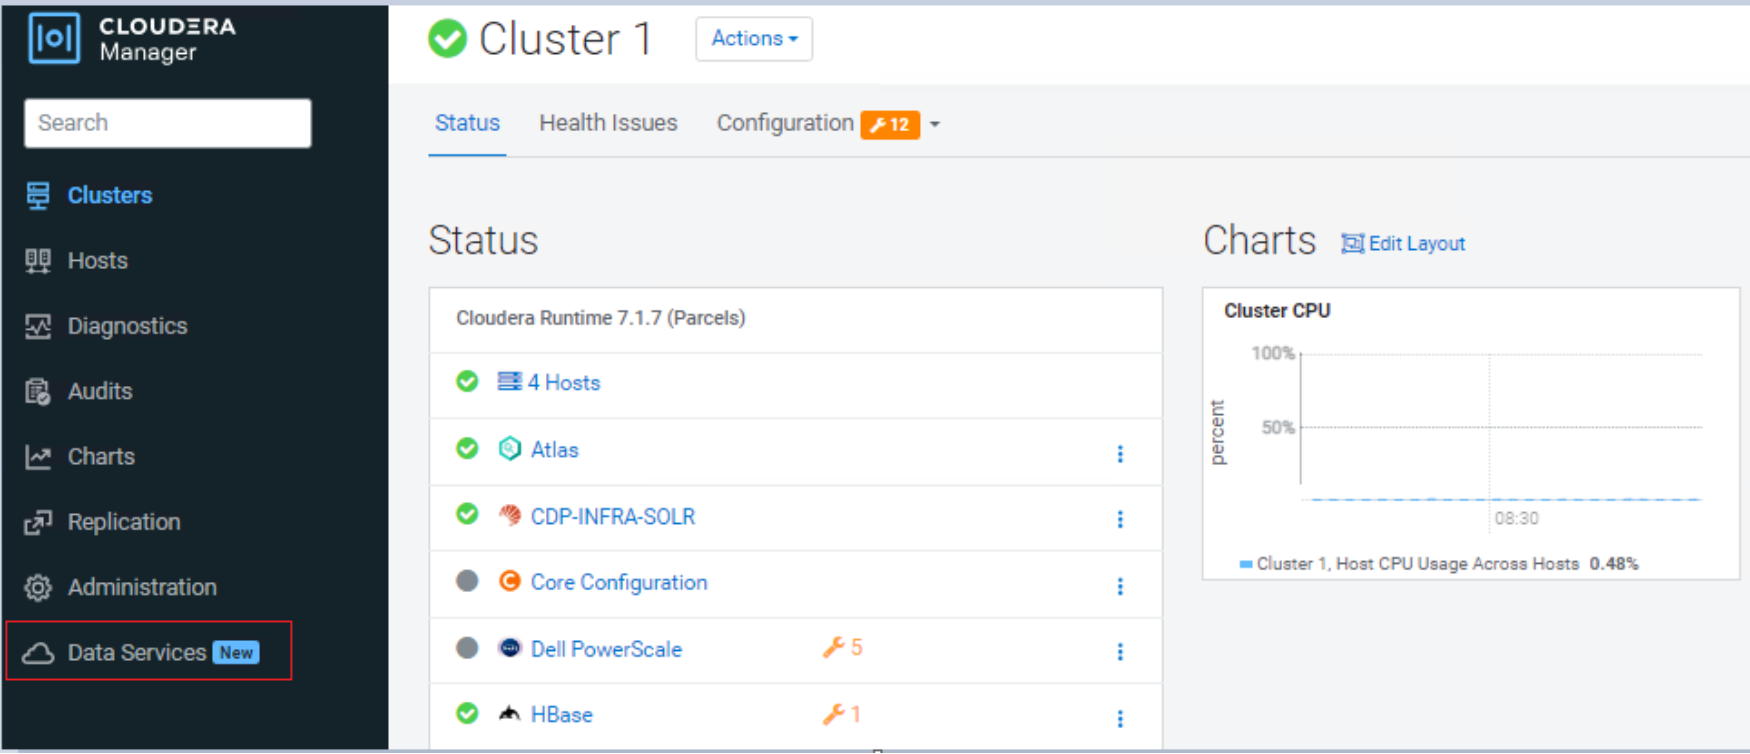
Figure 3. Deploy Data Services from Cloudera Manager
The Add Private Cloud Containerized Cluster page appears. Click the continue button.
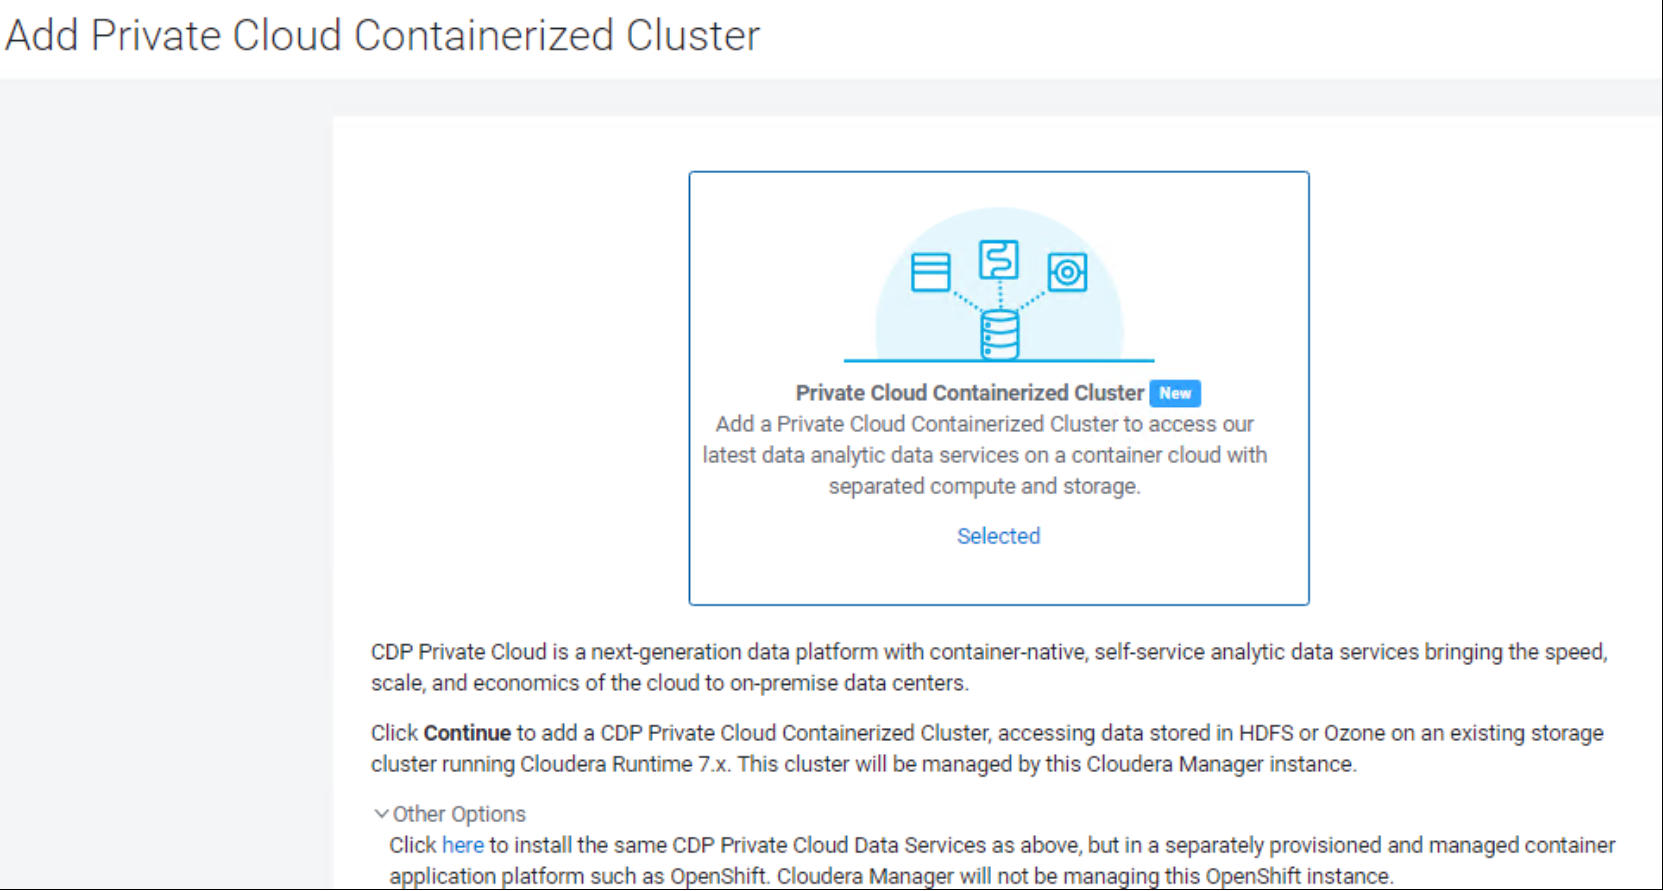
Figure 4. Add a Private Cloud Containerized cluster
Step 2 On the Getting Started page of the installation wizard, select Internet or Air Gapped as the Install Method and the repository, then click the Continue button.
Note: The latest Data Services version that is shown may not be certified with PowerScale. If this is the case, then click the ‘Custom Repository button and add the version that is certified or modify the URL directly. Reference the Hadoop Distributions and Products supported by OneFS document for compatible versions.
We used Data Services version 1.5.1 for this validation because our CDP Base version is 7.10.1.
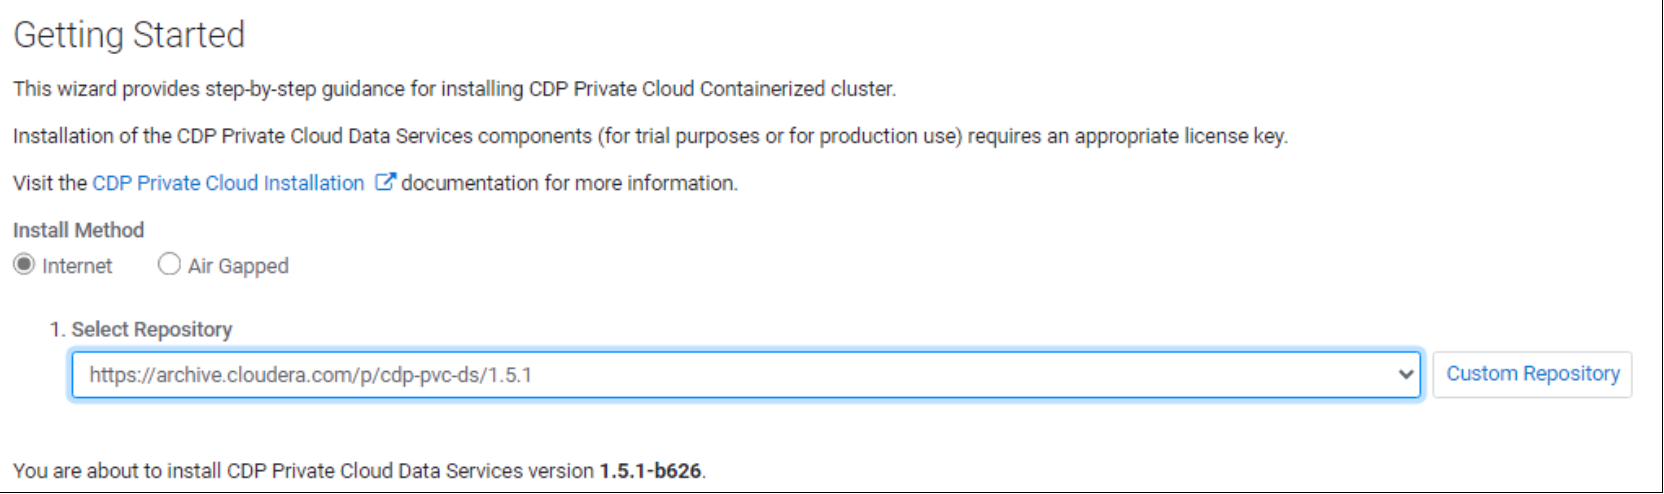
Figure 5. Select the install method and repository
Step 3: Type a name for the Data Services Cluster and select the Base cluster that has the PowerScale OneFS and the SDX services to connect with.
On the Cluster Basics page, type a name for the Private Cloud cluster that you want to create in the Cluster Name field. From the Base Cluster drop-down list, select the cluster that has the storage and SDX services that you want this new Private Cloud Data Services instance to connect with. Click the Continue button.
Note: You have the option to use a default configuration. This includes an embedded Docker Repository, vault, and Database. This is not recommended for Production environments however this example chose to enable it for documentation purposes since it does not affect PowerScale.
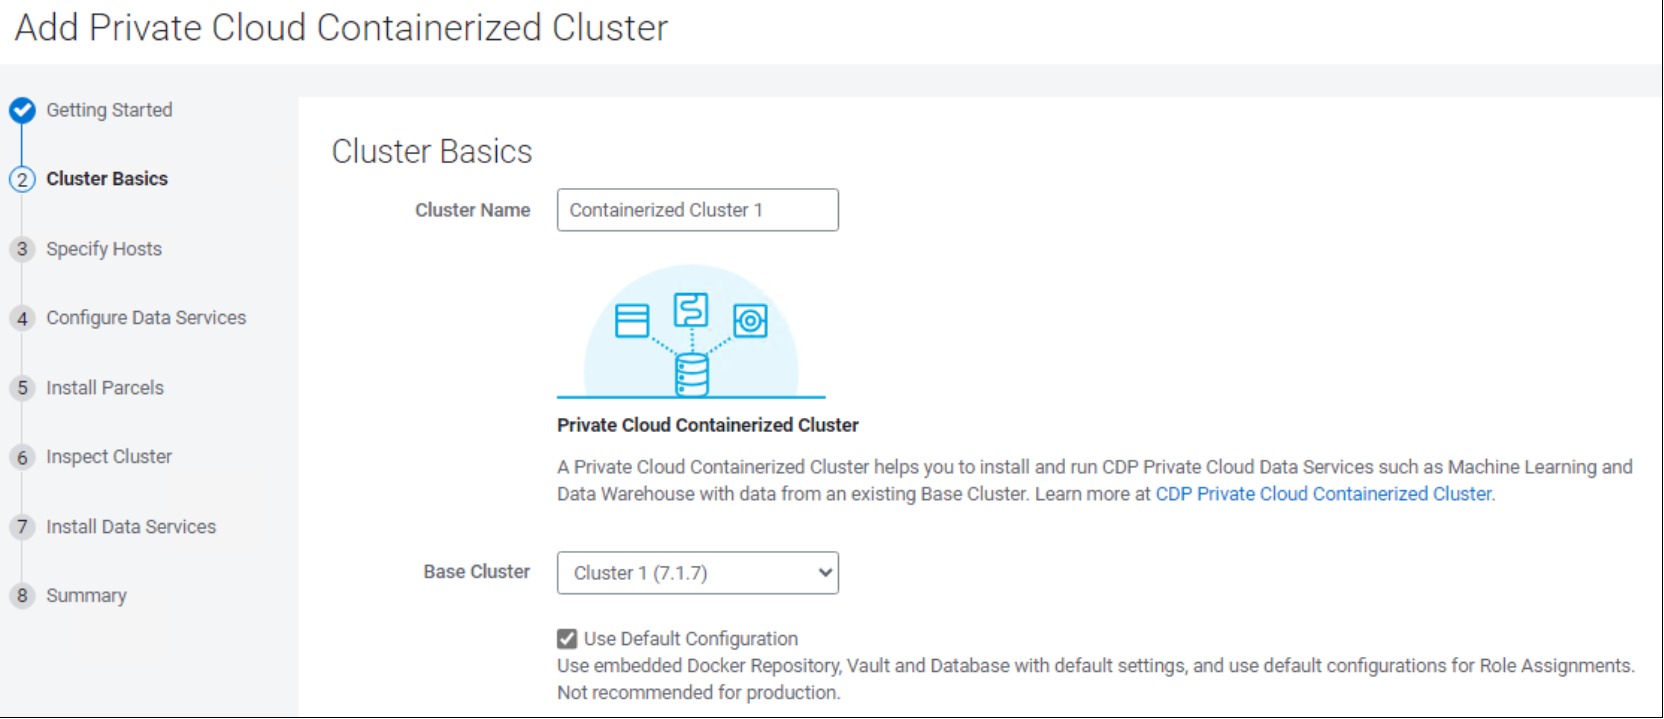
Figure 6. Provide a name for the containerized cluster and select the base cluster to use.
Step 4: Specify the hosts to form the Data Services Cluster by entering the FQDN of each host and clicking the Search button. Then click the Continue button.
Note: You can also click the New Hosts tab to specify one or more hosts that have not been added to Cloudera Manager.
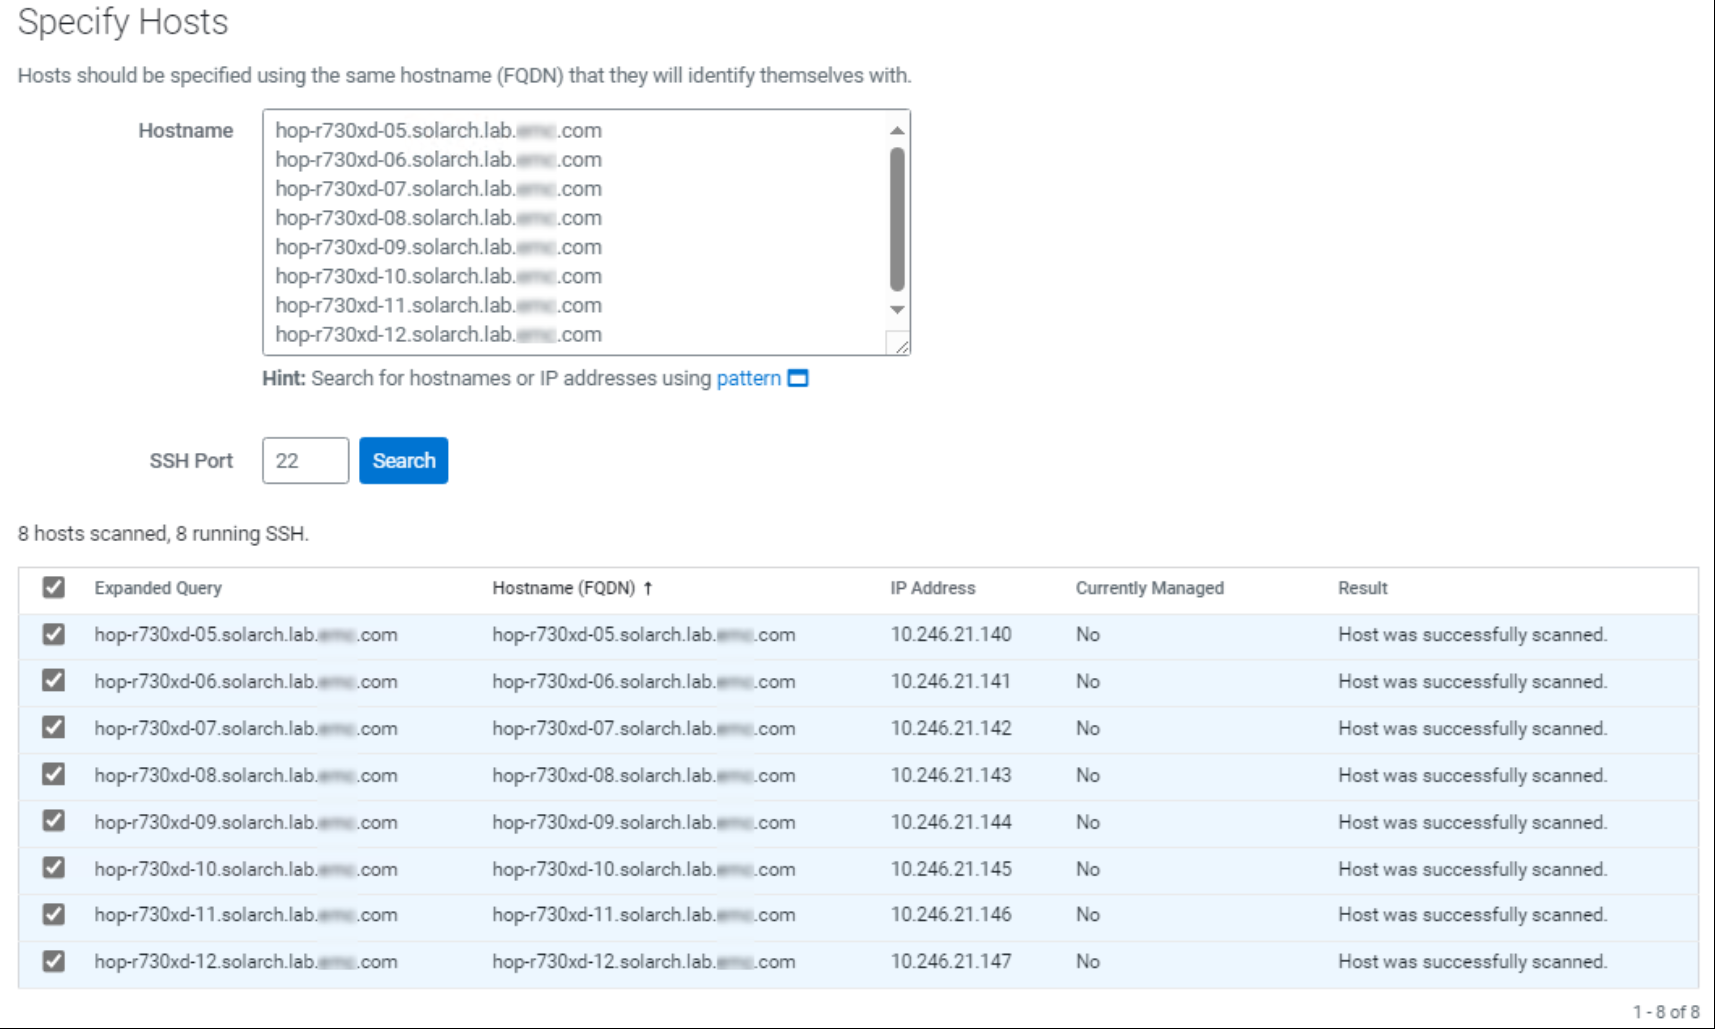
Figure 7. Select the hosts to install the containerized cluster on
Step 5: On the Select JDK page, select any one from the below options then click the Continue button.
- Manually manage JDK
- Install a Cloudera-provided version of OpenJDK
- Install a system-provided version of OpenJDK
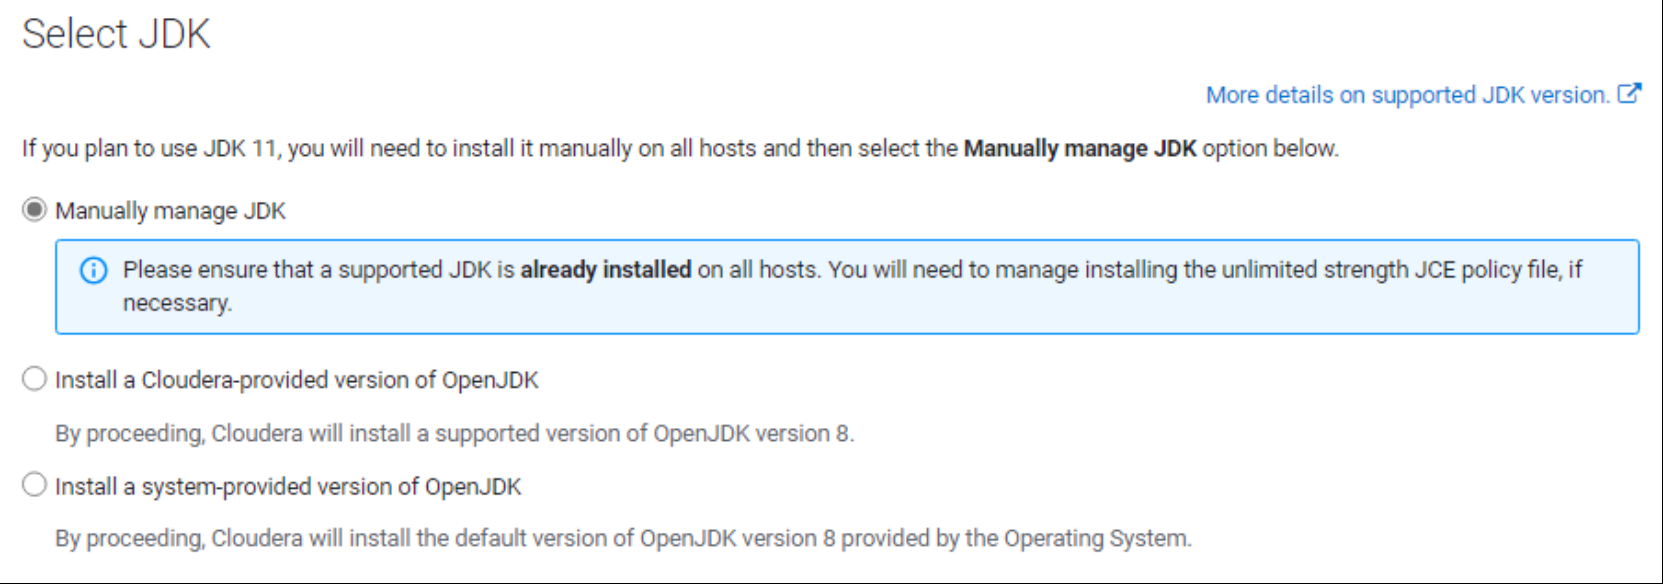
Figure 8. Select the JDK version
Step 6: Login Credentials page.
Enter the login credentials for the Data Services hosts. This could be Password or Private Key based the click the Continue button.
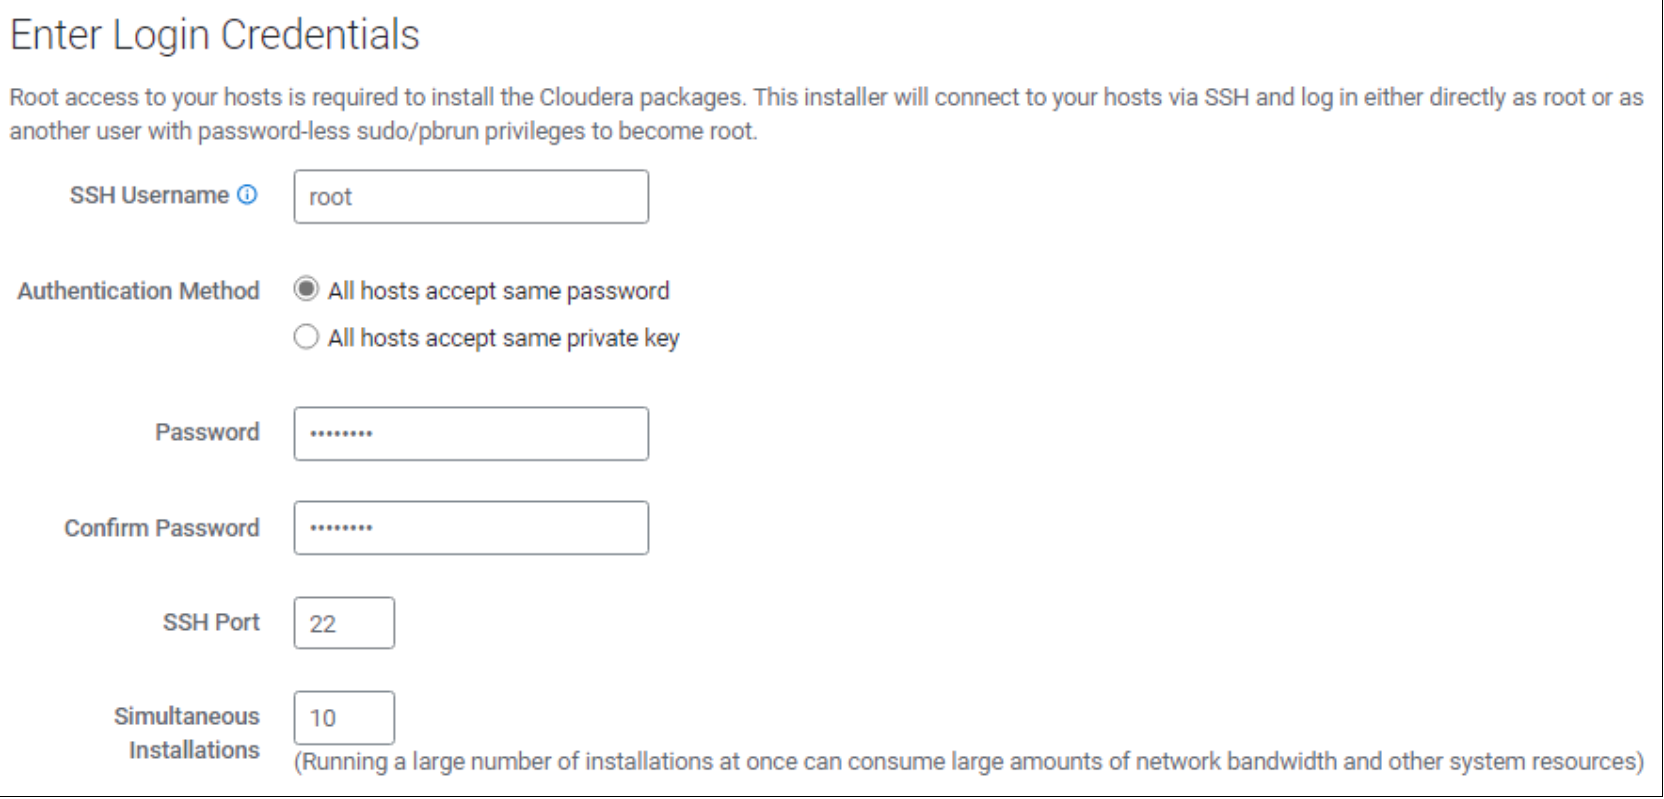
Figure 9. Enter the host login credentials
Step 7: Cloudera Manager will install the Agents on each host.
Note: Cloudera will automatically proceed to the next step if successful.
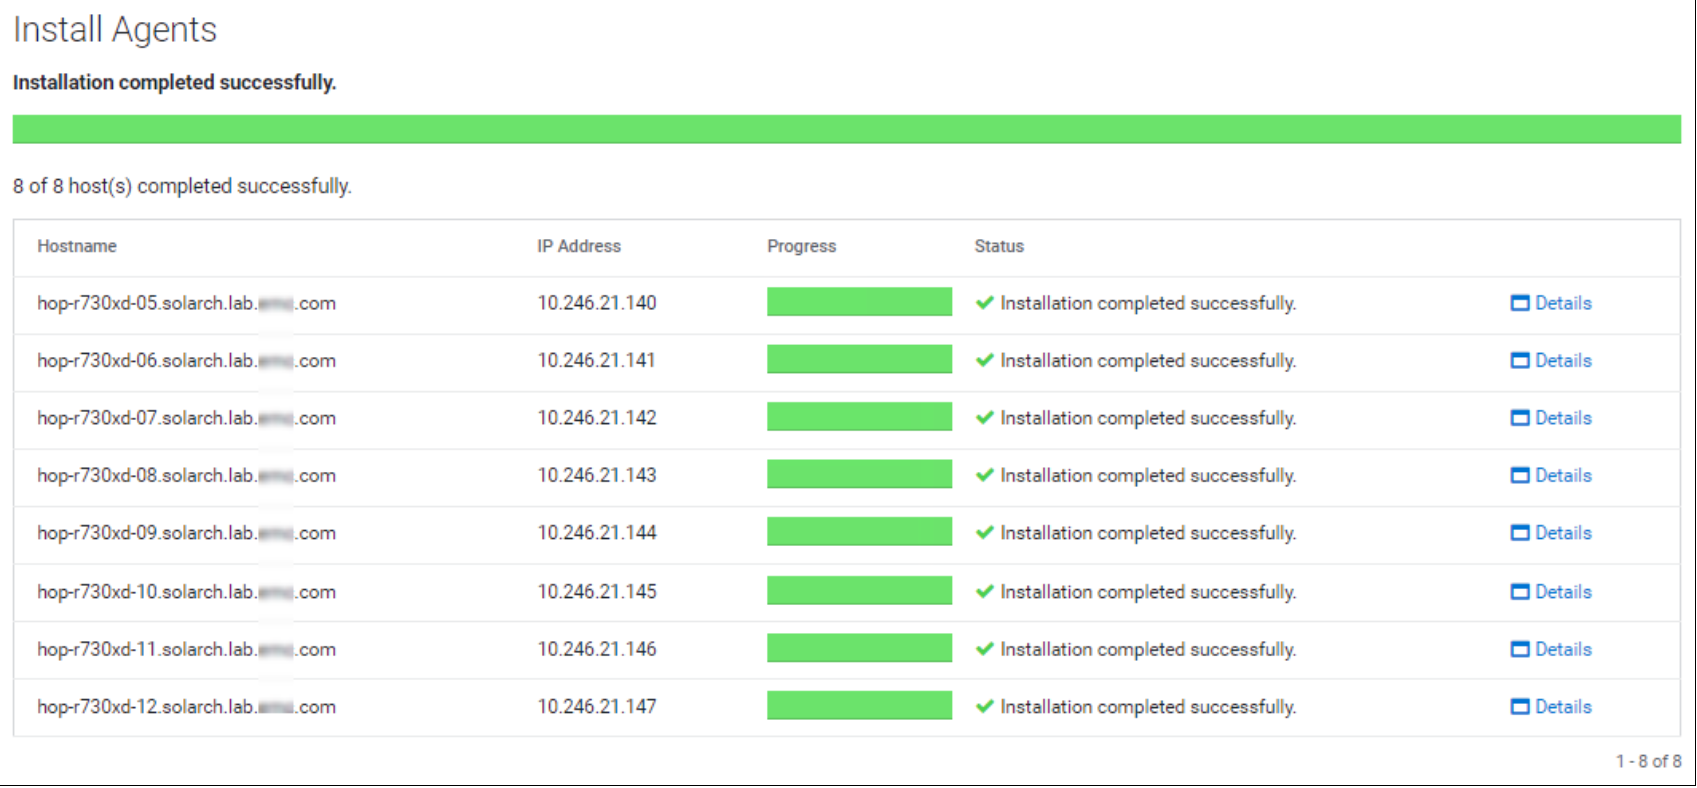
Figure 10. Cloudera agents successfully installed on each host
Step 8: Configure Data Services
The Private Cloud Containerized Cluster needs to act as a TLS/SSL Server. By default, Cloudera Manager generates a self-signed certificate and uses it for all communication for example from the browser to the Private Cloud Containerized Cluster using TLS.
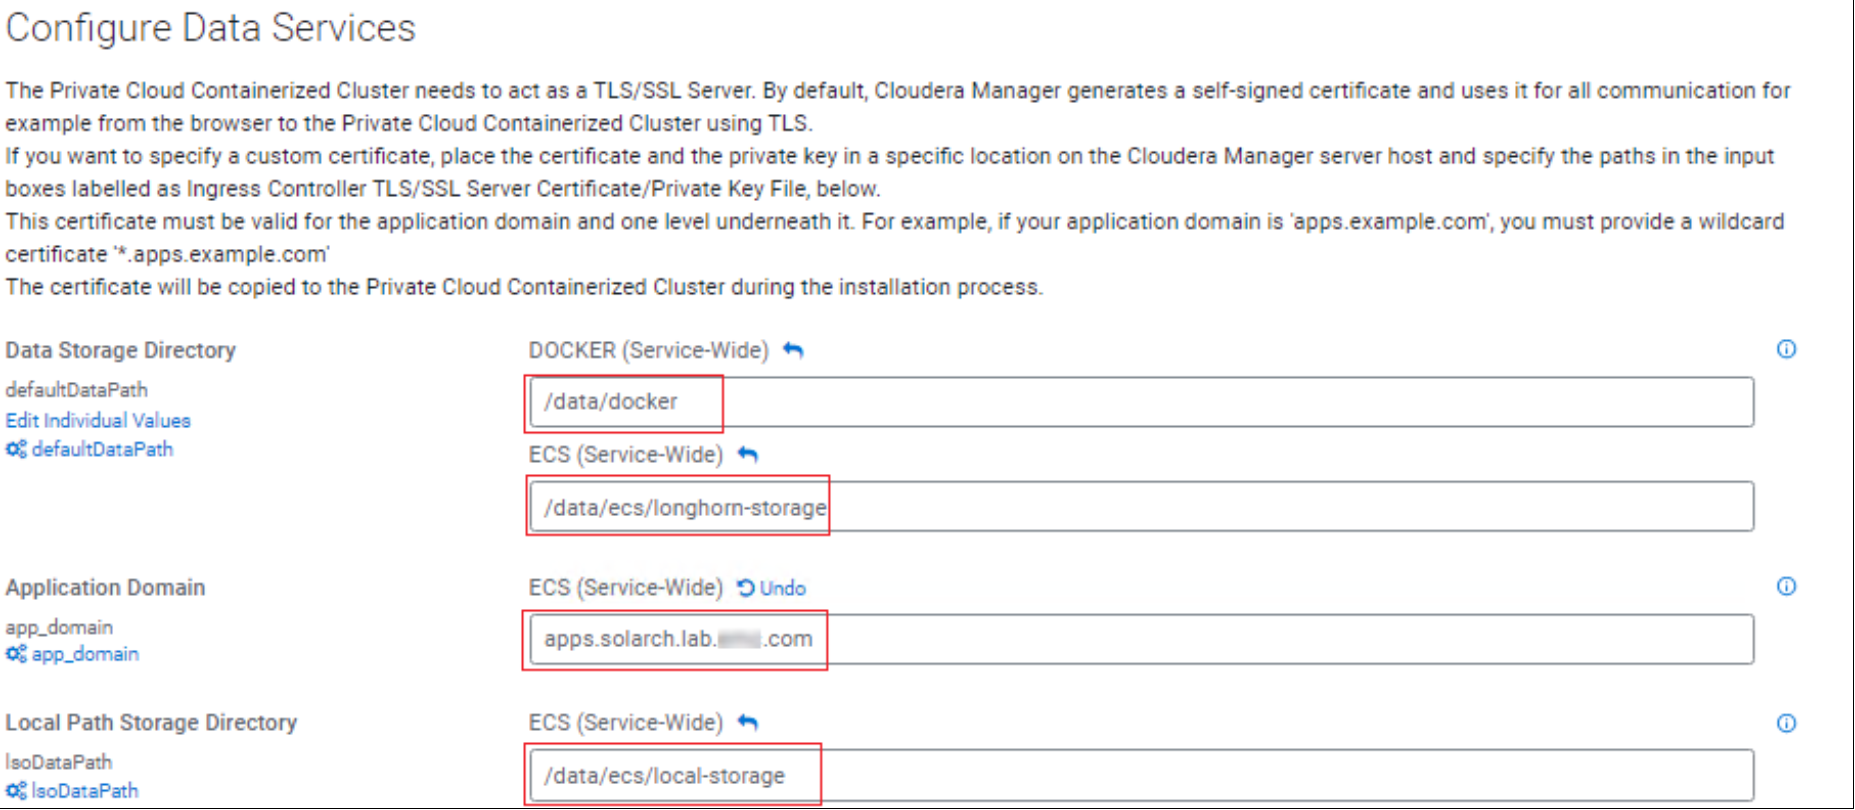
Figure 11. Configure Data Services
Storage Directory
Cloudera Manager detected the Storage disk to use for the Docker Repository and Local Path Storage Directory.
Application Domain
Add the wildcard domain to use for Applications. For example:
Add a CNAME to DNS that points to the Control Plane node.

Step 9: Parcel Installation
The parcels will be distributed, unpacked, and activated to each host in the cluster.
Note: Cloudera will automatically proceed to the next step if successful.
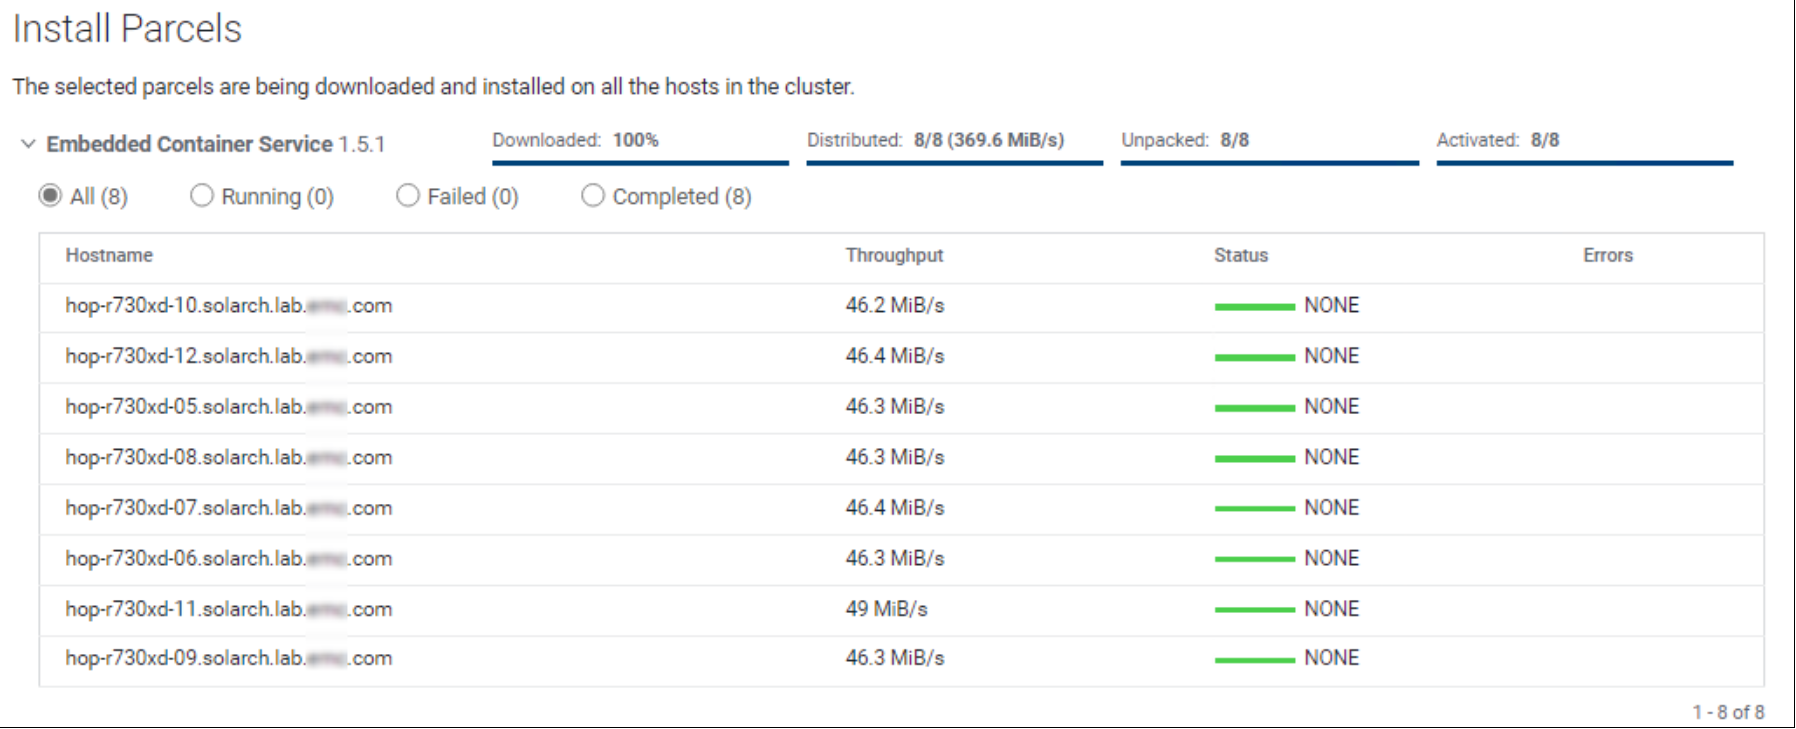
Figure 12. Install parcels on each host in the containerized cluster
Step 10: Cluster Inspection
Cloudera recommends that you run the following inspections. For accurate measurements, Cloudera recommends that they are performed sequentially. Click the Continue button once tests successfully pass.
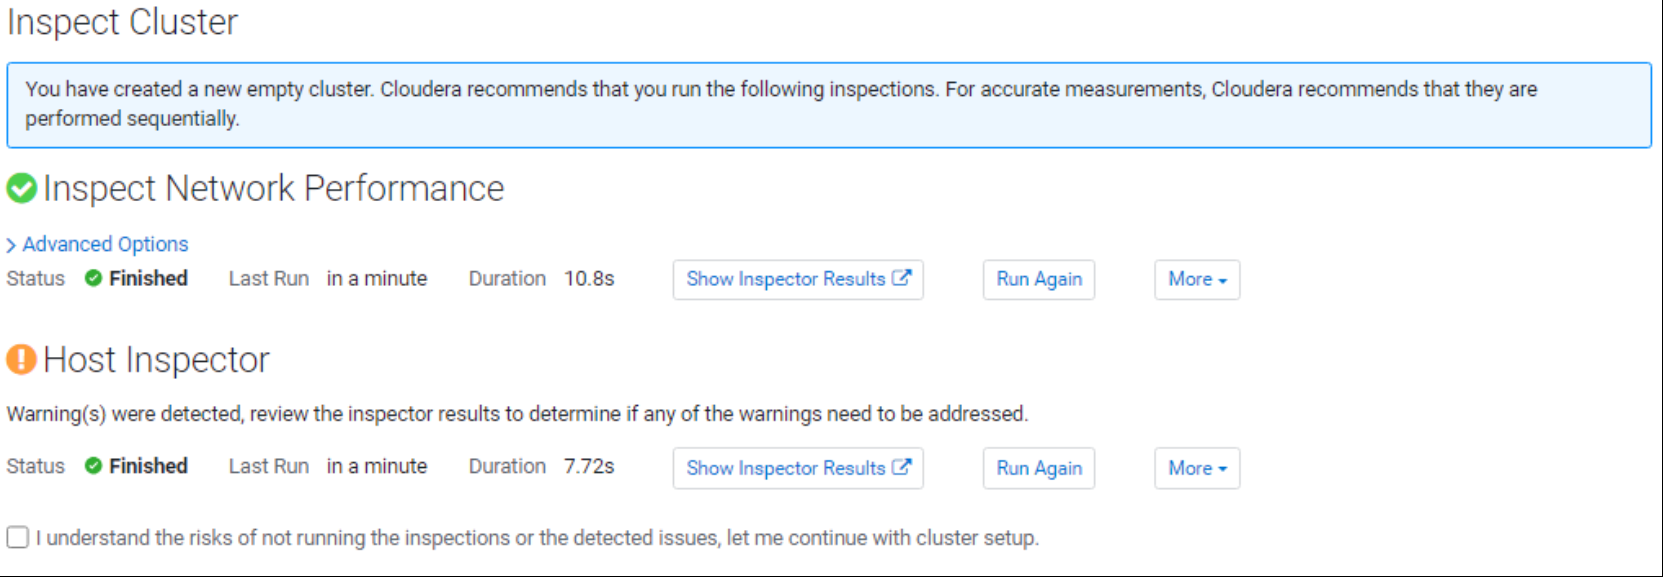
Figure 13. Inspect the containerized cluster hosts
Note: We choose to ignore the following warning since our hosts did not have Nvidia drivers installed.
Step 11: Data Services Installation
The installation progress is displayed on the Install Data Services page. Click the Continue button when all services are successfully installed.
Note: This process may take some time when pulling images to the Docker Repository from the Internet.
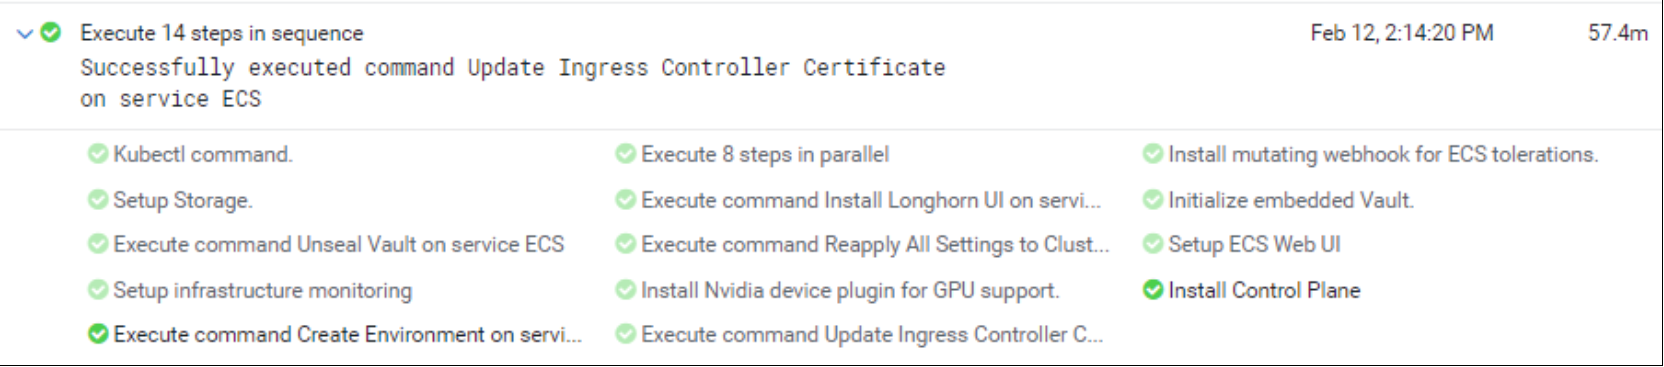
Figure 14. Data Services Installation
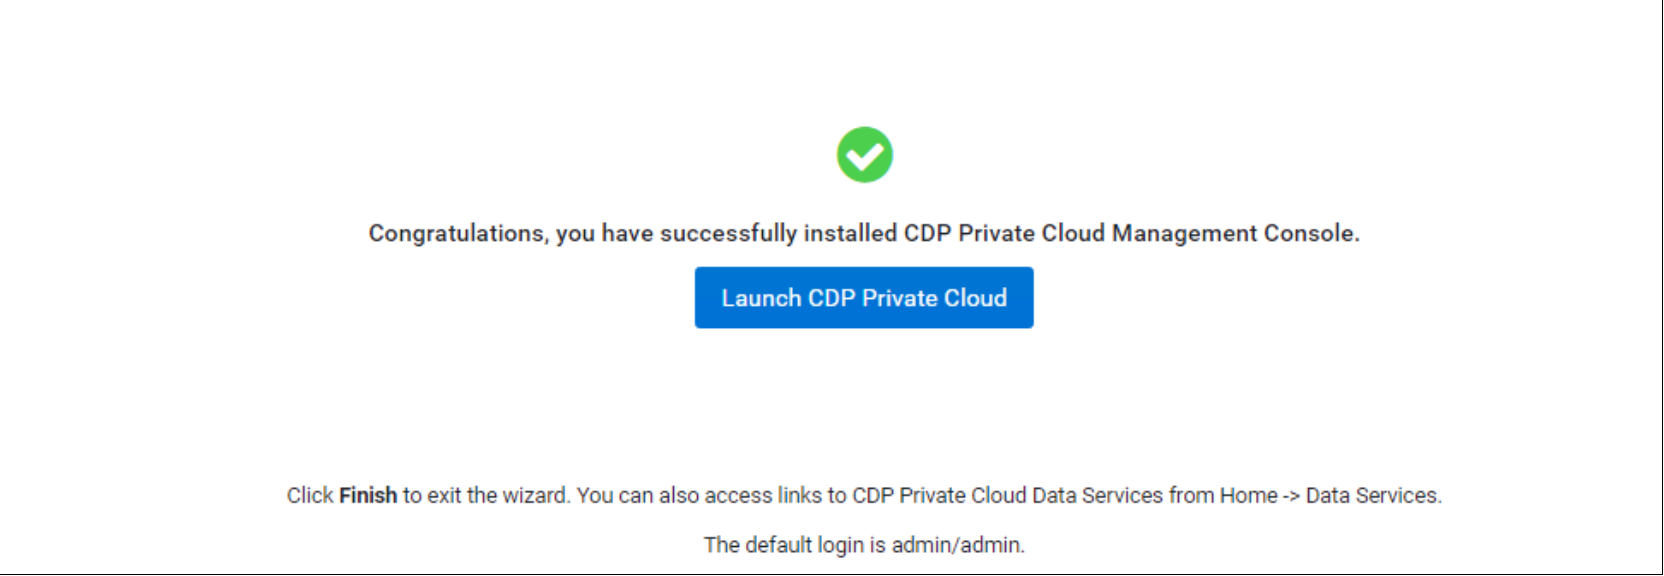
Figure 15. The containerized cluster has been successfully installed