
Delphix on Dell PowerFlex: Accelerating DevOps Workflows
Delphix engine (data masking) Initial setup
Delphix engine (data masking) Initial setup
-
This section describes the steps for configuring the initial setup of Delphix engine for Continuous Compliance (data masking).
- Connect to the Delphix engine (data masking) athttps://login/index.html#serverSetup. The Delphix setup application is launched.
- Enter sysadmin login credentials, which initially default to the username Admin, with the initial default password of Admin-12. On the first login, which prompted it to change the initial default password.
- The screen to configure the Delphix engine is shown in the following figure:
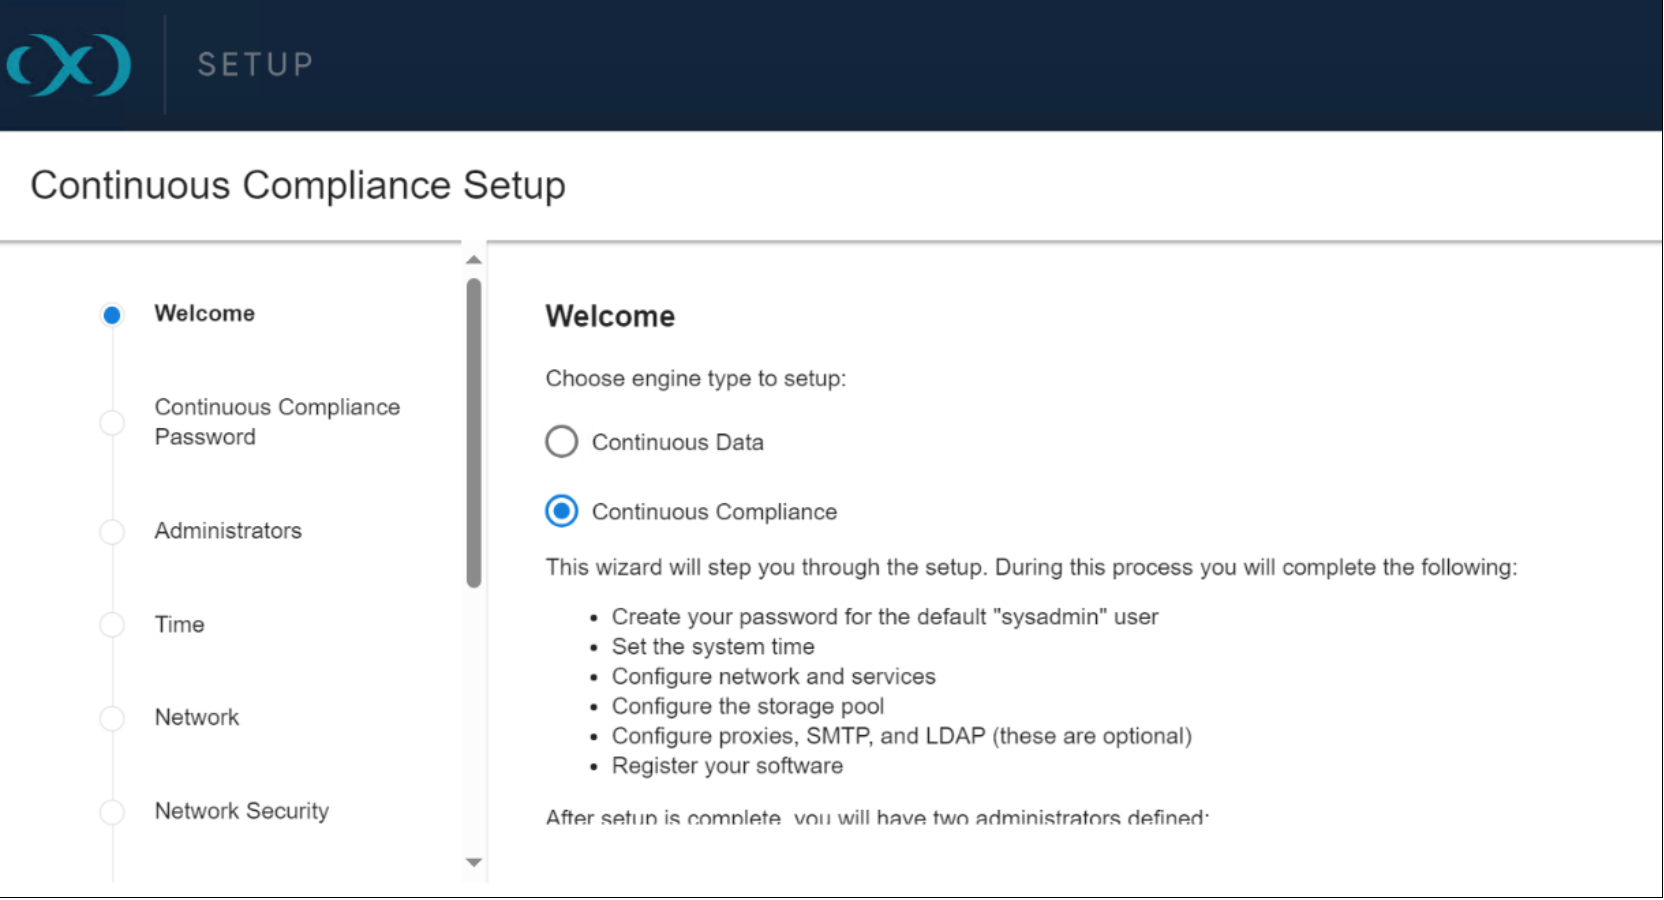
Figure 14. Delphix engine (data masking) dashboard
- Select the engine type (Continuous Data or Continuous Compliance)
- Choose the engine type as Continuous Compliance for data masking.
- Click Next.
- Enter the Continuous Compliance password (the default is Admin-12).
- Click Validate to validate the entered password with a masking service.
- In the Administrator tab, enter user credentials for various roles (System Administrator, Masking Administrator).
- Select the storage configuration defined for the Delphix engine Continuous Compliance for data masking.
- Select Network for access to the Delphix engine.
- Select System Time to synchronize the time between Virtual databases.
- Select Authentication as the default for enabling authentication services using user credentials defined for roles (System Administrator, Masking Administrator).
- Configure registration to allow Delphix support to access the Delphix engine, but the Delphix engine can also work without being registered. The following figure shows the Delphix engine initial setup summary:
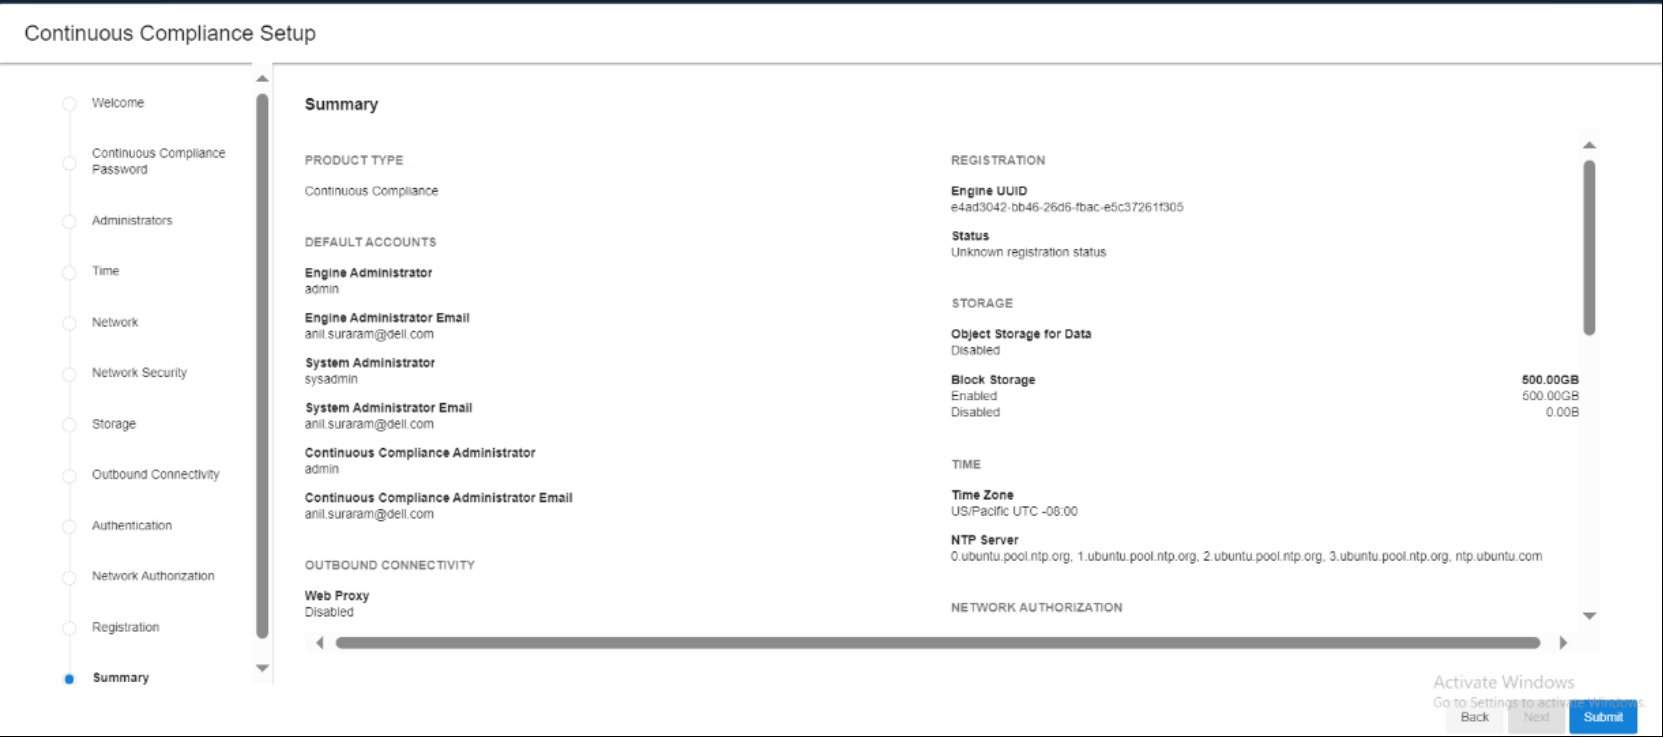
Figure 15. Delphix engine (data Masking) initial setup summary
For more information about configuring the initial setup of the Delphix engine for Continuous Compliance through web interface, see Delphix engine (data masking) Initial setup.