
None
None
-
- Navigate in OVM to Compute -> Virtual Machines. Here, in Figure 78, click on New to open the VM wizard.

Figure 78. OVM VM creation – step 1
- The General tab appears next in Figure 79 where the user should complete the following fields:
- Operating System
- Name
- Description (optional)
- nic1
Then, click the Create button to bring up the virtual disk dialog.
Note: A Microsoft Windows OS requires additional steps as the VirtIO drivers are not present to discover the virtual disk for install. These drivers are available in any number of repositories online along with instructions on how to implement them.
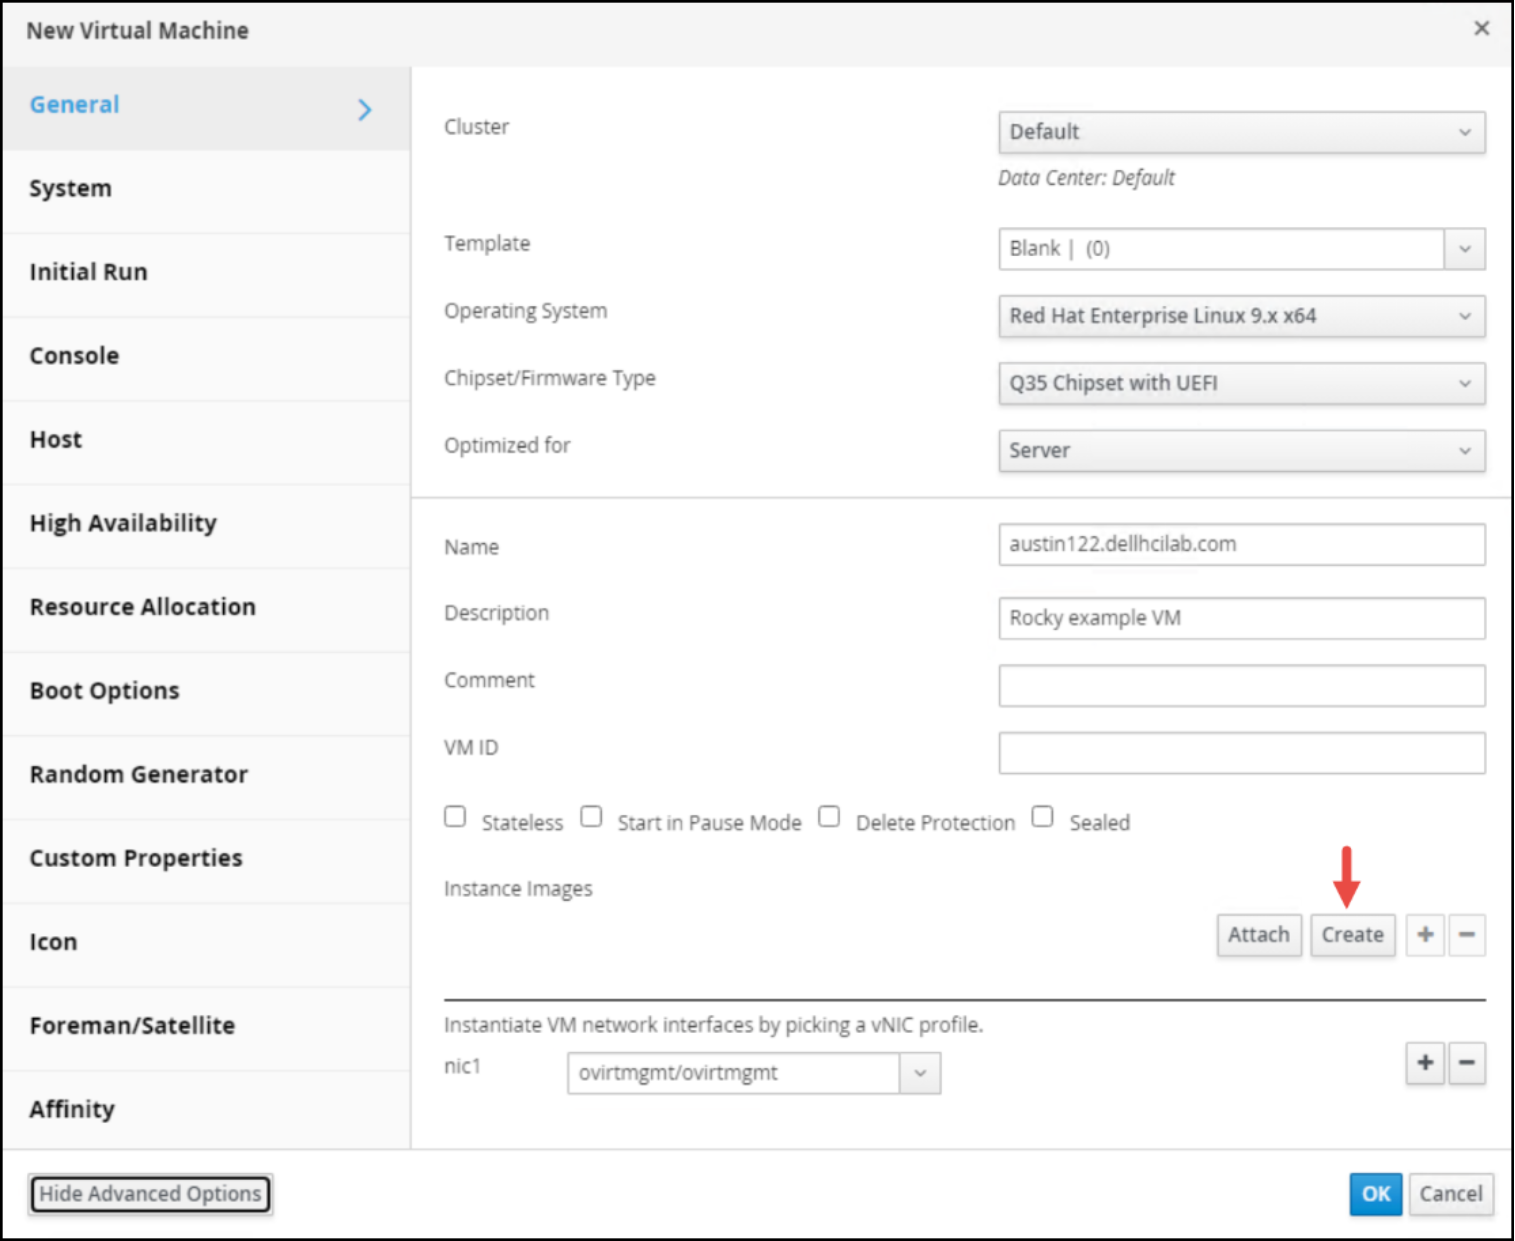
Figure 79. OVM VM creation – step 2
- In the New Virtual Disk dialog in Figure 80, enter the following information:
- Description (optional)
- Storage Domain
- Allocation Policy (defaults based on storage domain type)
The check boxes are left in their default state. Click OK to return to the General dialog.
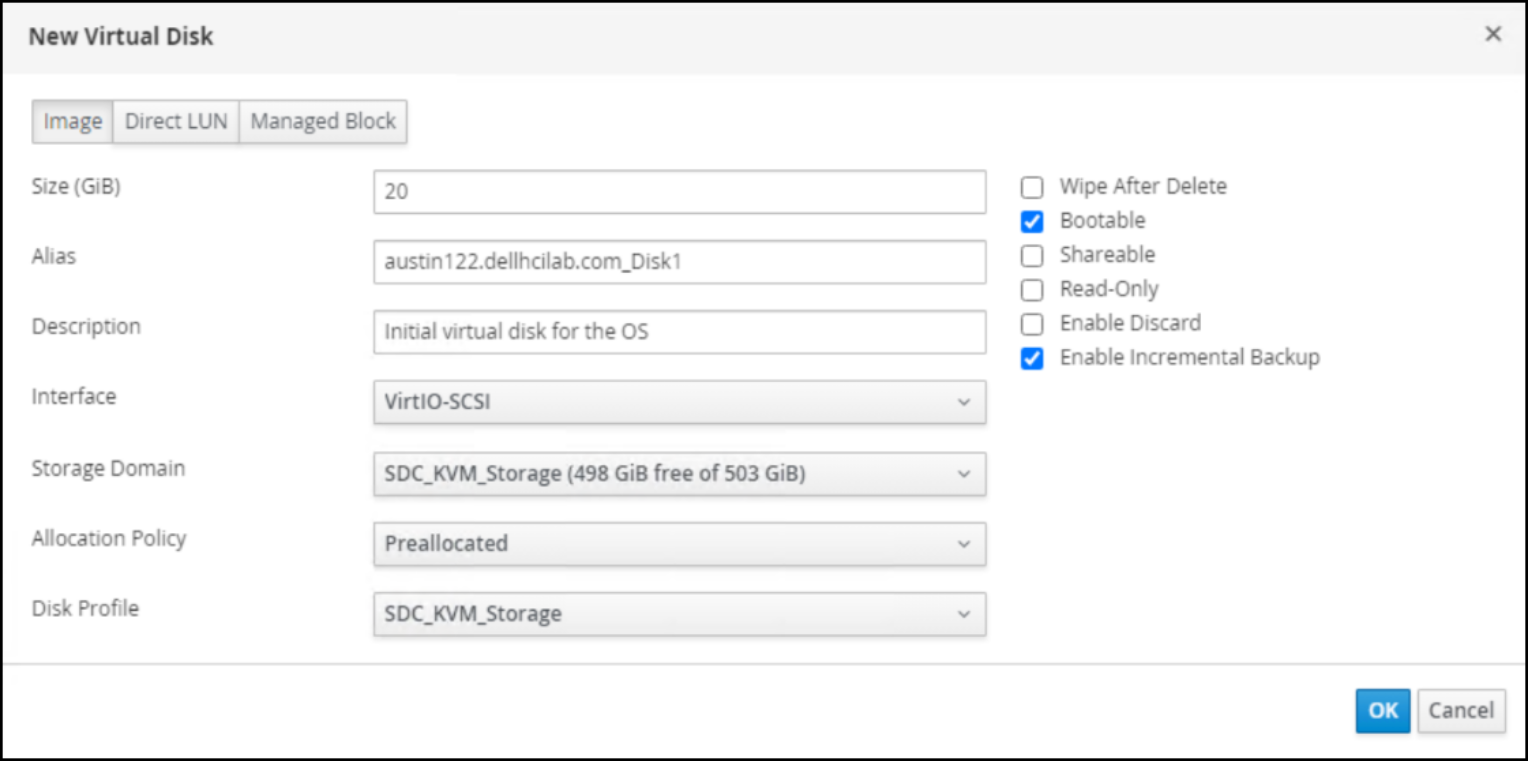
Figure 80. OVM VM creation – step 3
- The new Instance Images displays in Figure 81. The user can add as many disks as wanted, though only one should be Bootable. The VM defaults to 1 vCPU and 1 GB RAM. Click OK to create the VM.

Figure 81. OVM VM creation – step 4
- The VM creation time depends on the number of virtual disks that are created, their size, and whether they are pre-allocated. When completed, the user should attach the appropriate bootable ISO to the VM. Although it can be assigned during the VM creation, OVM offers the ability to attach the ISO so it is only used for the first power on. To enable this, highlight the newly created VM. Find the Run button and use the drop-down to select Run Once. The following dialog appears in Figure 82. Expand the section Boot Options. Check the box Attach CD and use the drop-down next to it to pick the correct ISO file. Then click OK which will immediately power on the VM.
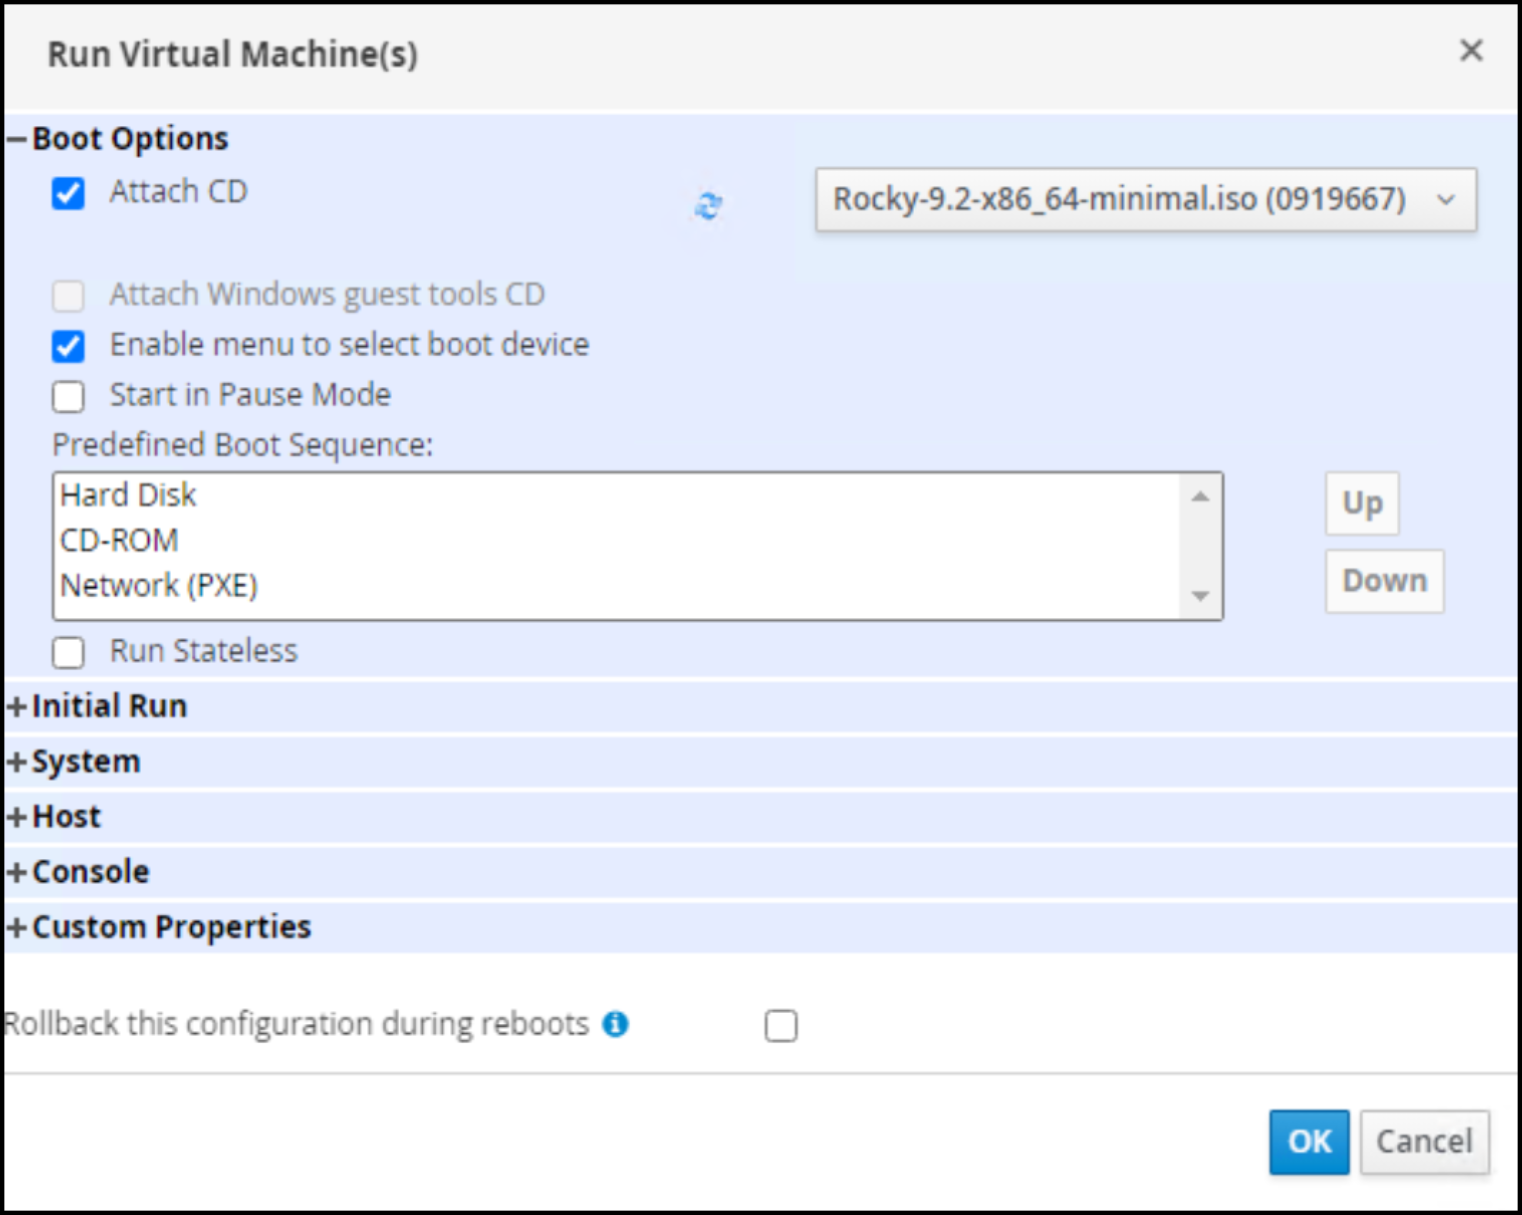
Figure 82. OVM VM creation – step 5
- The VM boots to the ISO. Highlight the VM in Figure 83 and note that it has been assigned a Host. Find and click the Console button, which displays the Virtual Machine Viewer in Figure 84. Note that if the Virtual Machine Viewer is not associated with the .vv extension, the browser asks the user to save a file named console.vv. The user would then have to associate the file extension with the console viewer.
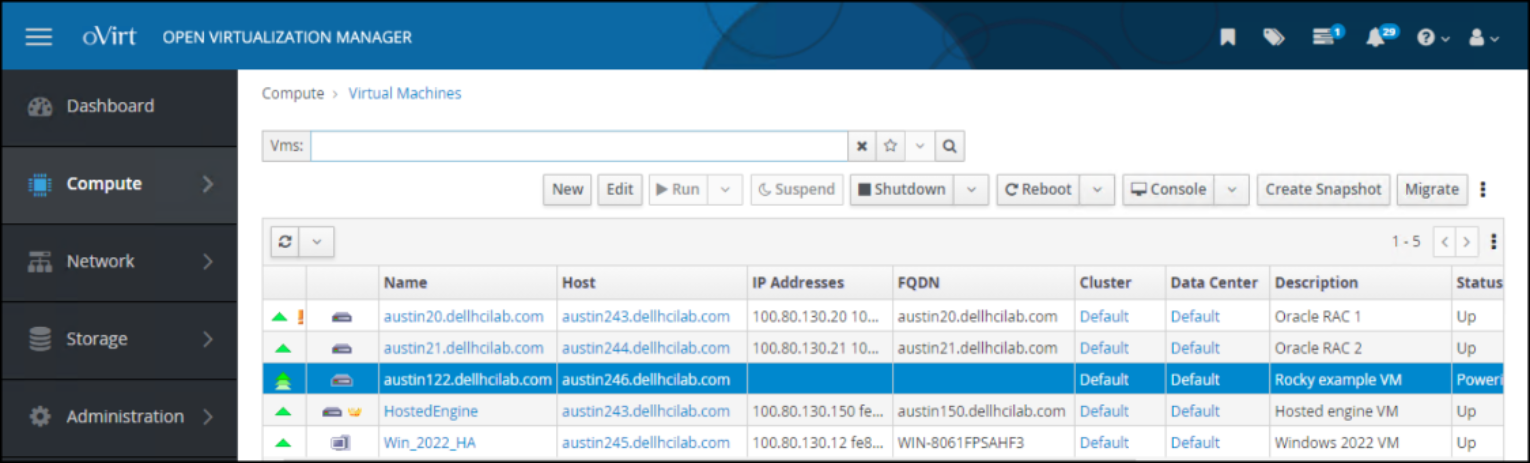
Figure 83. OVM VM creation – step 6
The user can now proceed with the OS installation.
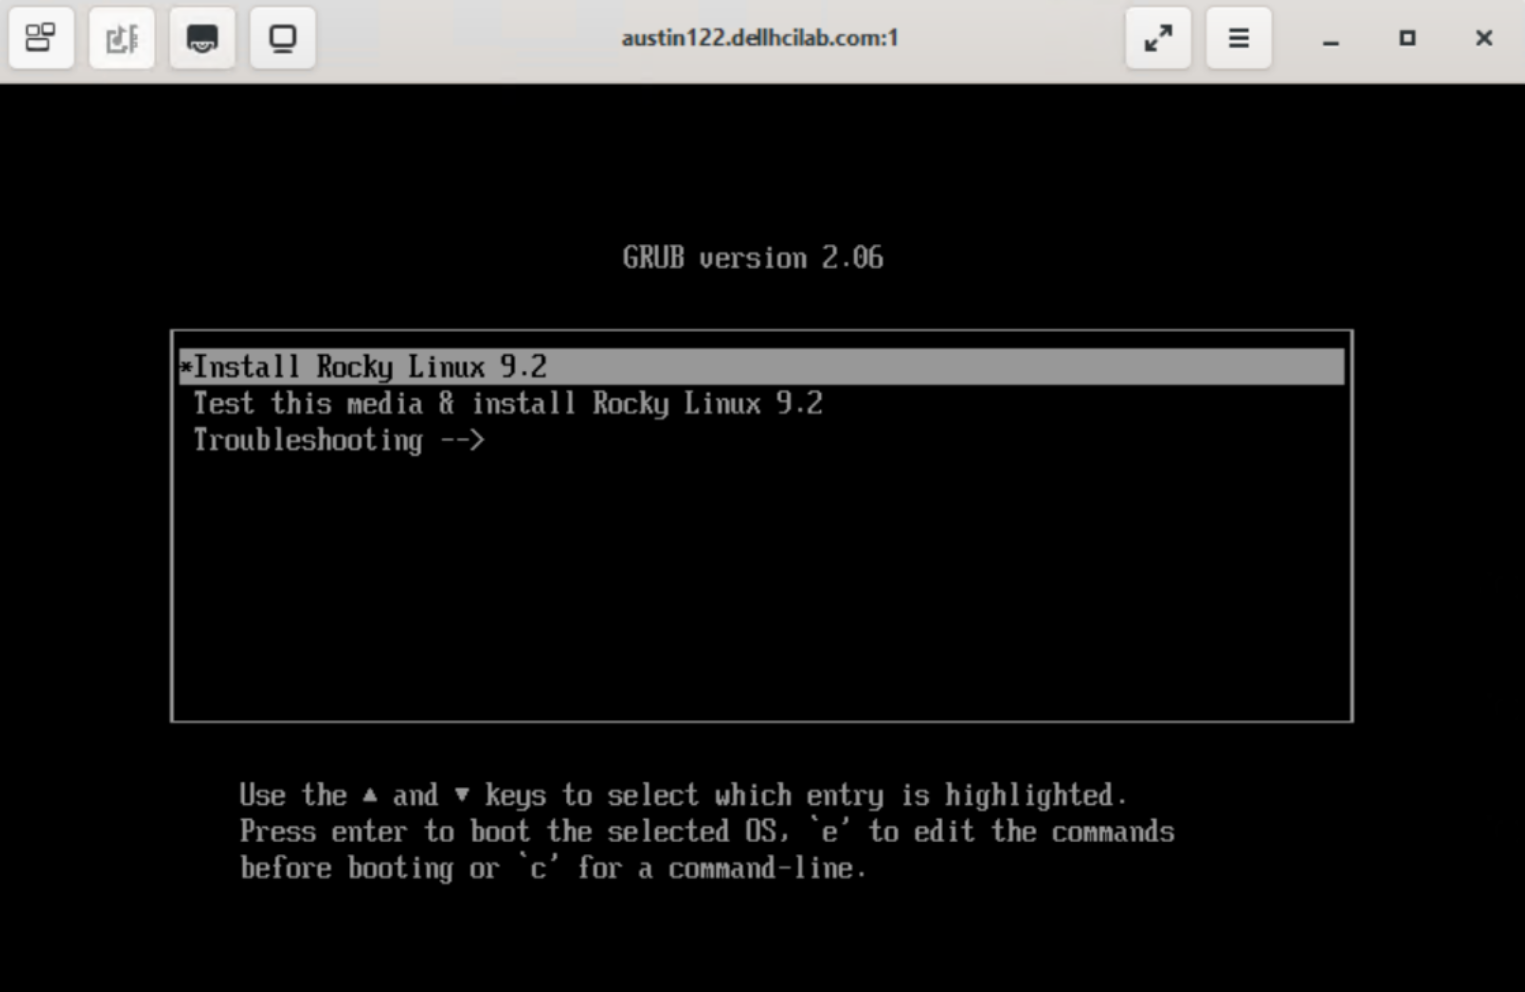
Figure 84. OVM VM creation – complete