
None
None
-
Steps to add the source and target file servers
1. To add a new file server using StorageMAP UI, go to the Configuration module and click the File Servers option. Click the Add… button to open the Add New File Server dialog box as shown in the following figure:
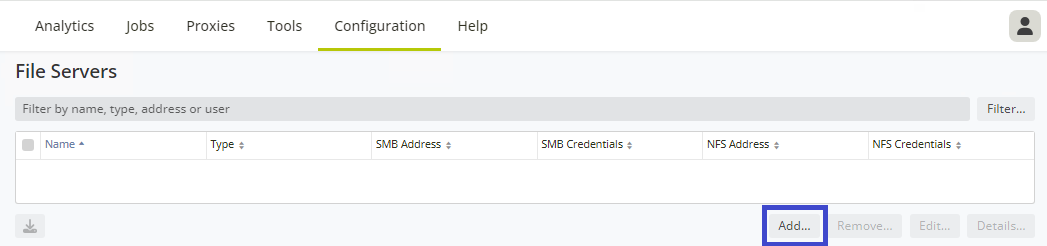
Figure 19. Add a new file server
2. Select the appropriate file server type for the source. For configuring Dell PowerFlex as the target, select Other NAS as the file server type.
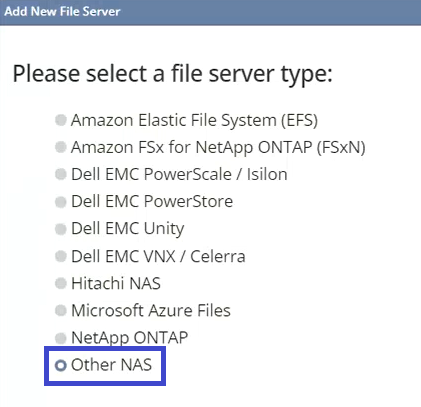
Figure 20. File server type
3. Enter a name for the file server and specify the IP address (or DNS name) for data access by the NFS protocol.
4. For SMB shares, enter the SMB IP address and credentials. Ensure that the SMB account used is a member of the local administrator group and the local backup operators group. See the StorageMAP User Manual documentation for more details. The following figure shows the file server details:
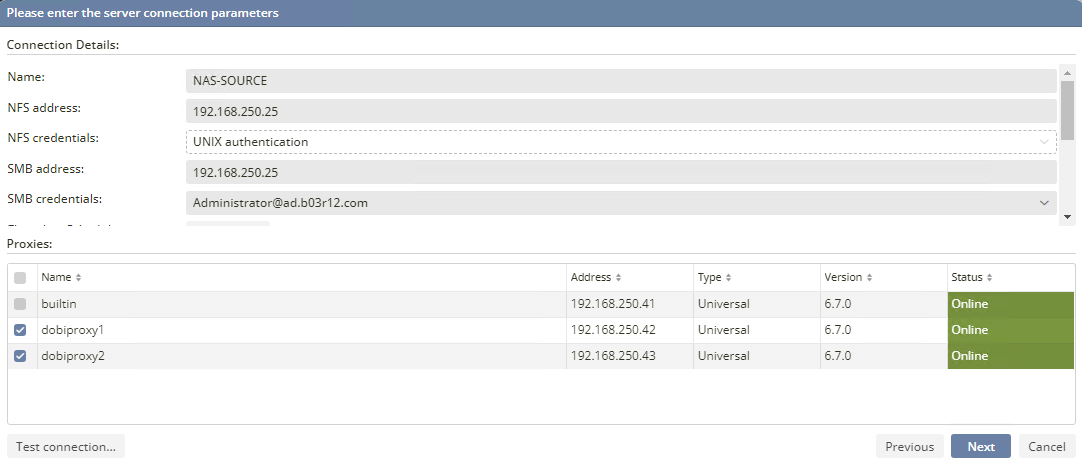
Figure 21. File server details
5. Select one or more proxies and click Test connection… to validate that the selected proxies can connect to the selected file servers using the credentials provided. The following figure shows the proxies:

Figure 22. Proxies Test connection
6. Click Next, on the Manage SMB data access shares page, select the manual option from the dropdown list. Click Next.
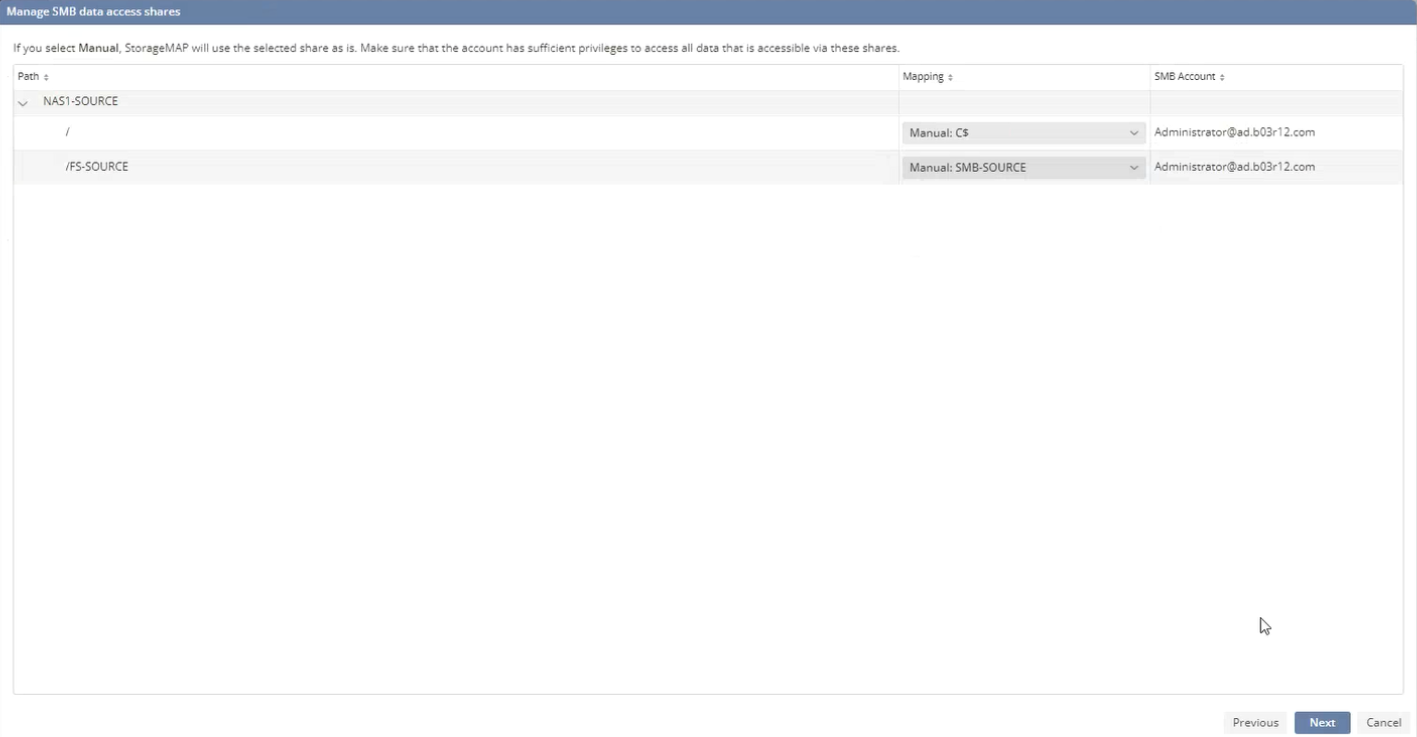
Figure 23. Manage SMB data access shares
7. On the Manage NFS data access exports page, select the manual option from the dropdown list. Click Finish.
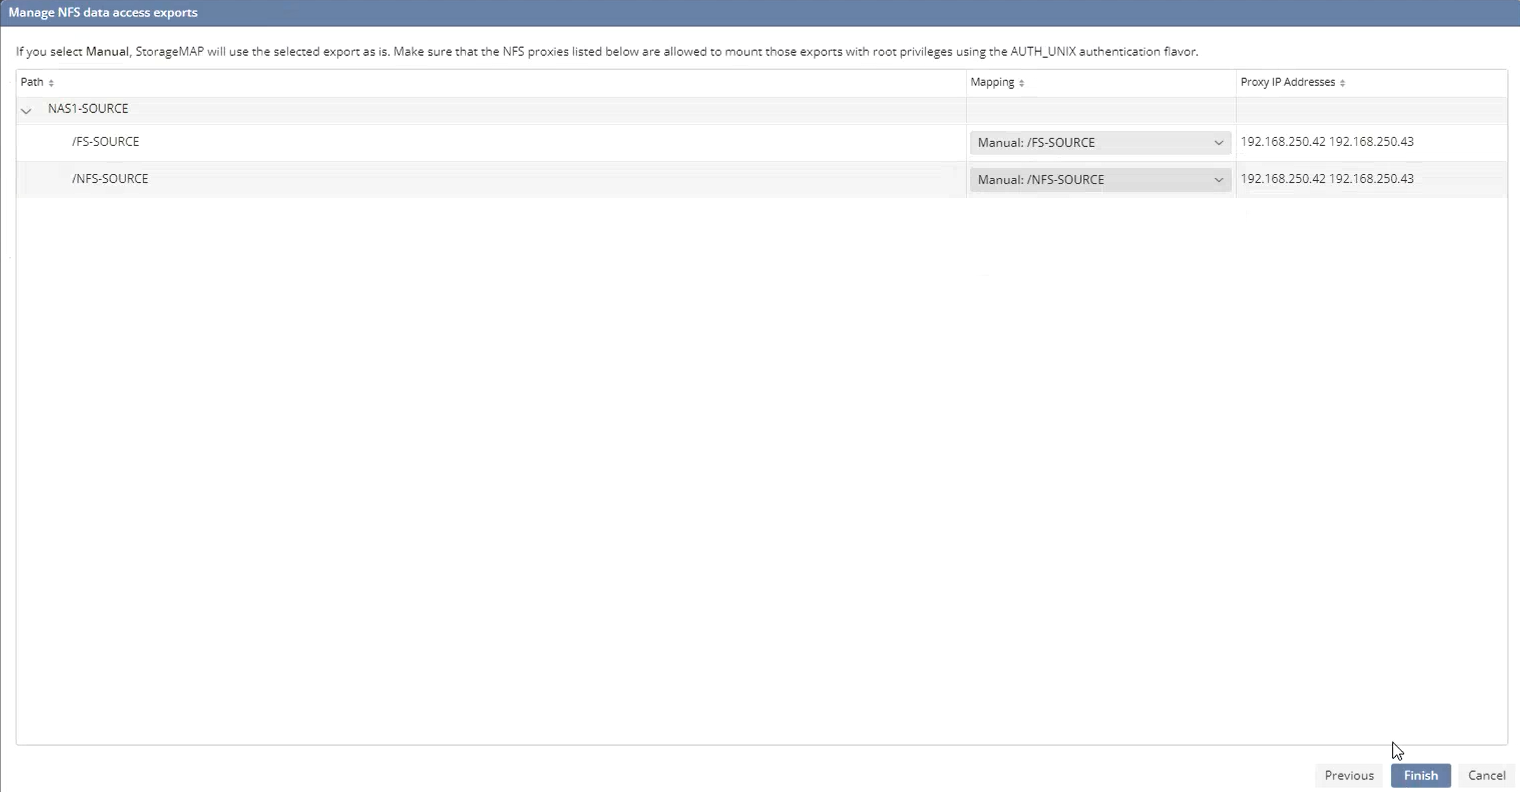
Figure 24. Manage NFS data access exports
8. The added file servers are now listed under the configuration tab as shown in the following figure:

Figure 25. Source and Target NAS file servers