
Red Hat Quay
Red Hat Quay
-
This section provides instructions for deploying Red Hat Quay using the OpenShift Quay operator.
Prerequisites
- A working OpenShift cluster
- A storage provisioner for PVs to be consumed by Quay postgres database pods.
If OpenShift Data Foundation is deployed on the cluster to be consumed as object storage, you can use any of the Ceph or RBD storage classes.
Installing the Quay operator
To deploy Red Hat Quay using the embedded OperatoHub:
- Log in to the OpenShift web console and select Operators > OperatorHub.
- Select the Red Hat Quay operator.
If there is more than one Red Hat Quay operator, ensure that you select the certified operator.
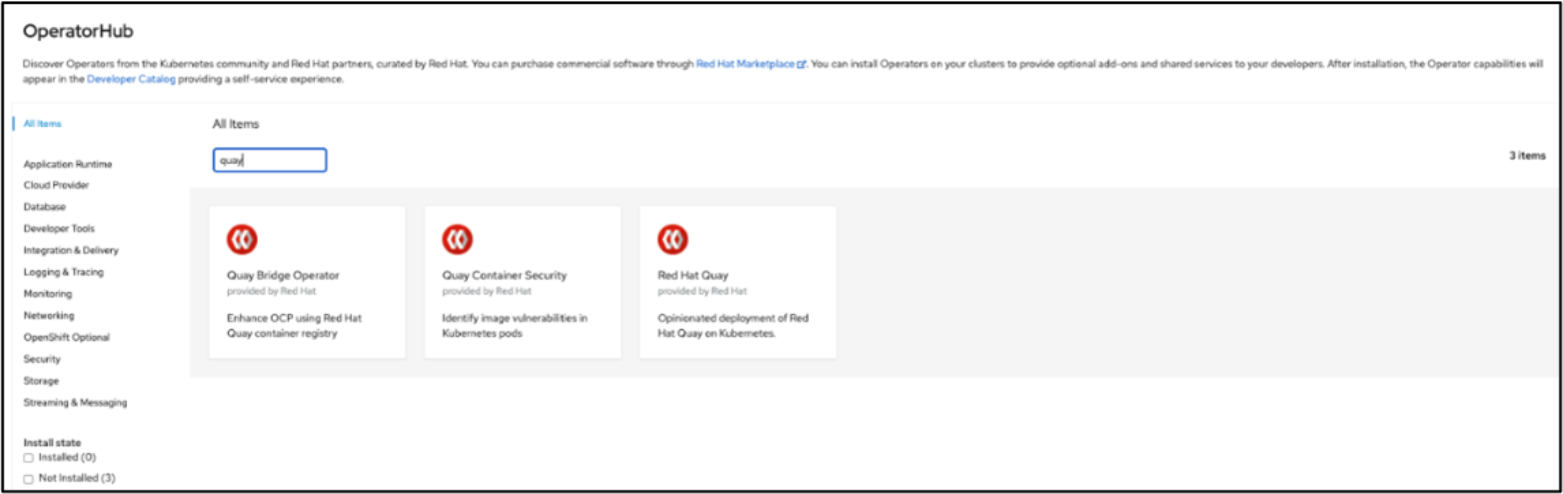
Figure 40. Red Hat Quay operator
- Click Install.
The Operator Installation page appears.

Figure 41. Installing Quay operator
- Update any parameters as needed and click Install.
- Wait for the operator installation to finish. This takes a few minutes.

The quay operator pod is created in the openshift-operators namespace.Figure 42. Quay operator pod status
Deploying the Quay registry using OpenShift Data Foundation object storage
A Quay registry deployment using OpenShift Data Foundation object storage requires OpenShift Data Foundation with Multi Cloud Gateway configured.
Follow these steps:
- In the OpenShift Container Platform web console, create a namespace such as quay-enterprise.
- Select Operators > Installed Operators and click Red Hat Quay operator to navigate to the Operator detail view.
- Click Create Instance on the Quay Registry tile under Provided APIs.
- Optionally, change the Name of the Quay registry. This affects the hostname of the registry. Change any other parameters if necessary.
- Click Create to submit the Quay registry to be deployed by the Quay operator.
You are redirected to the QuayRegistry list view.
- Click the Quay registry that you just created to see the details.
- Verify that the Quay component pods are running in the quay-enterprise namespace.
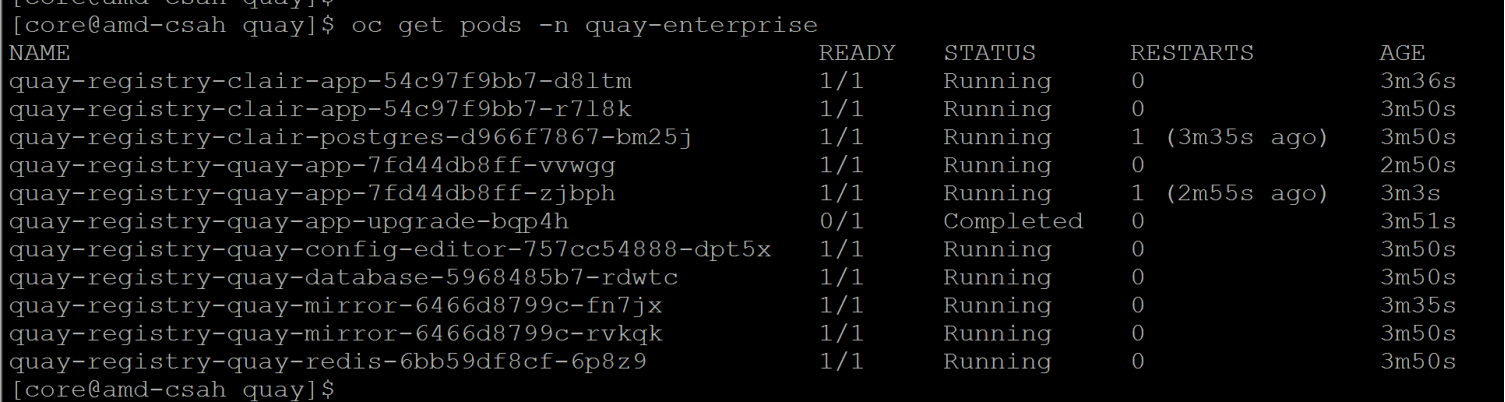
Figure 43. Quay registry component pods
- Obtain the registry endpoint from the registry instance Details section.
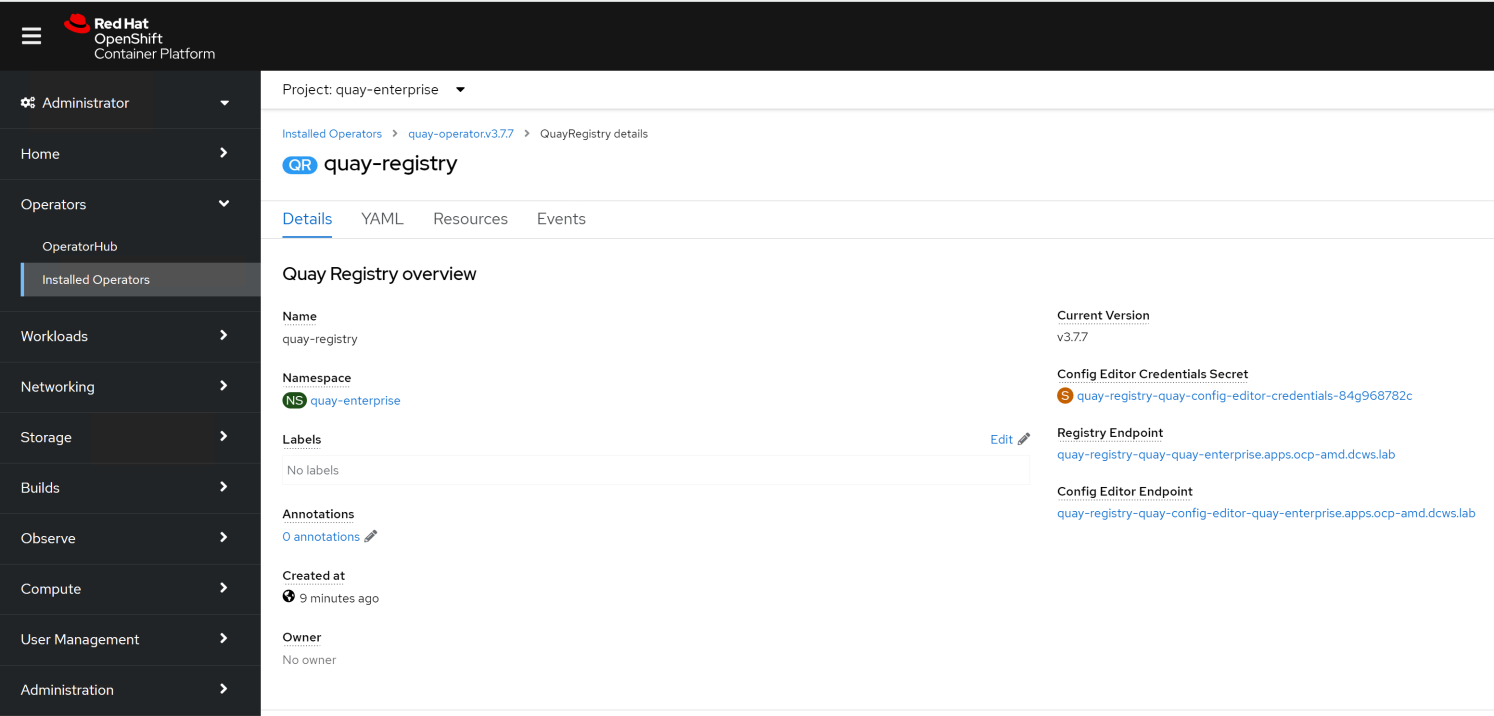
Figure 44. Quay registry endpoint
Deploy the Quay registry from the command line
Alternatively, you can create the Quay instance from the command line:
- Create a QuayRegistry instance based on the sample file :
$ oc create -f <quayregistry.yaml>
- Verify that all pods are running and the registry endpoint is created.
Deploying the Quay registry with PowerScale object storage
You can deploy the Quay registry using the S3-compatible object storage that Dell PowerScale offers.
Prerequisites
- Dell PowerScale is configured with the S3 protocol.
- A Smart Connect service name or IP address is available and reachable from the OpenShift cluster where the Quay is being deployed.
- Object Storage is activated on PowerScale, and the bucket is created.
Steps
To deploy Red Hat with PowerScale storage:
- Using the sample file, create a secret with an endpoint configuration of PowerScale Object Storage:
$ oc create secret generic -n quay-enterprise --from-file config.yaml=<yaml file> storage-config-bundle-secret
- Create the Quay registry instance.
- Pass the secret that you created in step 1 in the “configBundleSecret” field. See the sample file for guidance.
$ oc create -f <quayregistry.yaml>
- Verify that all pods are running and the registry endpoint is created.
Accessing the Quay registry console
To access the Quay registry:
- Open the Quay registry endpoint in a browser and click Create Account.
- Provide a username, email address, and password.
- Provide the name of the repository, choose the required access type (private or public), and click Create New Repository.
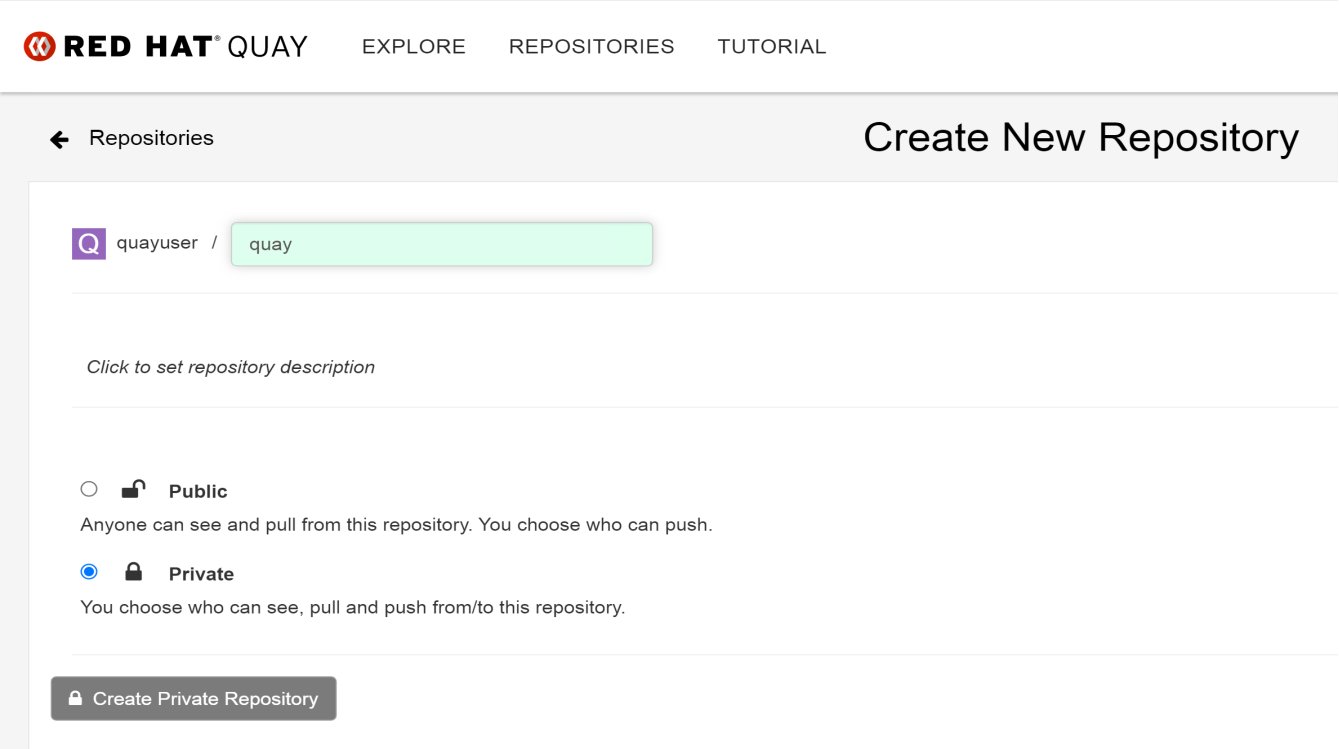
Figure 45. Creating a new repository
The newly created repository is ready to be used for image push/pull operations.