Running Postman Commands
Running Postman Commands
-
Each Postman command is organized in the same way that the ECS REST API documentation is laid out.
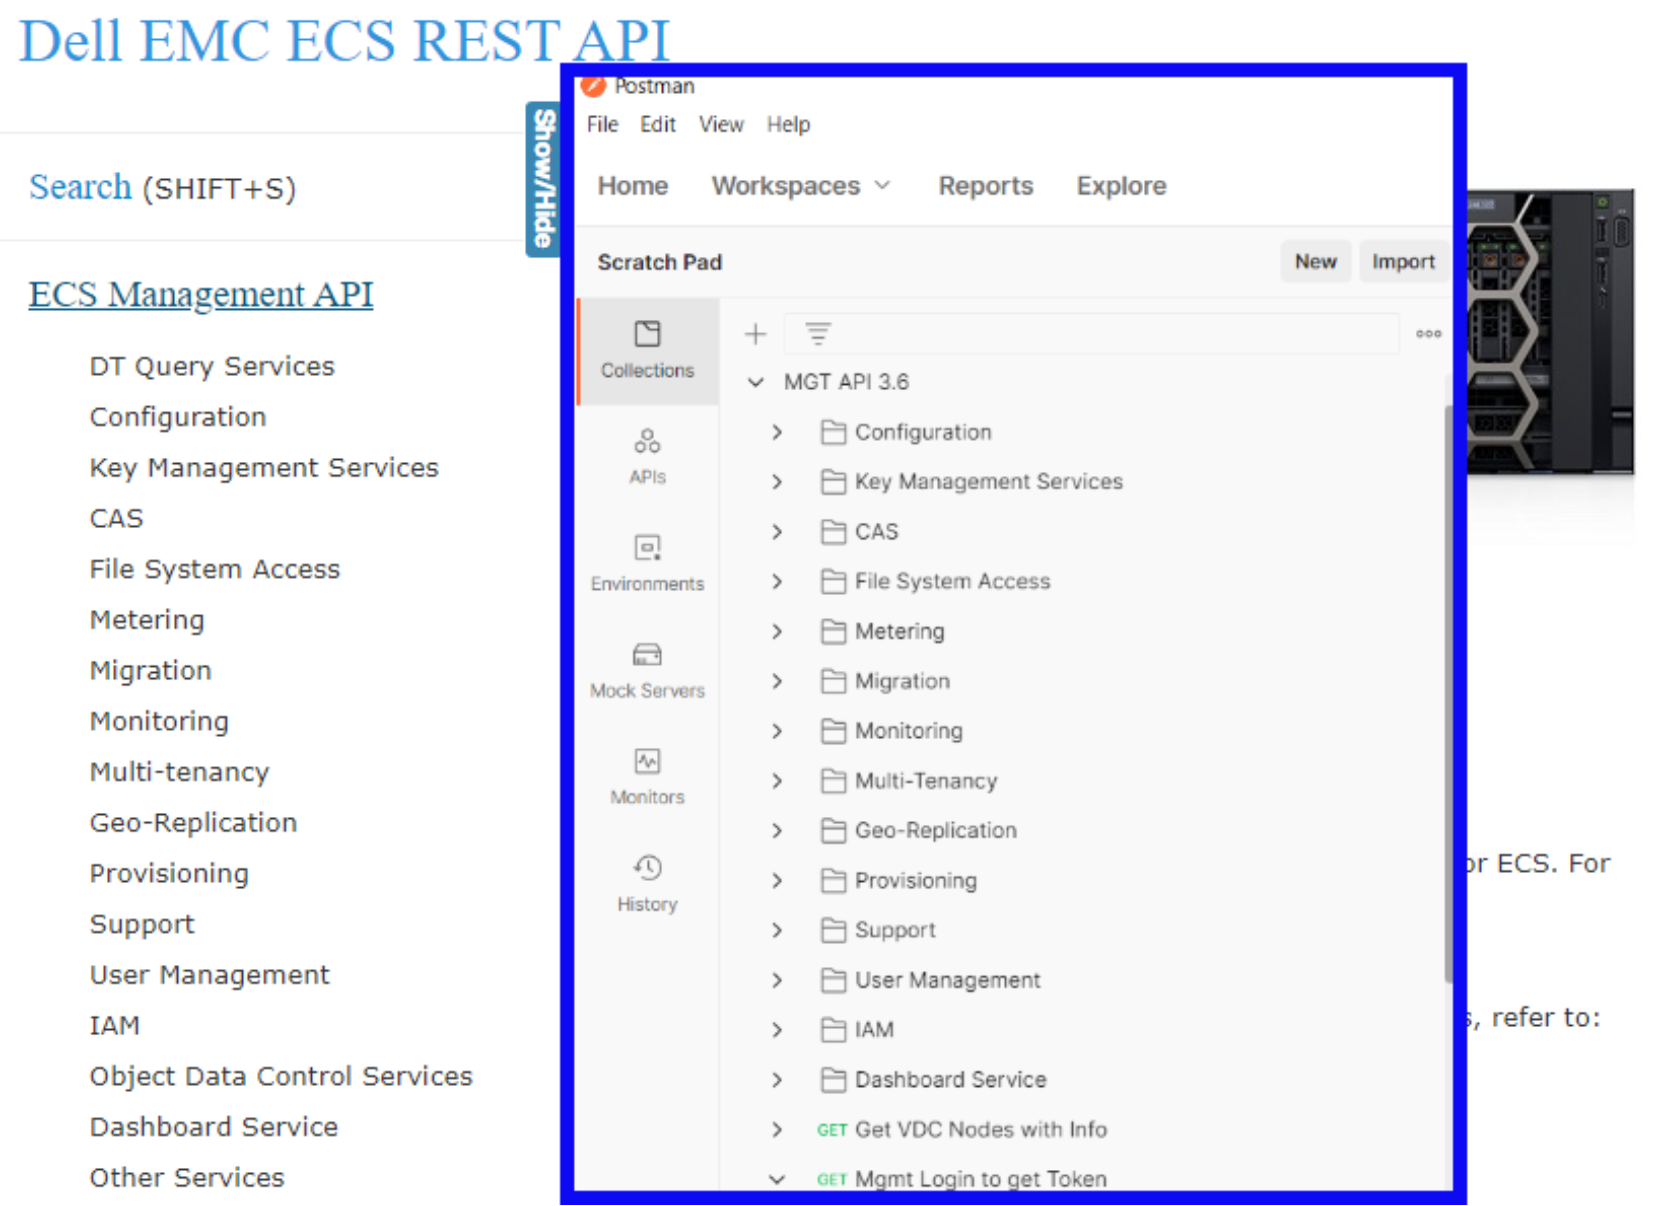
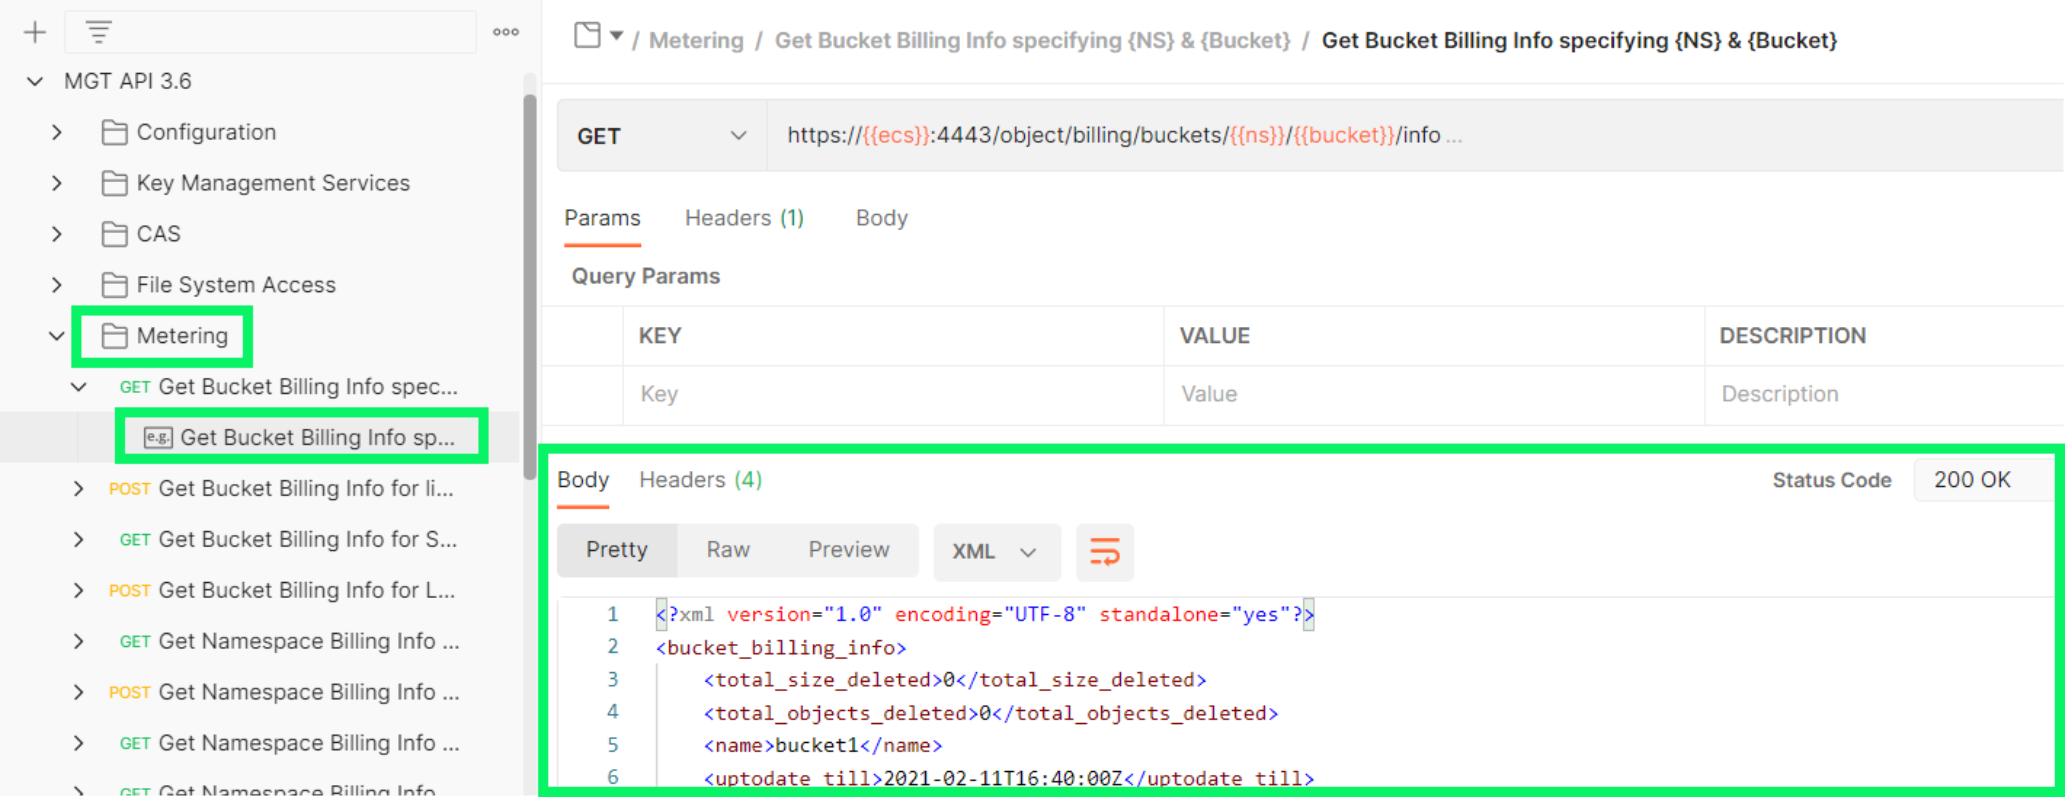
Under each main category you will find the associated commands that relate to that category. For example, under Metering you will find the Billing commands for obtaining Namespace and Bucket capacity information.
Almost every command also has an Example Command where the command has been performed and the results saved. You can find this under the command selection, as shown below.
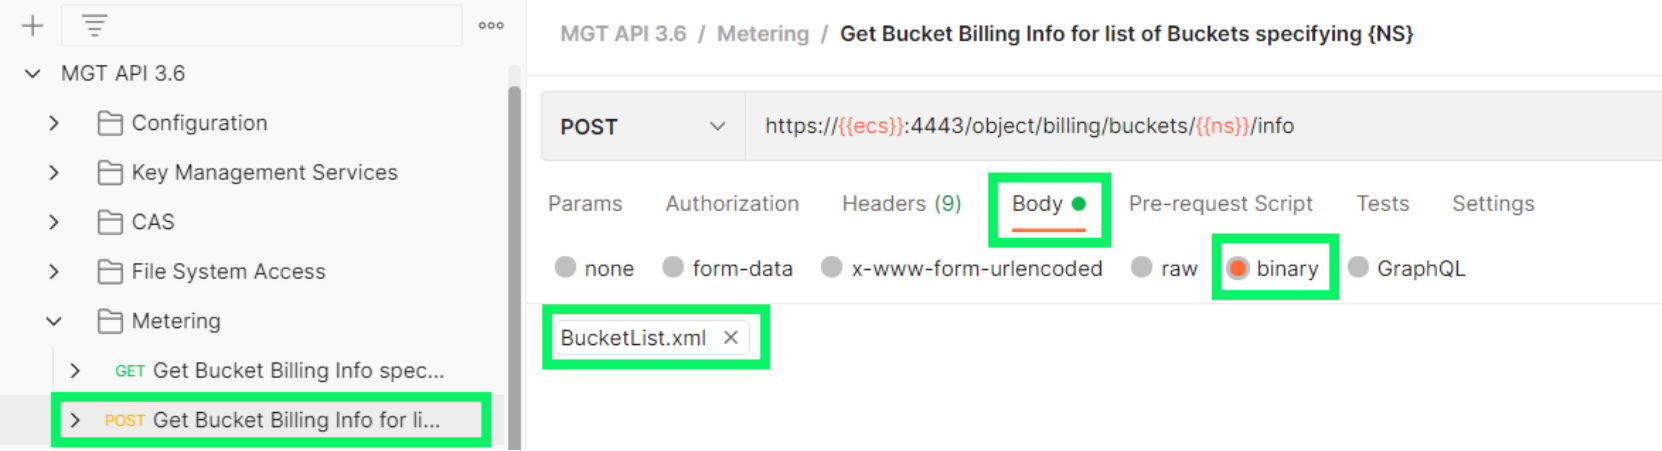
Some commands (usually POST commands) have an additional ‘Payload’ file that is required to be included with the command when submitted.
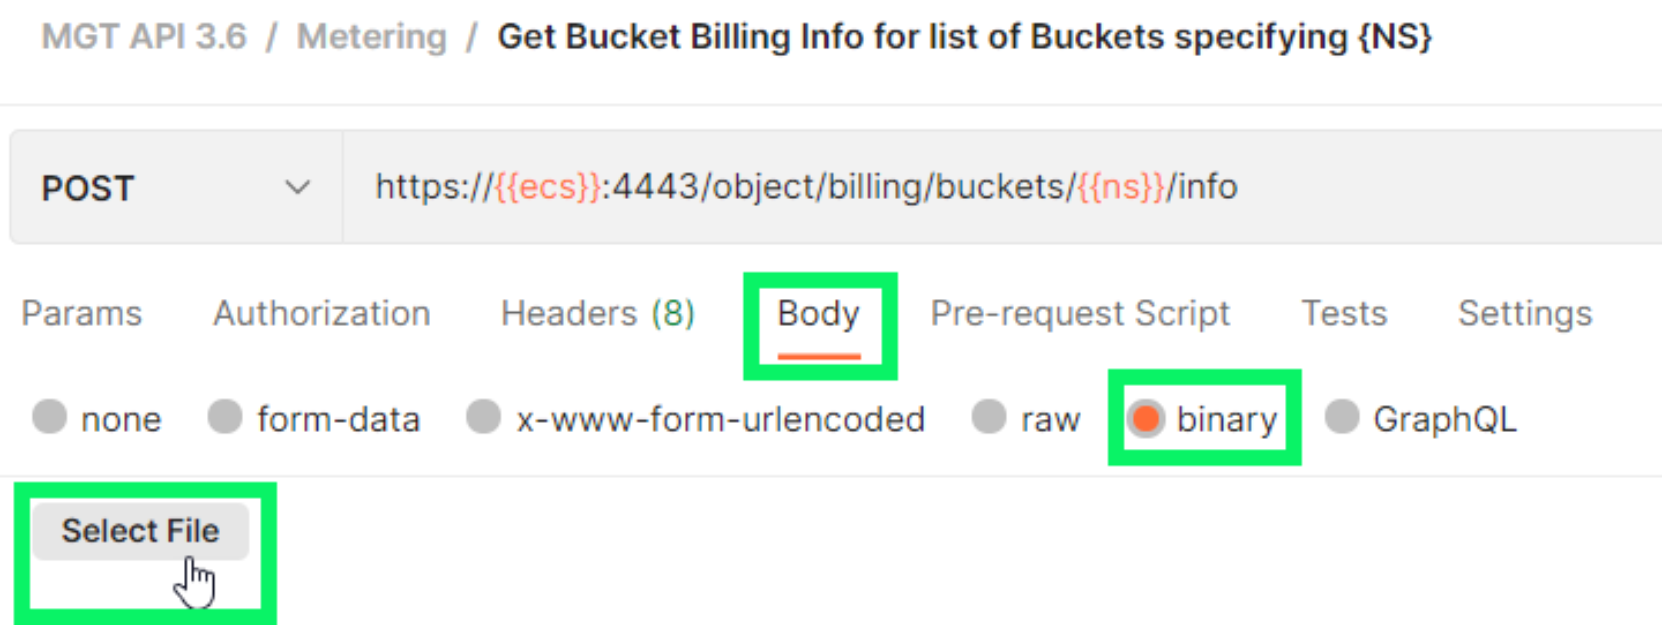
The Get Bucket Billing Info for list of Buckets specifying {NS} command is an example where a Payload file is required to be submitted with the command. Clicking on the Body tab of the command, we see in the Binary section that this command requires the BucketList.xml file that contains the list of Buckets to run the command against.
The collection ZIP file contained example Payload files. The stored ‘path’ to the file location will not be the same for your installation, so you will have to remove the Payload file from the Binary list and browse to the correct location of the same filename (remember the filename).
Because the content of the Payload file is also specific to the Demo environment, you will most likely have to edit the content of the file with the appropriate parameters specific to your environment. Both the REST API documentation and the file examples will help you determine the appropriate updates needed for the file content. The example BucketList.xml (make sure the filenames DO NOT have spaces in them) is shown below.

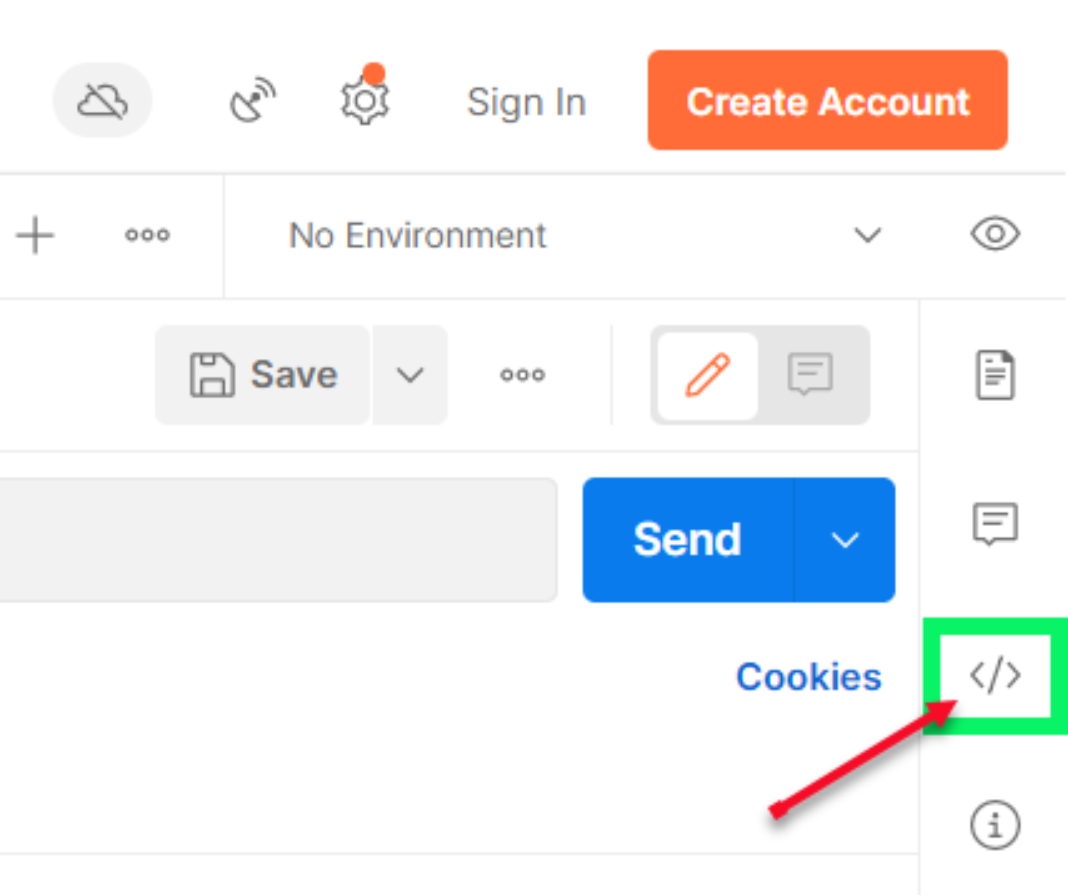
Another valuable feature of Postman is that it can take the commands and export the syntax in a variety of coding formats. For ANY of the commands you can select the Code button (along the Right hand icon bar) to expand the Code section and choose the language in which you would like to see the command formatted.
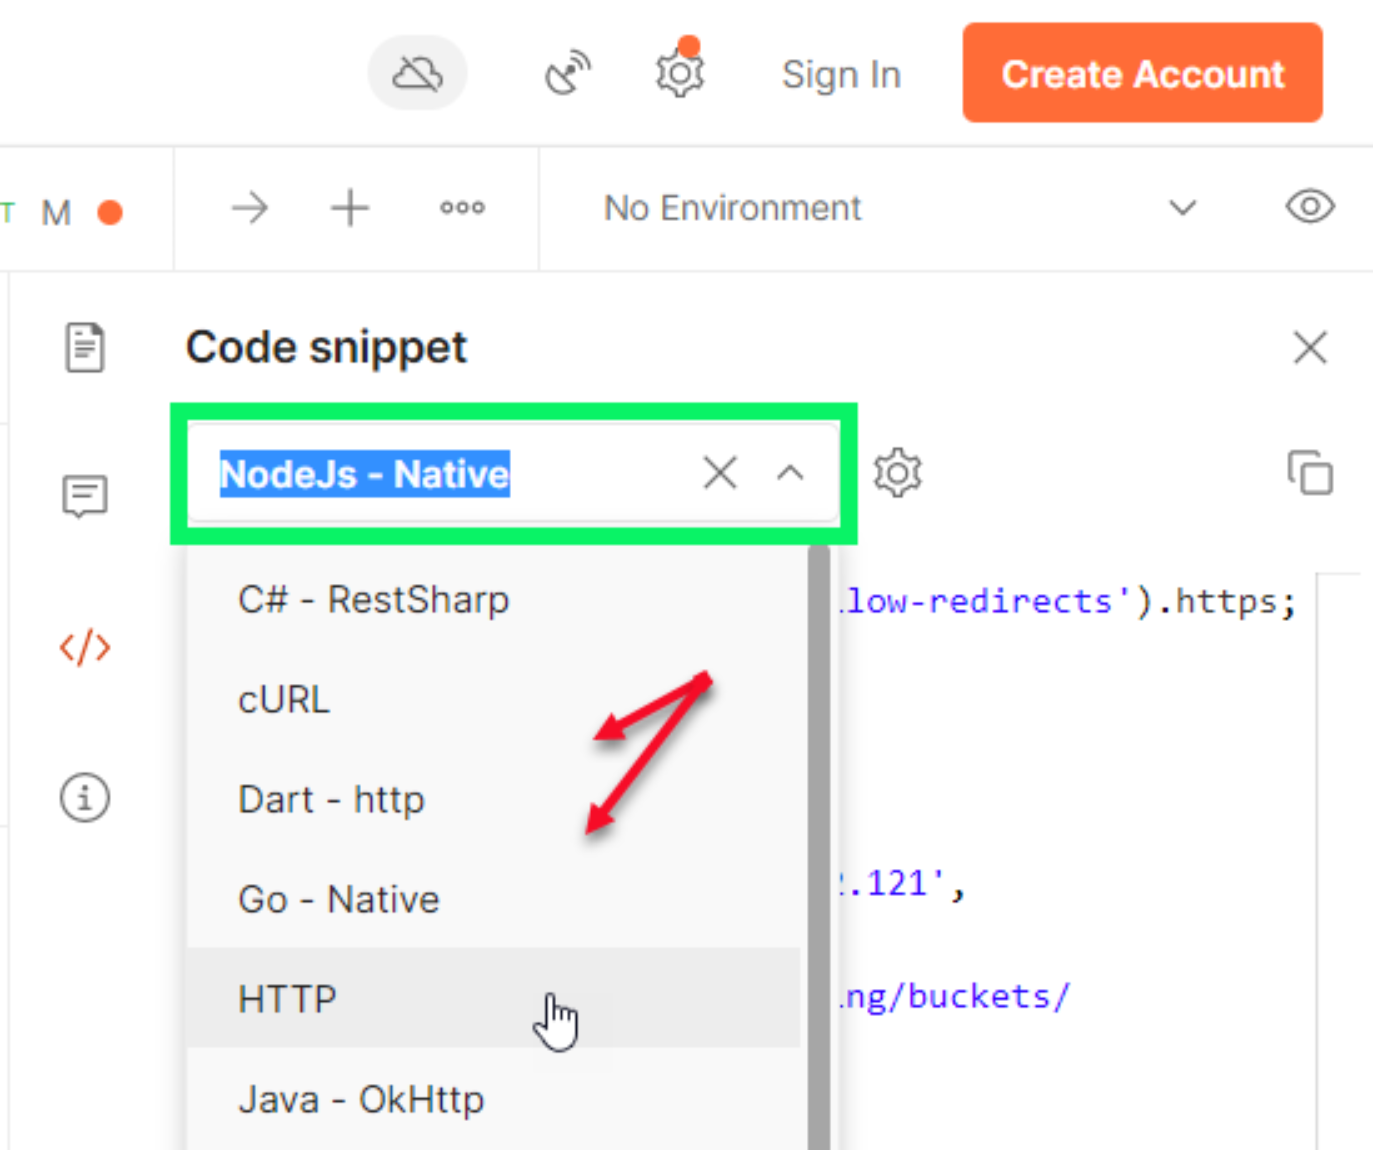
After you click on the Code button, the section expands and lets you select the language in which to display the command. You can then copy the command if you are creating a script with multiple commands in it.
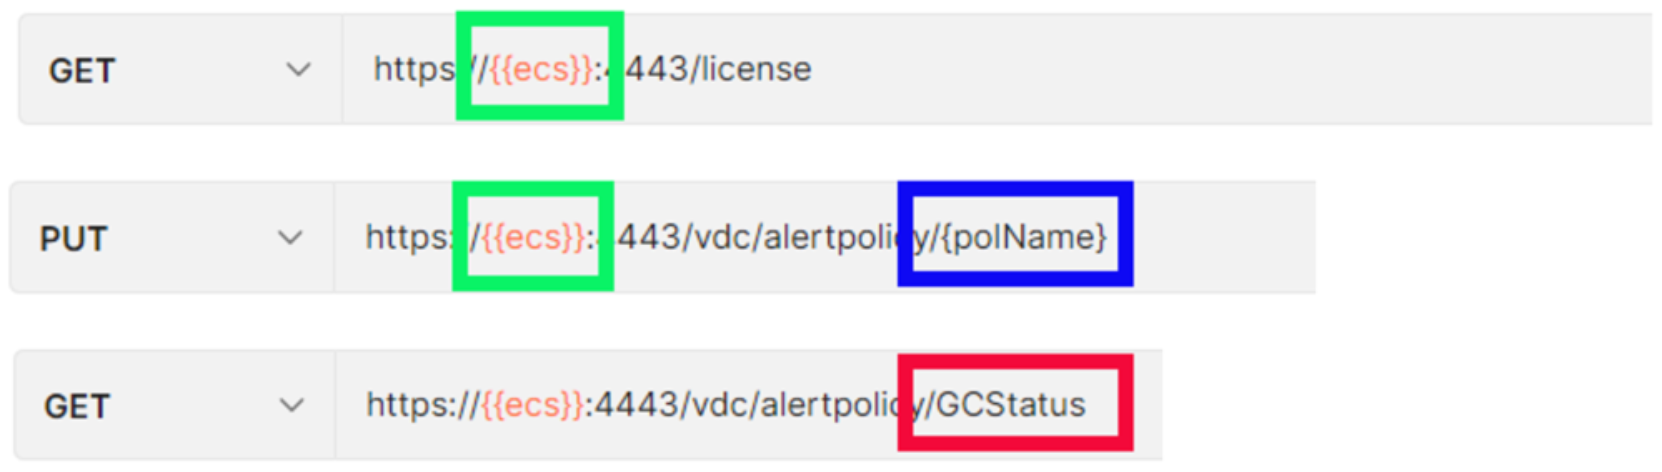
In the command syntax, note that variables are shown with double curly brackets on each side of the variable, as shown in the GREEN boxes below. Some commands have a section with only single curly brackets, as shown in the BLUE box below. This indicates that instead of the required string being pulled from a variable, it needs to be manually entered. Just replace the entire curly bracket with the appropriate value from your environment.
The Sample Commands are also useful by showing the actual example with a specific value from an environment, as indicated in the figure with the RED box.