
Additional System Status Messages/Settings
Additional System Status Messages/Settings
-
With the Dell Unity OE 4.3 and later, the system displays the current system name in the top menu bar and in the browser tab as the page name, as shown in Figure 33. This helps to easily identify at a quick glance the system that is being managed.
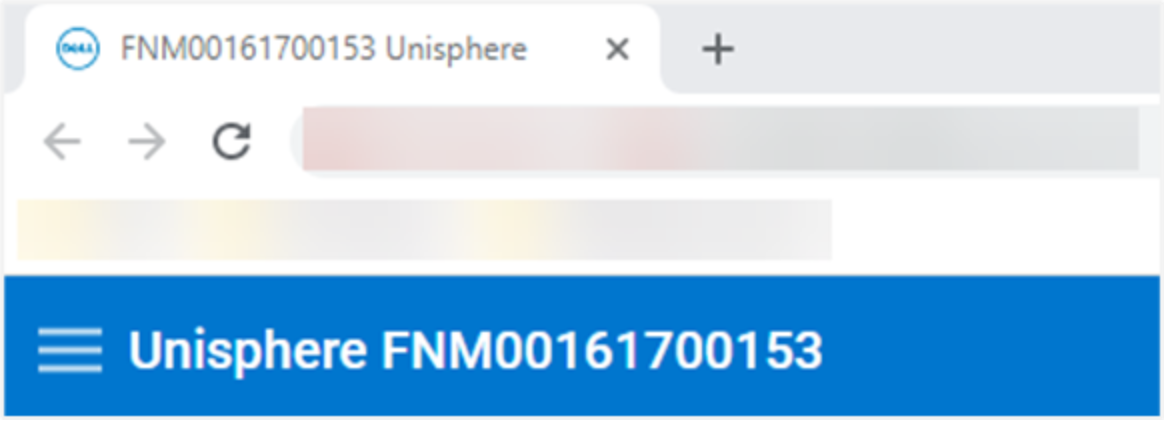
Figure 33. System Name
There are additional status messages and settings in the upper right of the GUI, as shown in Figure 34.

Figure 34. Additional System Statuses/Settings
The following sections provide more information about each icon.
System State
The first icon available in the top menu bar, as shown in Figure 35, shows the overall state of the system (OK, Warning, Error, or Critical). When clicked, the icon shows some high-level important system information like the current software version and system time. A link to view system details is also available in the window, which leads to the System View page when clicked.
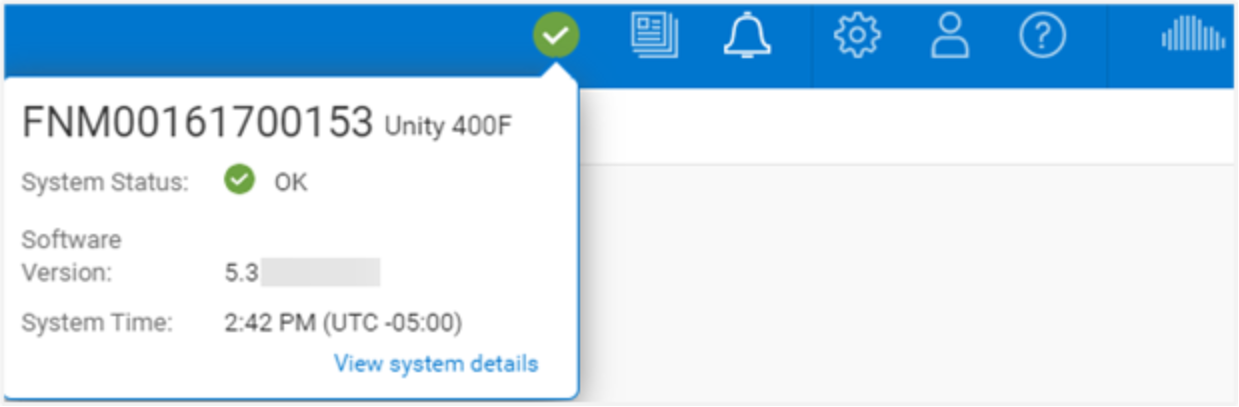
Figure 35. System Status
Running Jobs
As jobs are started on the system, users might want to check the status of their running jobs without having to go to the Jobs page. They can do this by clicking the Jobs icon, as shown in Figure 36, which shows all active jobs and their current percentage completed.
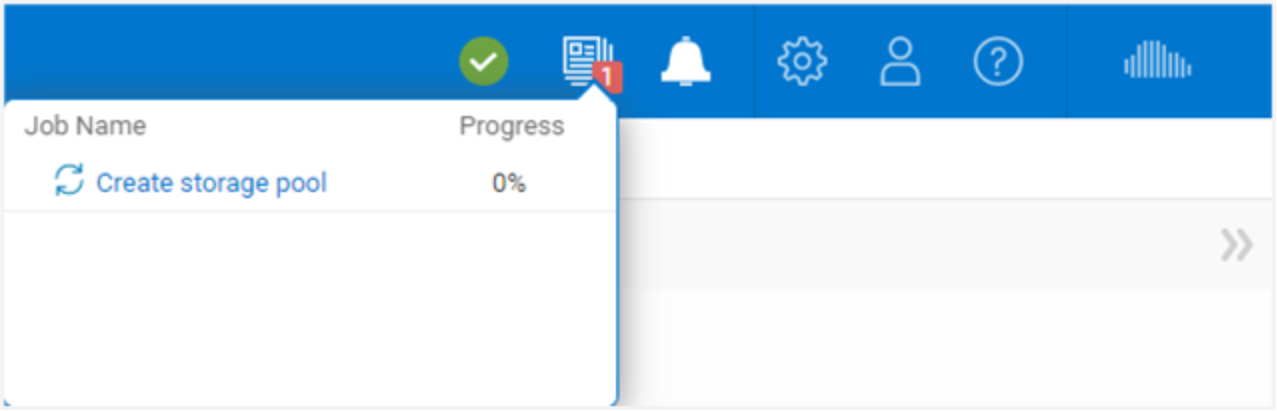
Figure 36. Active Jobs
Quick Access Alerts
Unisphere provides users a way to quickly see recent alerts on the system through the Alerts icon in the top menu bar, as shown in Figure 37. A link in the dialog leads to the Alerts page, which lists all alerts associated with the storage system. Here, users can get additional details about the alerts and information about how to remedy the associated issues.
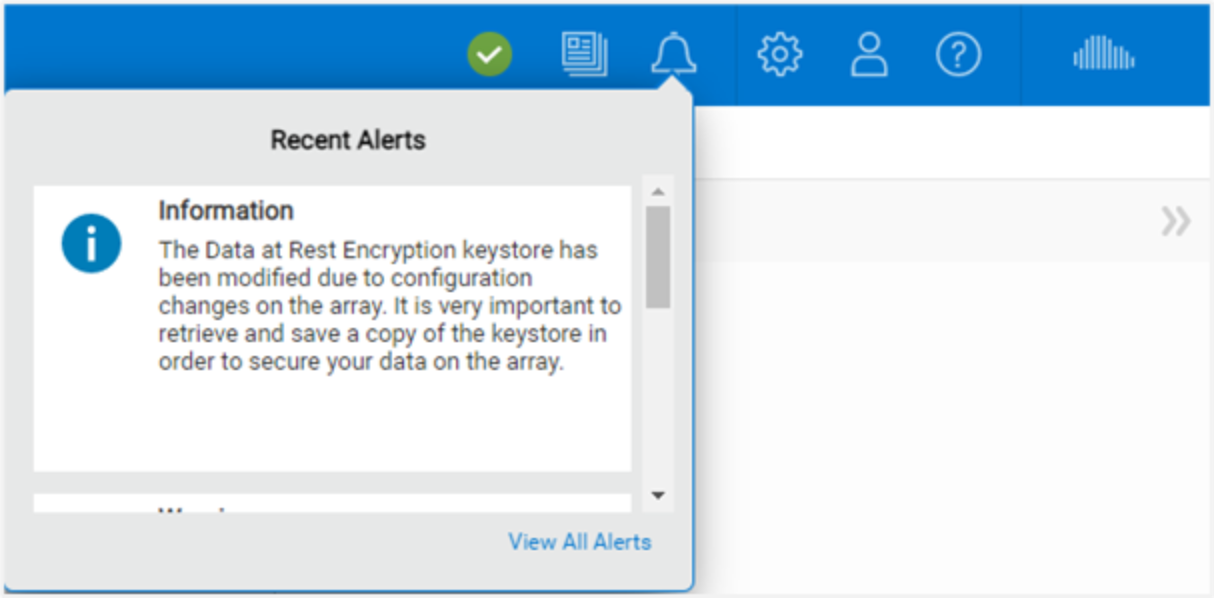
Figure 37. Recent Alerts
System Settings
The gear icon in the top menu bar leads to the Settings menu. The Settings menu, as shown in Figure 38, allows administrators to set/configure many settings that are important to the system, but are less frequently used. The menu includes the ability to upgrade system software, configure support credentials, configure user directory services for Unisphere management, and install system licenses. Table 5 shows all available settings in the Settings menu. There is a link at the bottom of the menu that reopens the Initial Configuration Wizard if a user had accidentally closed the wizard during initial deployment or wants to run through the wizard again.
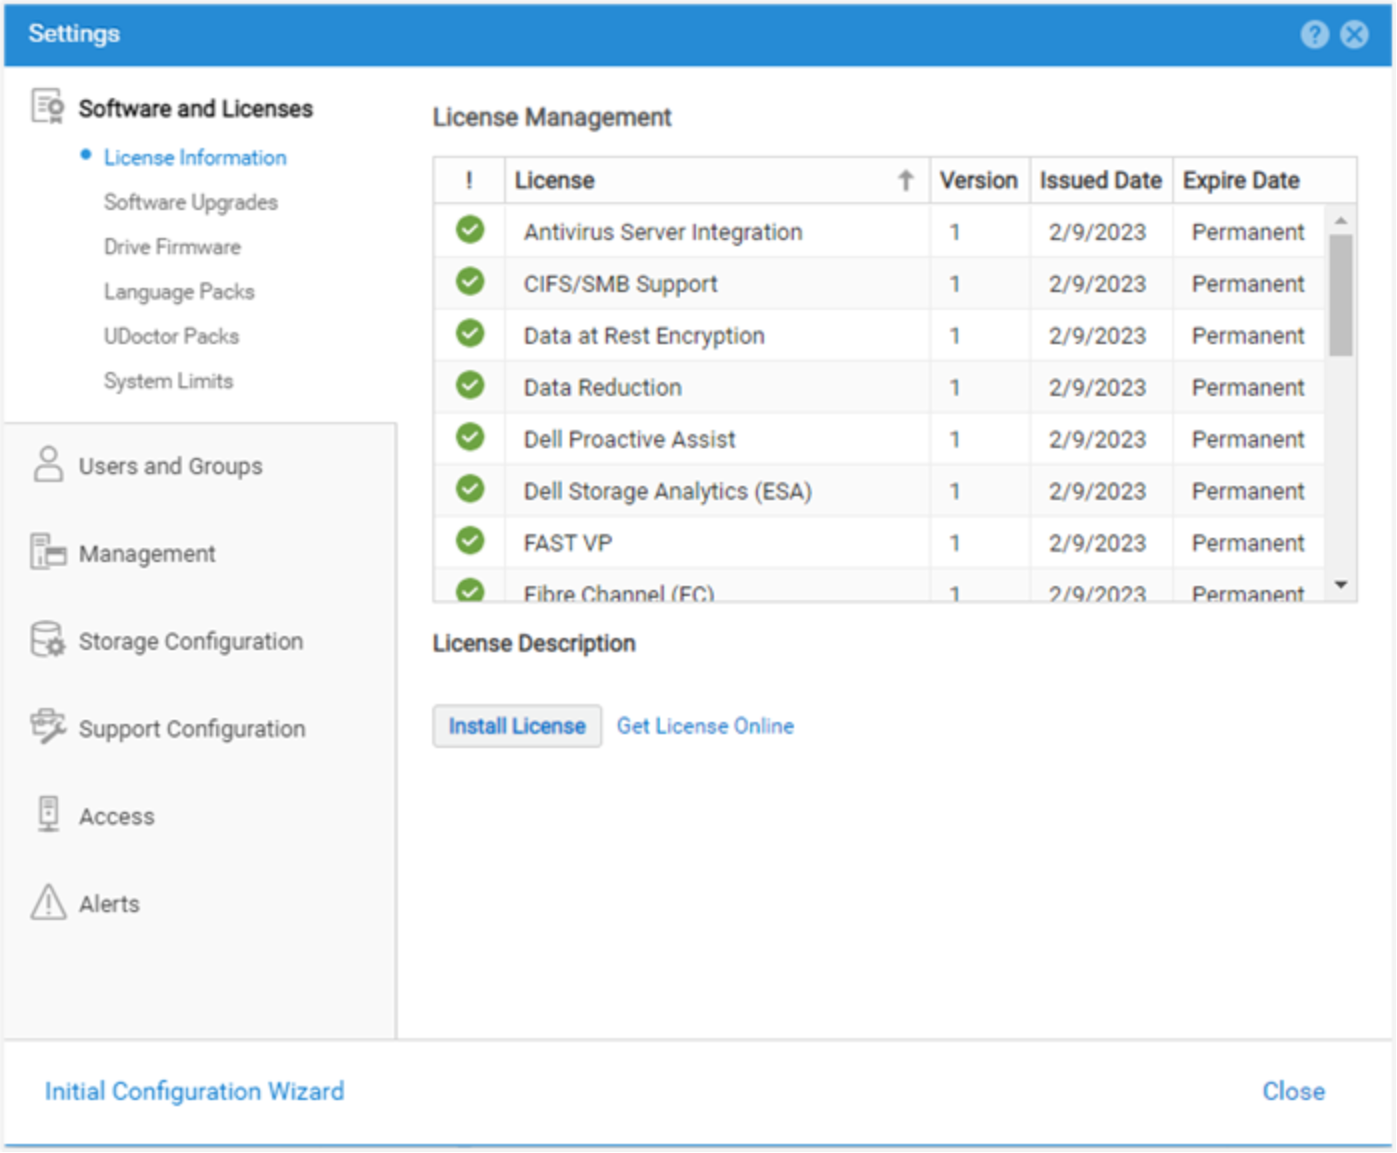
Figure 38. Settings Menu
Table 5. Settings Menu Options
Categories
Settings
General Description
Software and Licenses
License Information, Software Updates, Drive Firmware, Language Packs, UDoctor Packs, System Limits
Update system software/firmware, install licenses, install language packs and view system limits
Users and Groups
User Management, Directory Services
Create, modify, delete user accounts for system management access, and configure LDAP server(s)
Management
System Time and NTP, Schedule Time Zone, DNS Server, Unisphere Central, Unisphere IPs, Remote Logging, Failback Policy, Performance, Encryption
Configure various system-related settings
Storage Configuration
For Hybrid Systems: FAST Cache, FAST Cache Drives, FAST VP, Drives
For All Flash Systems: Drives
Configure FAST technology-related settings and view unconfigured drives
Support Configuration
Proxy Server, Dell Support Credentials, Contact Information, SupportAssist[1], CloudIQ
Add Dell Support account information, add contact information, and configure SupportAssist/CloudIQ
Access
CHAP, Ethernet, High Availability, Fibre Channel, Routing, VLANS, iSNS Configuration
Configure additional security for login (iSCSI), view IO port status/information, view MTU and speed, configure link aggregation, view/edit configured network routes, view Fibre Channel ports, and enable iSNS
Alerts
General, Email and SMTP, SNMP
Add email or SNMP trap destinations to send system alerts to, change language preferences, and enable threshold alerts
Dynamic Pre-Upgrade Health Check (PUHC)
Starting in Dell Unity OE 4.0 and later, you can manually download the latest Pre-Upgrade Health Check (PUHC) file from the Dell Support site and install it locally on the system. This ensures that the system can detect any recent issues that would prevent a successful OE upgrade. In Dell Unity OE version 5.3 and later, a PUHC file can be dynamically pushed and automatically installed on the system. To support this feature, SupportAssist for physical Unity systems or Secure Remote Services for UnityVSA systems must be configured. The purpose of dynamically pushing the PUHC files is to ensure that Unity systems are always running the latest health checks. The Unity system will typically poll the backend once a day for new files actively waiting to be transferred. Figure 39 shows an example of the Alert indicating that a new PUHC was installed successfully.
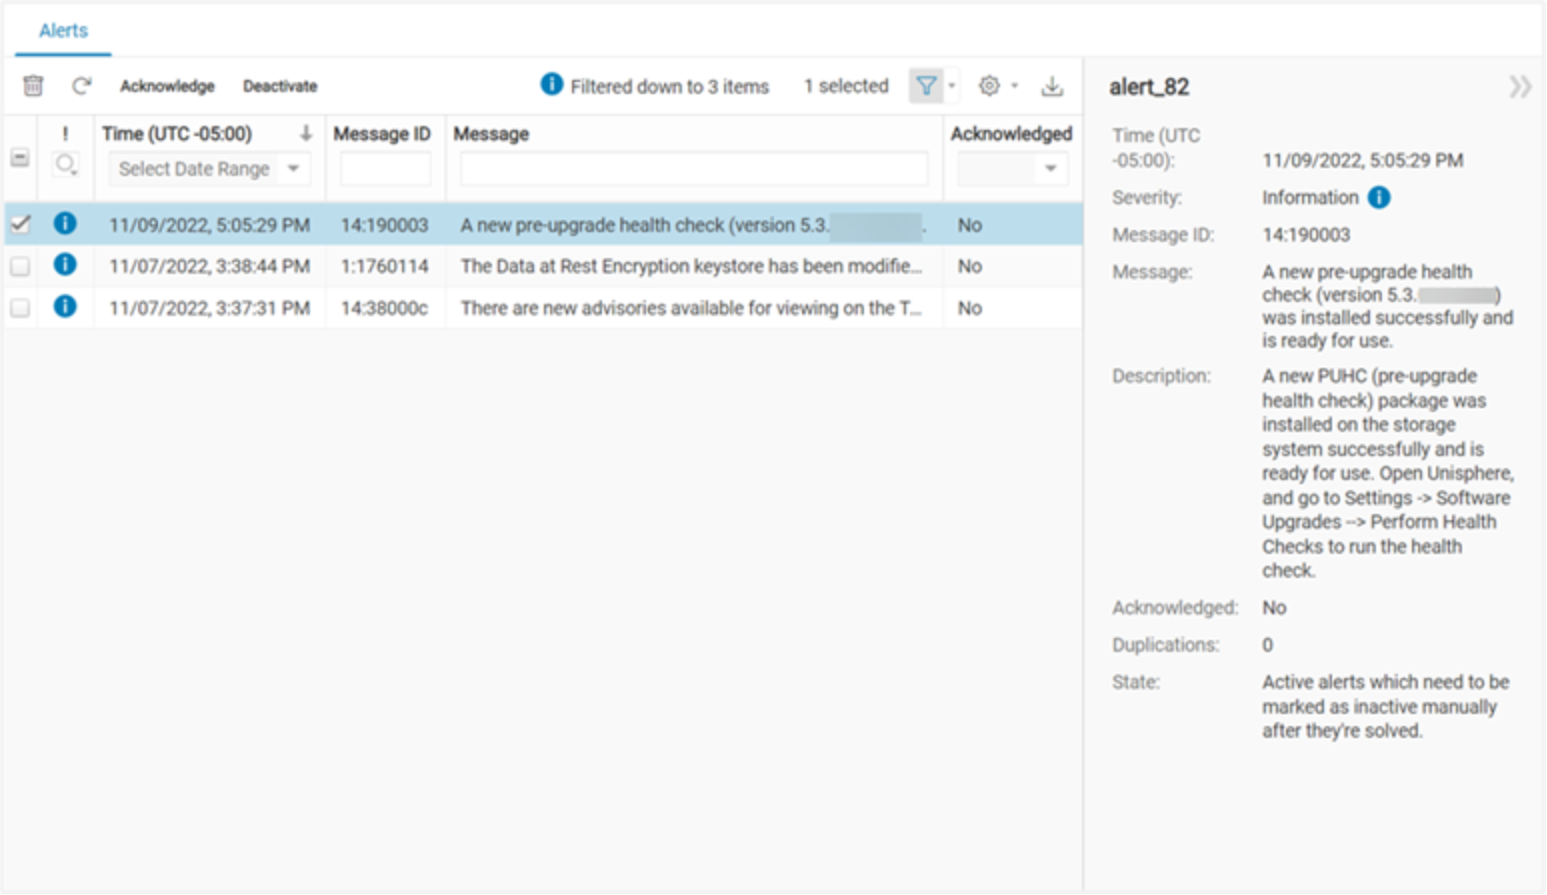
Figure 39. Dynamic Pre-Upgrade Health Check
Dell SupportAssist
In Dell Unity OE versions 5.2 and earlier, physical systems leveraged Secure Remote Services (formerly ESRS) as its remote support and call home service. In Dell Unity OE 5.3 and later, Dell SupportAssist replaces Secure Remote Services for physical systems. SupportAssist can be configured in two different modes, Connect directly or Connect through a gateway server. These modes are synonymous with Integrated and Centralized Secure Remote Services. Secure Connect Gateway (SCG) version 5.12 or later is required when configuring SupportAssist through a gateway server. No changes have been made to UnityVSA systems, which continue to support Centralized Secure Remote Services.
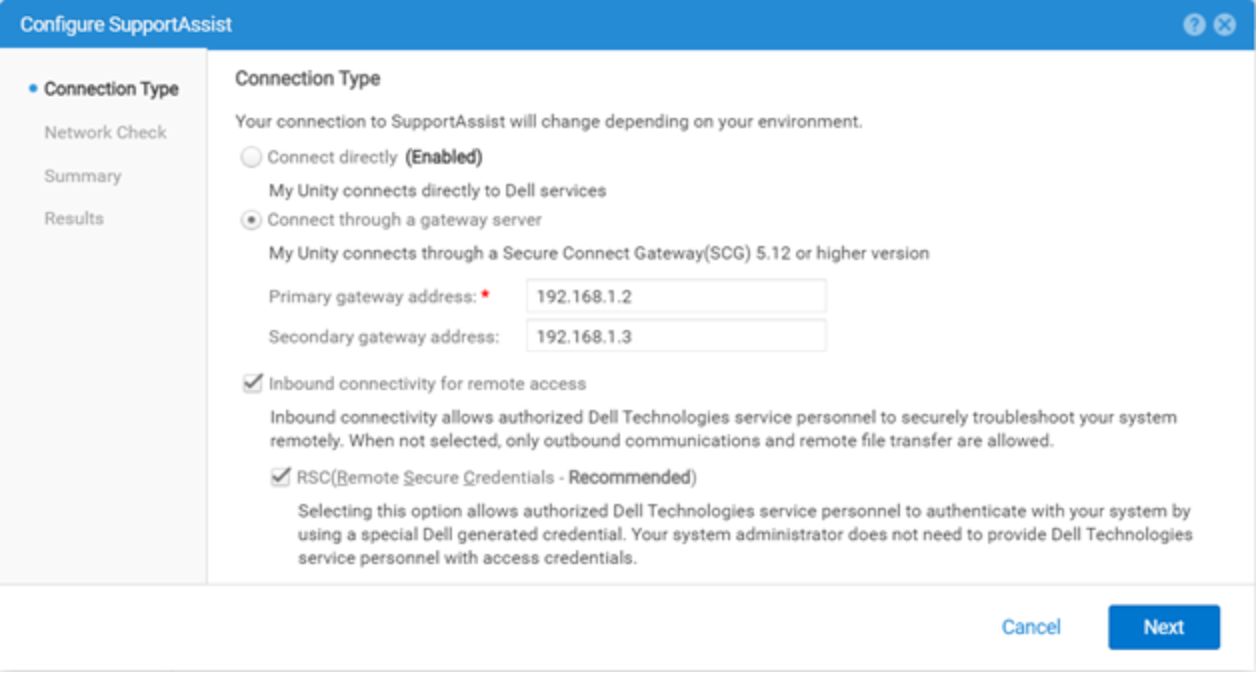
Figure 40. Configure SupportAssist example
Remote Secure Credentials (RSC)
Beginning in Unity OE version 5.3, the Remote Secure Credentials (RSC) option can be enabled on a physical system. This option allows authorized Dell Support personnel to remotely access a system without requiring a system’s service password. Instead of the service user’s credentials, Dell Technologies service personnel authenticate the system by using a special Dell generated credential. This credential expires when the service technician terminates the remote access session. Inbound connectivity for remote access must be enabled to configure RSC. Enabling RSC avoids the need for a user to provide their credentials through unsecure methods. It also results in faster time to resolution on service requests because Dell Support personnel can quickly access the system to troubleshoot issues and gather diagnostics.

Figure 41. Configure Remote Secure Credentials
LDAP Enhancements
With Dell Unity OE 4.4 and later, when configuring the Directory Services under Users and Groups, as shown in the following figure, the user can select the Auto Discover checkbox to automatically look up the LDAP servers through the DNS.
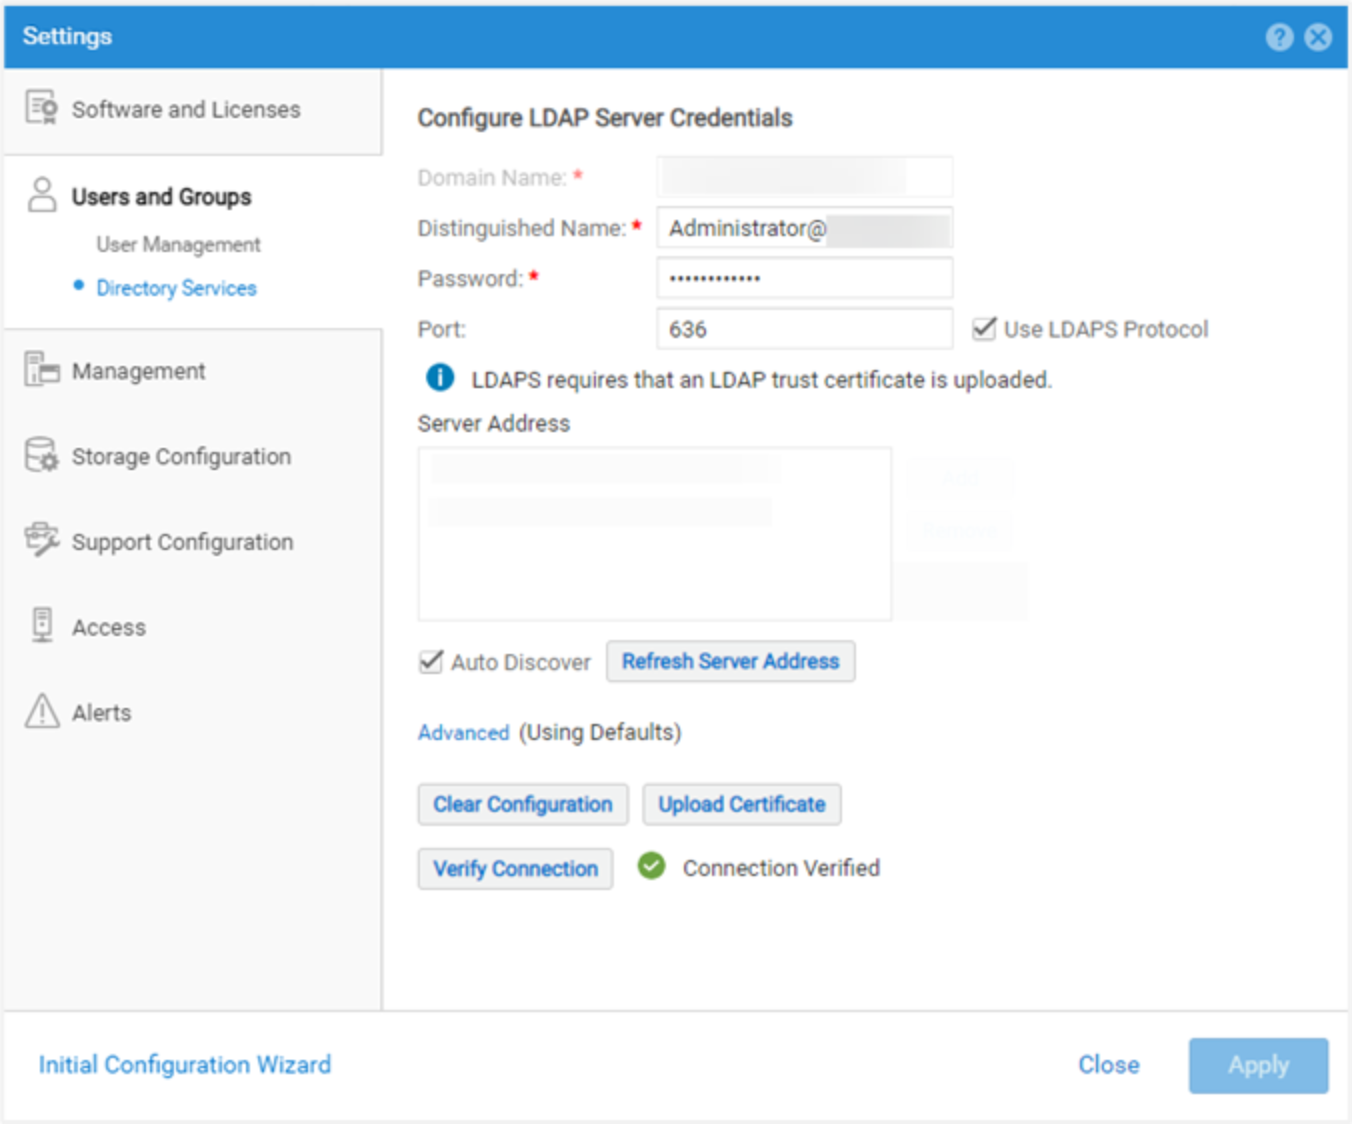
Figure 42. Directory Services – LDAP configuration
Additionally, the system can have multiple LDAP servers configured and supports Forest Level Authentication. With Forest Level Authentication, the system can authenticate LDAP users at the forest level of the domain. For example, if a domain has finance.dell.com and eng.dell.com as trees, by providing in the Domain Name dell.com and specifying port 3268 for LDAP or port 3269 for LDAP Secure (LDAPS) the users under both trees can be authenticated. For more information about how to configure LDAP and LDAPS, see the Dell Unity Security Configuration Guide on Dell Support.
Logged in User Options
The user icon next to the Settings menu, as shown in Figure 43, includes various options, including changing user language preferences, changing the password of the logged in user, and a log out option.
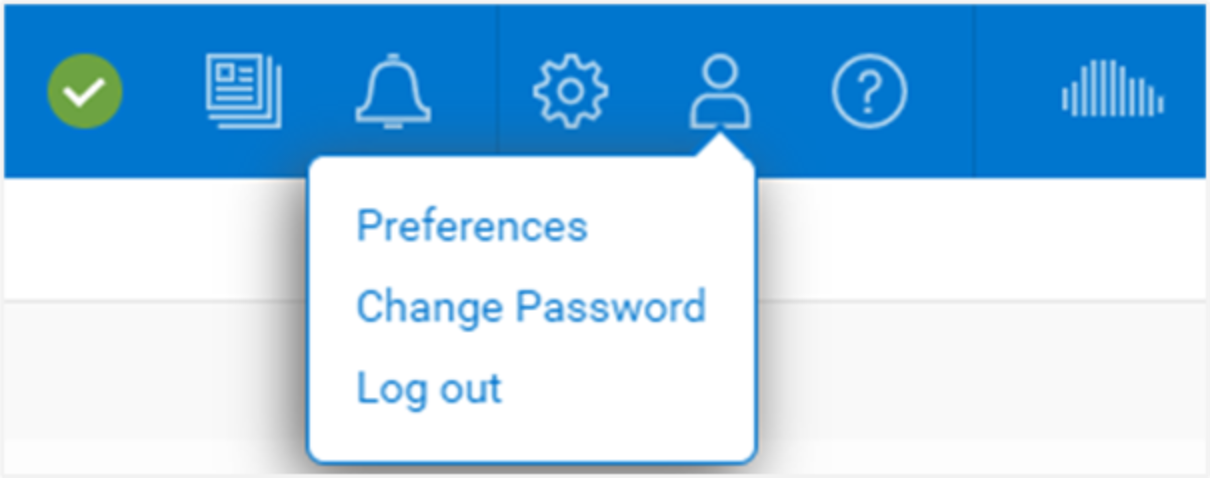
Figure 43. Additional User Options
Unisphere Online Help
The next icon available in the top menu bar is the Unisphere provides context-sensitive help, as shown in Figure 44. The options for the corresponding dialog dynamically change based on the current page/wizard in Unisphere. For example, if the user is on the Dashboard page, the online help icon displays an option to go directly to Online Help for the Dashboard page, as shown in Figure 45. This helps users find the exact information they need when trying to learn more about the system, instead of having to search through the various pages in the Online Help.
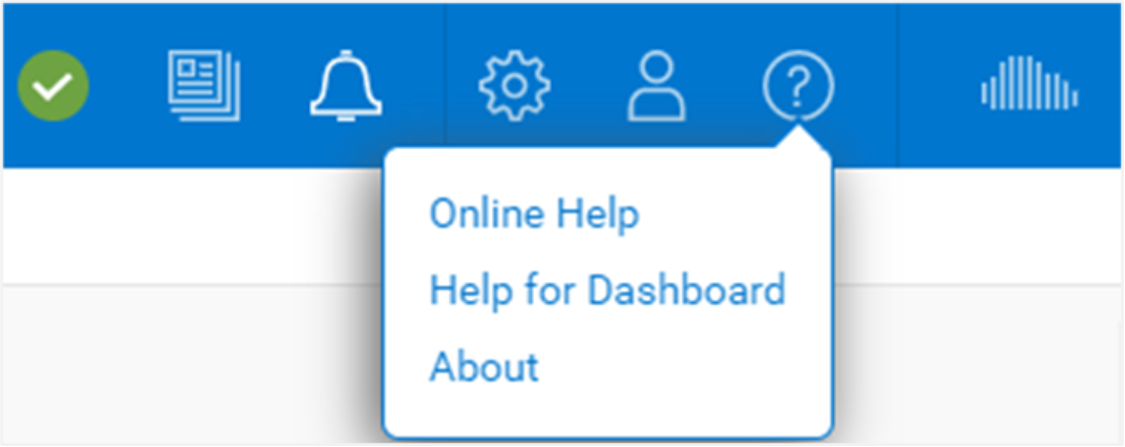
Figure 44. Unisphere Online Help Options
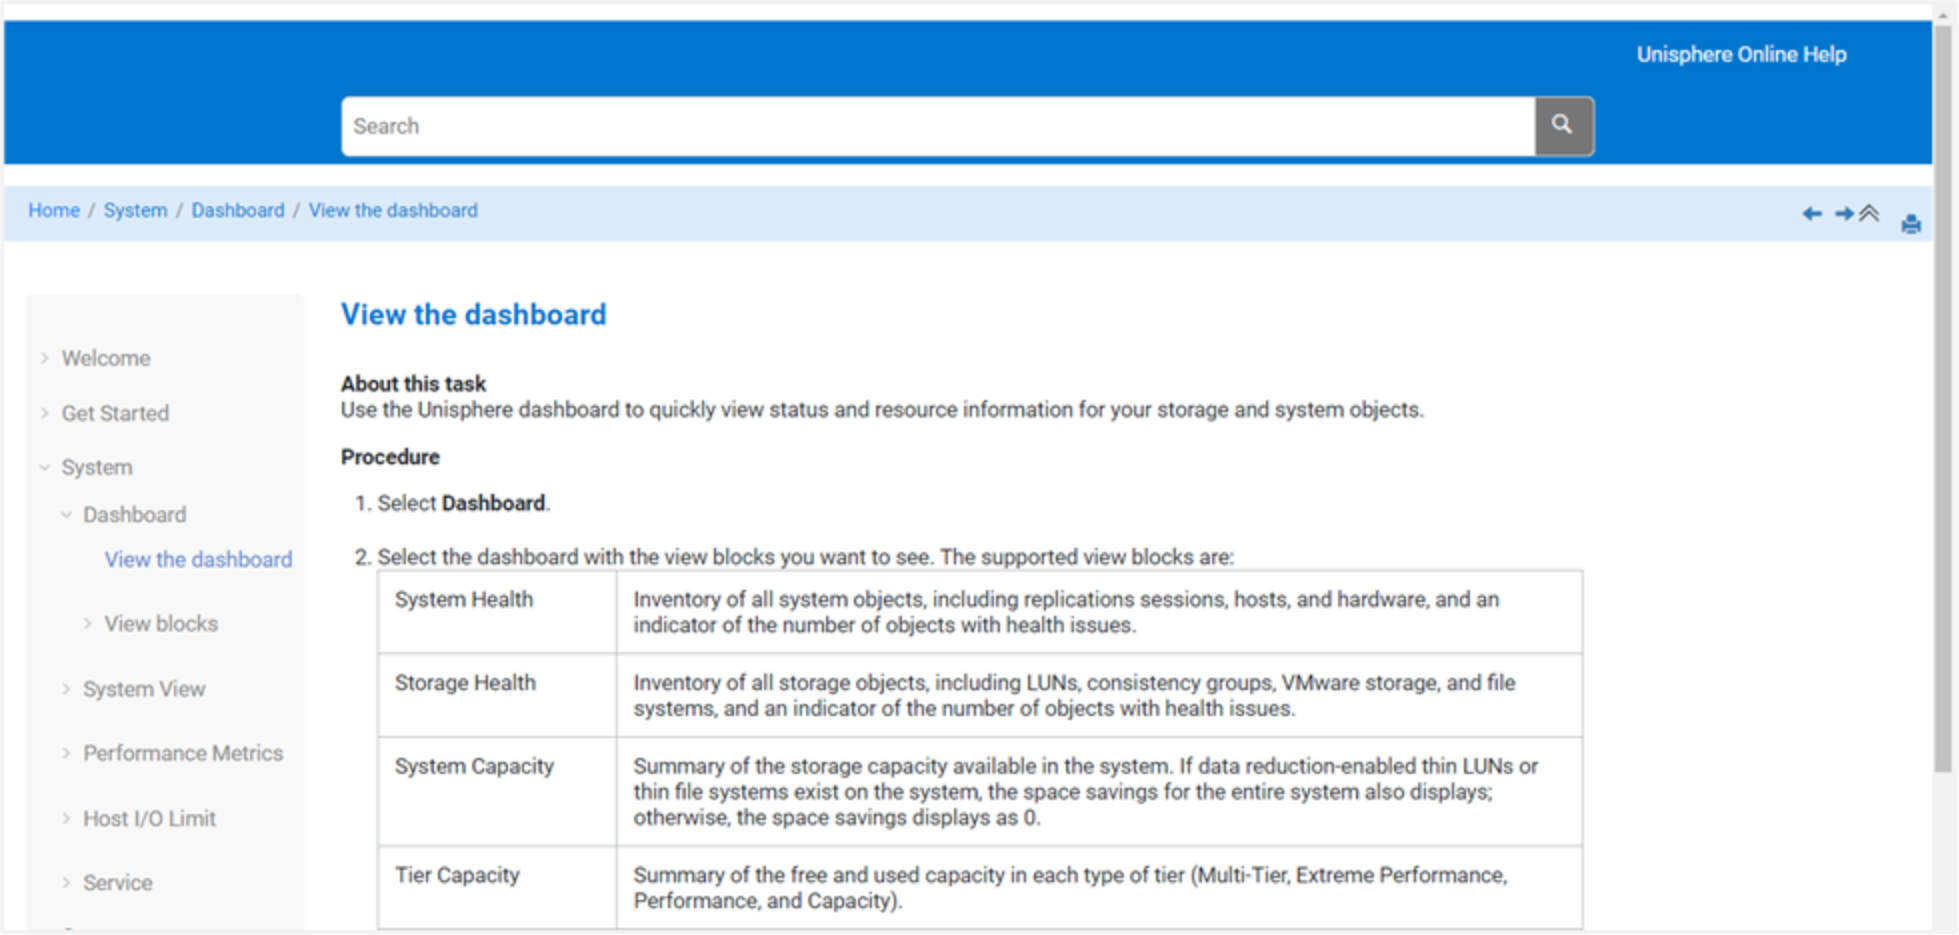
Figure 45. Unisphere Online Help
Launch CloudIQ
Starting with Dell Unity OE version 4.1, the CloudIQ icon was added in the top-right corner of Unisphere. Clicking this icon launches the CloudIQ GUI (http://cloudiq.dell.com). To see the system in CloudIQ, a user must set up Secure Remote Services or SupportAssist and allow data to be sent to CloudIQ from the Settings page, as shown in Figure 46.

Figure 46. CloudIQ Configuration