
Creating a dynamic pool
Creating a dynamic pool
-
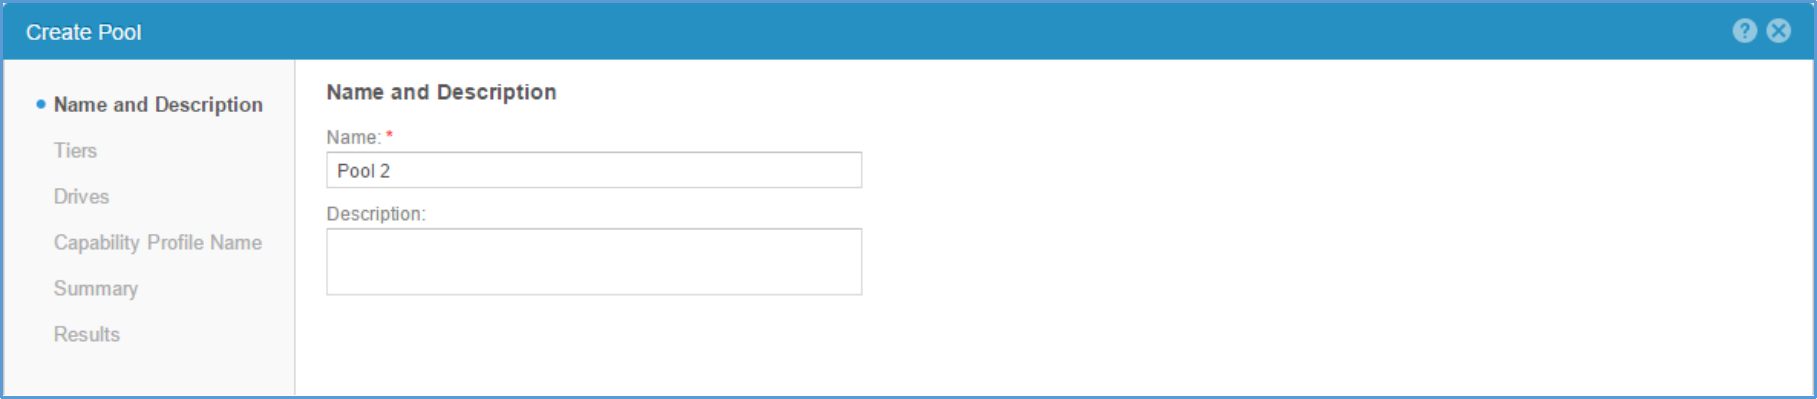 In Dell UnityOS version 4.2 and later, a dynamic pool is the only pool type that can be created in Unisphere for an all-flash system. This is also true for hybrid systems running UnityOS version 5.2 and later. Creating a traditional pool requires using the Unisphere CLI or REST API. From the Pools page in Unisphere, select the plus (+) symbol to Launch the Create Pool Wizard to create a dynamic pool. Figure 17 shows the Name and Description step within the Create Pool wizard. On this page, provide a name for the pool and a short description to provide additional information about the pool, such as what the pool should be used for.
Figure 17 Create Pool wizard > Name and Description
The next step within the Create Pool wizard is the Tiers step. In this step, the Tiers to add to the pool are selected, and the RAID type and hot spare capacity for each tier can also be customized. In this example a dynamic pool is being created on an all-flash system. In a hybrid system the options available depends on the available drive types within the system. As shown in Figure 18, Extreme Performance Tier is the only available choice in this all-flash system. Once Extreme Performance Tier is selected, choose the RAID protection for the pool. RAID 5 is the default selection when creating a pool.
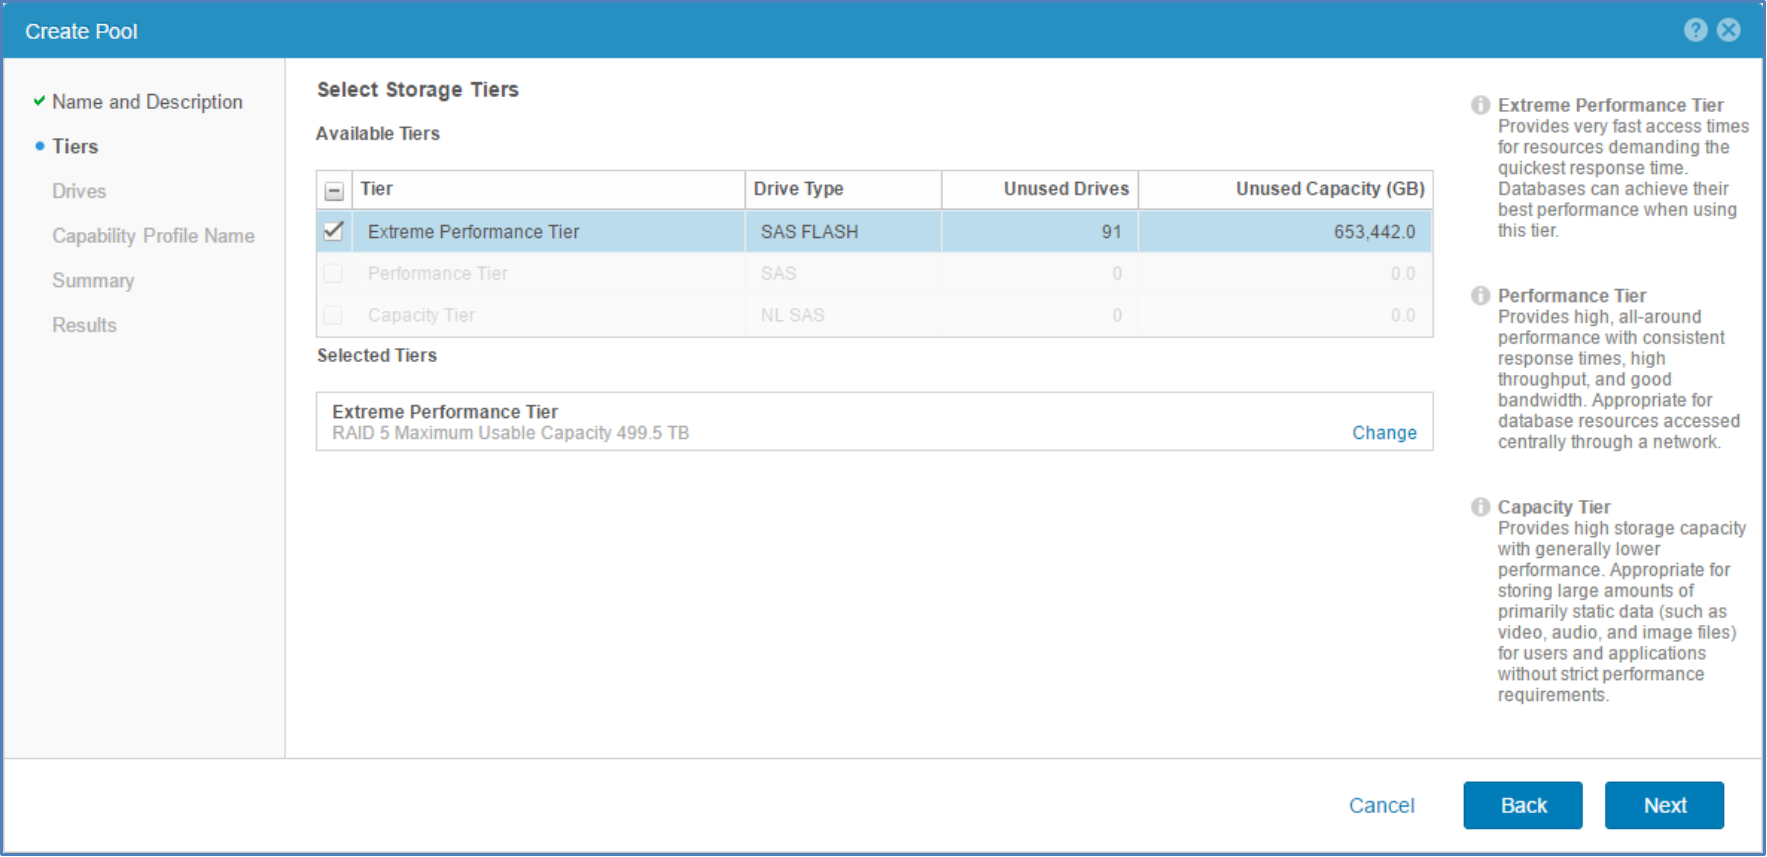
Figure 18 Create Pool wizard > Tiers
Figure 19 shows the available RAID configuration options when Change is selected within the Tiers step. For the Extreme Performance Tier and Performance Tier, the available choices are RAID 5, RAID 6, and RAID 1/0, which all have their benefits and use cases. When creating a dynamic pool with NL-SAS drives, RAID 6 is the only available option in Unisphere for the Capacity Tier. To select a particular RAID type, select the radio button by the desired RAID type. The Maximum Usable Capacity for each RAID type is also shown, which assumes all current free drives within the system are used to create a pool. This number factors in the RAID overhead for each available choice. This is also where the Hot Spare Capacity value is configured for the Tier. Valid options are 1/32 (default) or 2/32. The RAID setting and hot spare capacity setting are configured independently on each Tier.
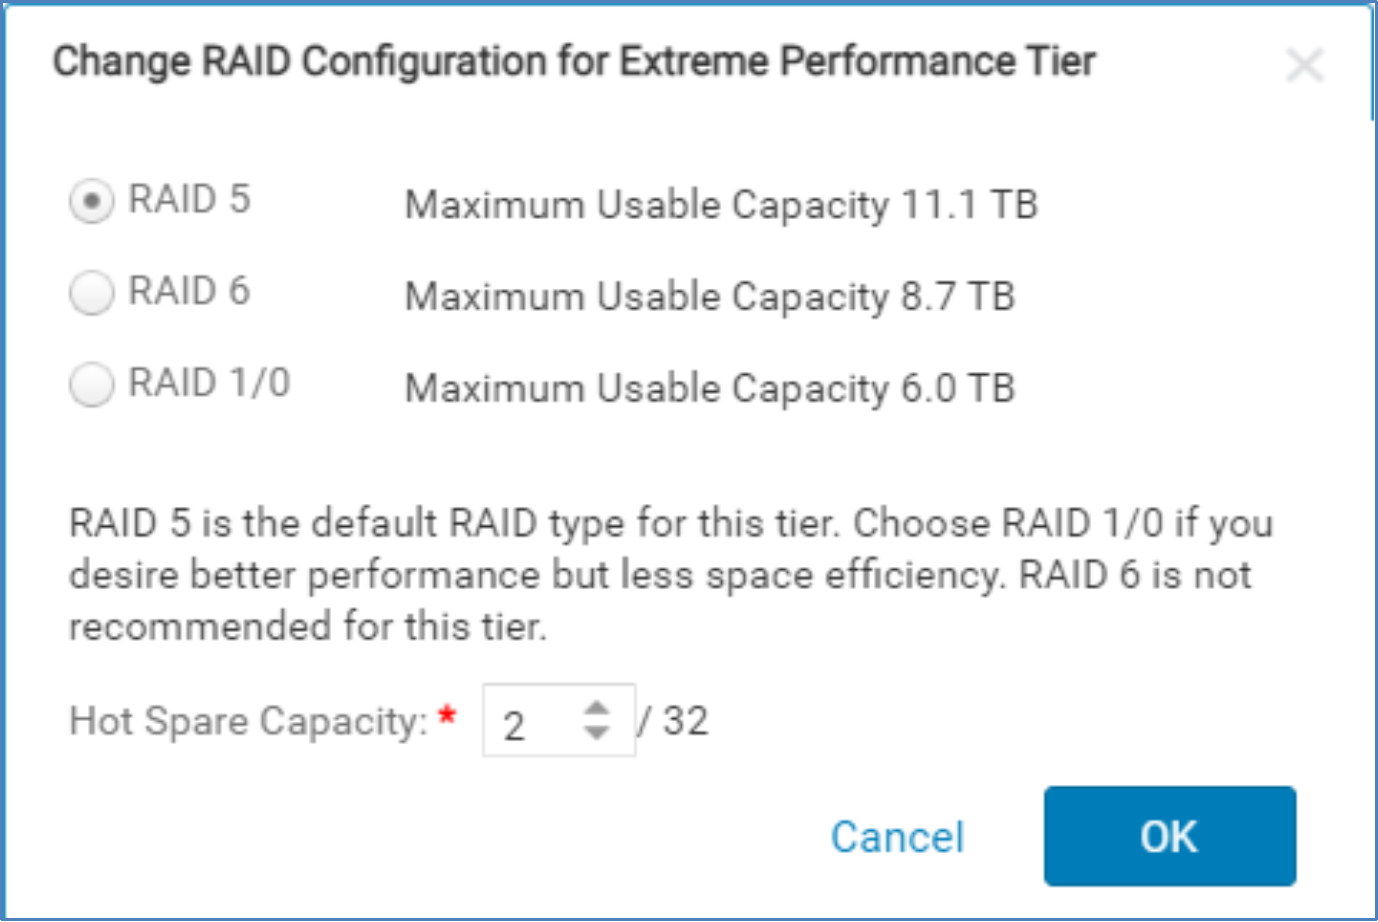
Figure 19 Create Pool > Change RAID Configuration for Extreme Performance Tier
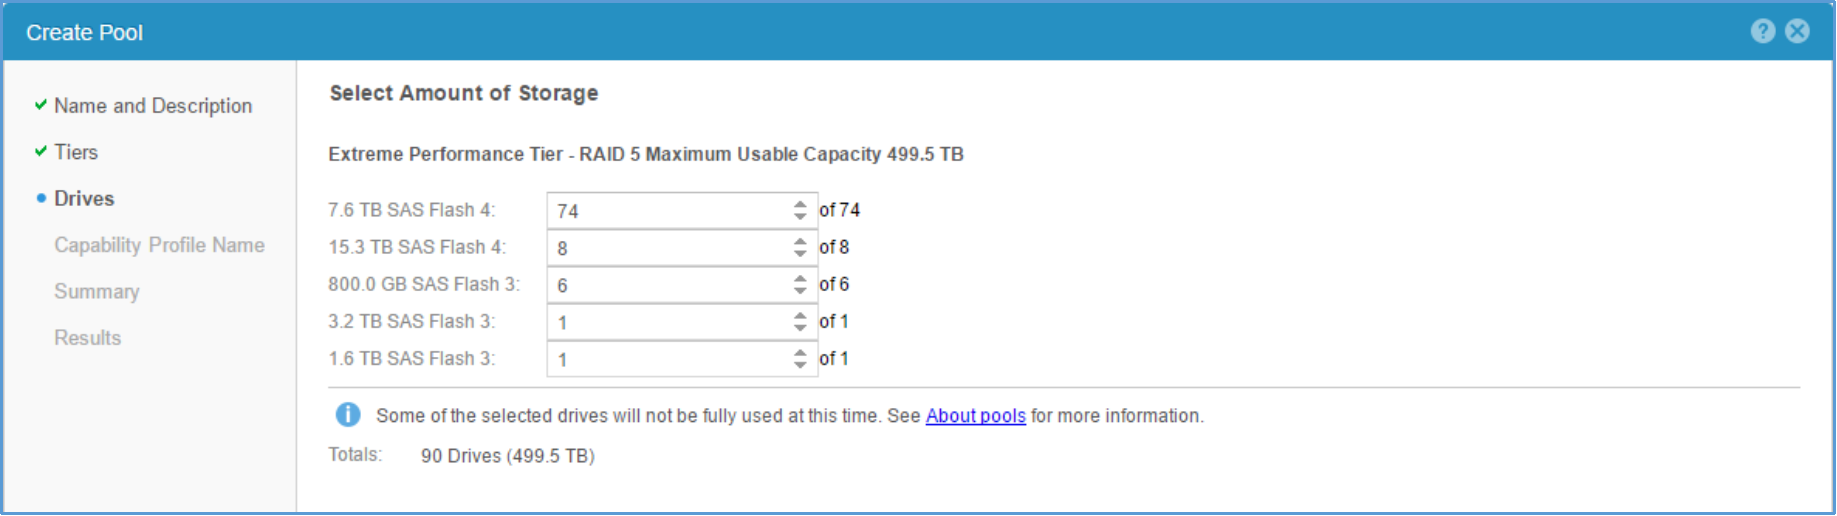 After completing the Tiers step and customizing the RAID type for the Tier, the Drives step is shown. Within the Drives step, the number of drives of each type to place into the pool can be customized. This step only shows drives for the tiers selected in the previous step, and all free drives that have not been reserved as Traditional Spares are selected by default. The only time all drives are not selected by default is if an invalid drive count for the pool will be selected. As mentioned in section 0, dynamic pools are not created with multiples of drives, and most counts above the minimum drive counts can be selected. This screen also includes the Maximum Usable Capacity at the top of the window. The capacity displayed is based on the RAID protection chosen and if all free drives within the system were selected. Totals, shown at the bottom of the window, is the total drive capacity for only the drives selected.
Figure 20 Create Pool wizard > Drives
Also shown in this example is an informational message stating that the capacity for some of the drives selected will not be fully used at this time. This is done to warn the user that not all space from all drives selected will be usable at this time. This occurs when the number of drives for a particular drive size is not at least the value of a stripe width plus one additional drive. In Figure 20, there are only 1 x 1.6 TB and 1 x 3.2 TB SAS flash 4 drives available, which is why the message is displayed. This topic is covered in more detail in section 0 on supported drives.
The Drives step also provides information when the minimum number of drives selected does not match or exceed the minimum required for the RAID type selected. In Figure 21, the minimum drive count of six for RAID 5 has not been met. Currently, only 2 x 7.6 TB SAS flash 4 drives have been selected. Since different size drives can be mixed, the warning displayed shows that at least four more of the same drive types listed must be selected.
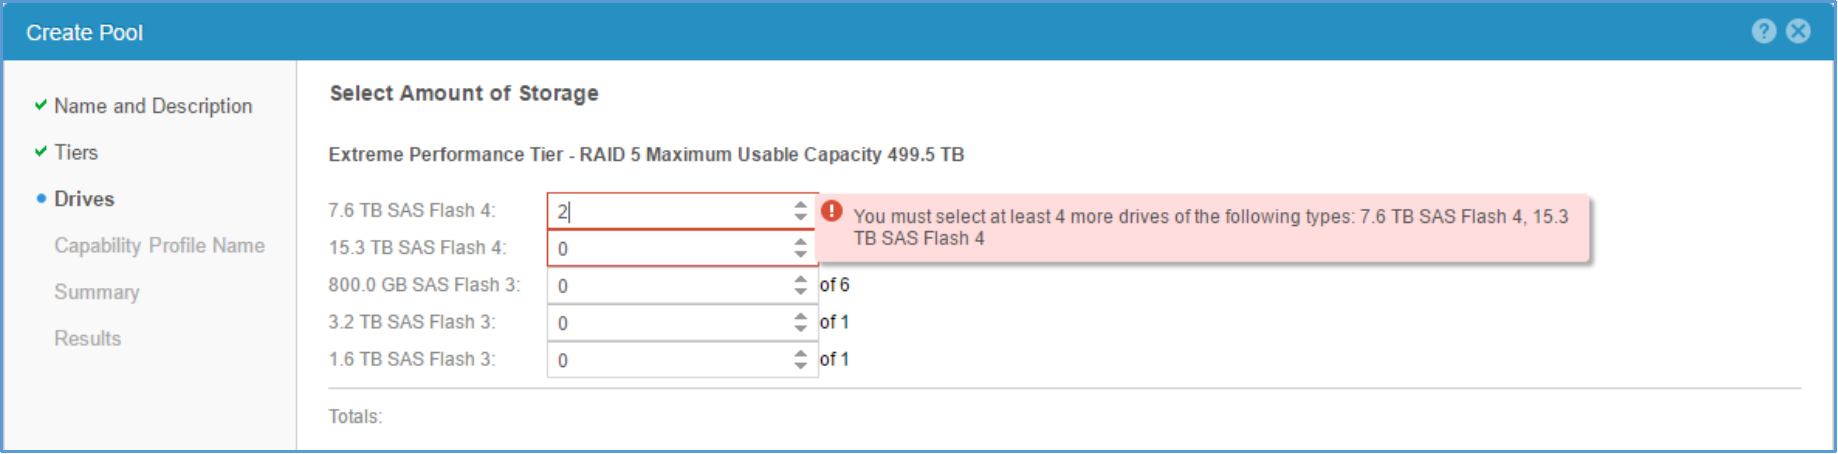
Figure 21 Create Pool wizard > Drives with minimum drive count not selected
As outlined in section 0 on drive partnership groups, there are a few drive counts that cannot be selected when creating or expanding a dynamic pool. This occurs when the minimum number of drives to start the next drive partnership group has not been met.
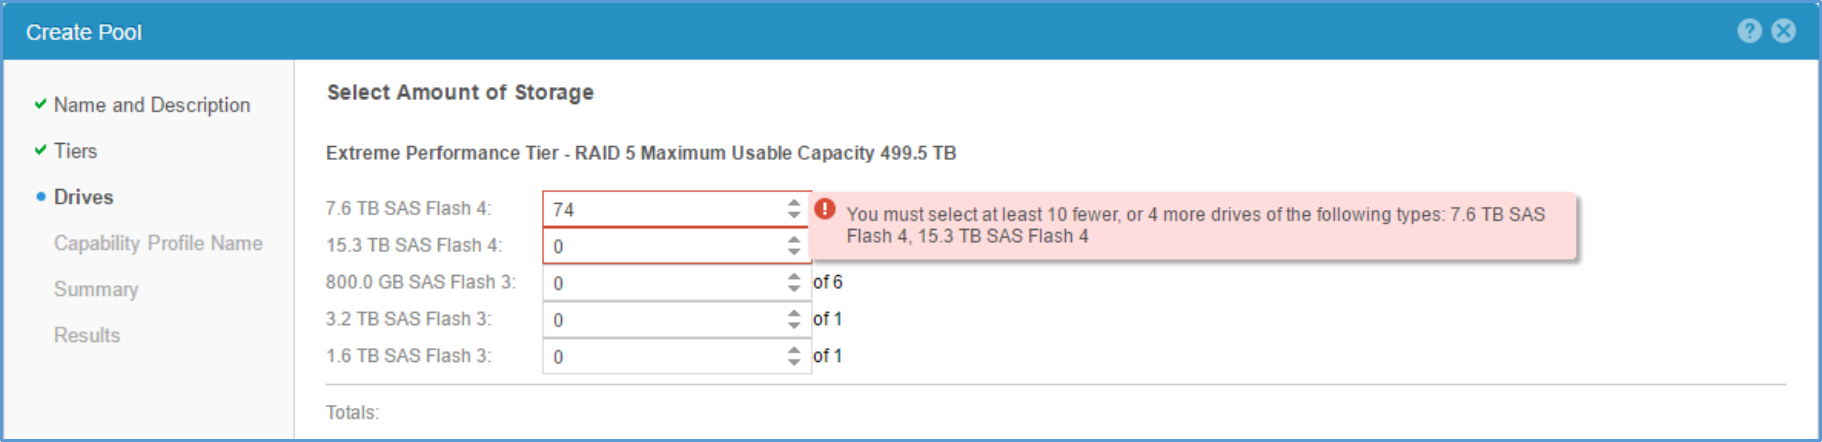 As shown in Figure 22, when the number of drives selected is invalid due to the drive partnership group criteria not being met, a warning is displayed. This warning outlines the options available, either the drive count can be reduced or increased by some number of drives.
Figure 22 Create Pool wizard > Drives with invalid drive count selected
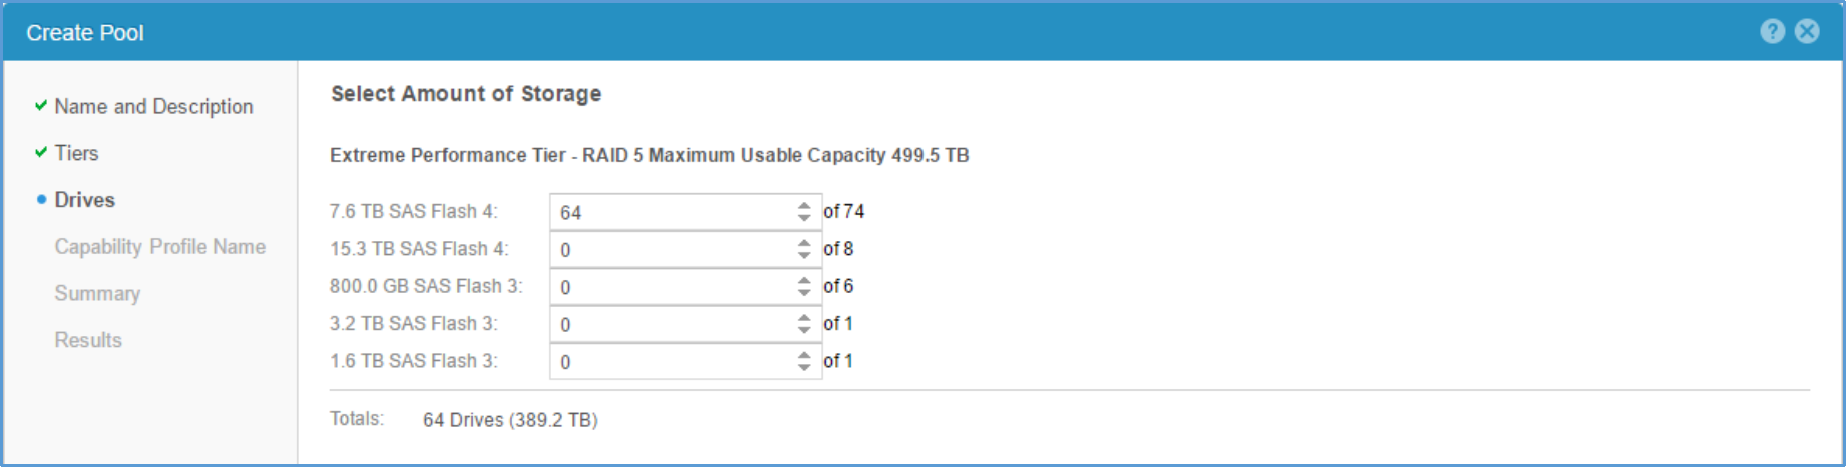 Figure 23 shows an example when only the 7.6 TB SAS flash drives are selected. When the number of drives meets the minimum drive counts required, and all space can be utilized, no warnings are displayed. As mentioned previously, a typical all-flash configuration would most likely not include this many different drive sizes and types.
Figure 23 Create Pool wizard > Drives with desired drive count selected
The next step within the Create Pool wizard is the Capability Profile Name step. If the dynamic pool will be used for vVol storage, a VMware capability profile must be created for the pool. If desired, selected the check box by the Create VMware Capability Profile for the Pool option and provide a Name and an optional Description. This example does not create a capability profile.
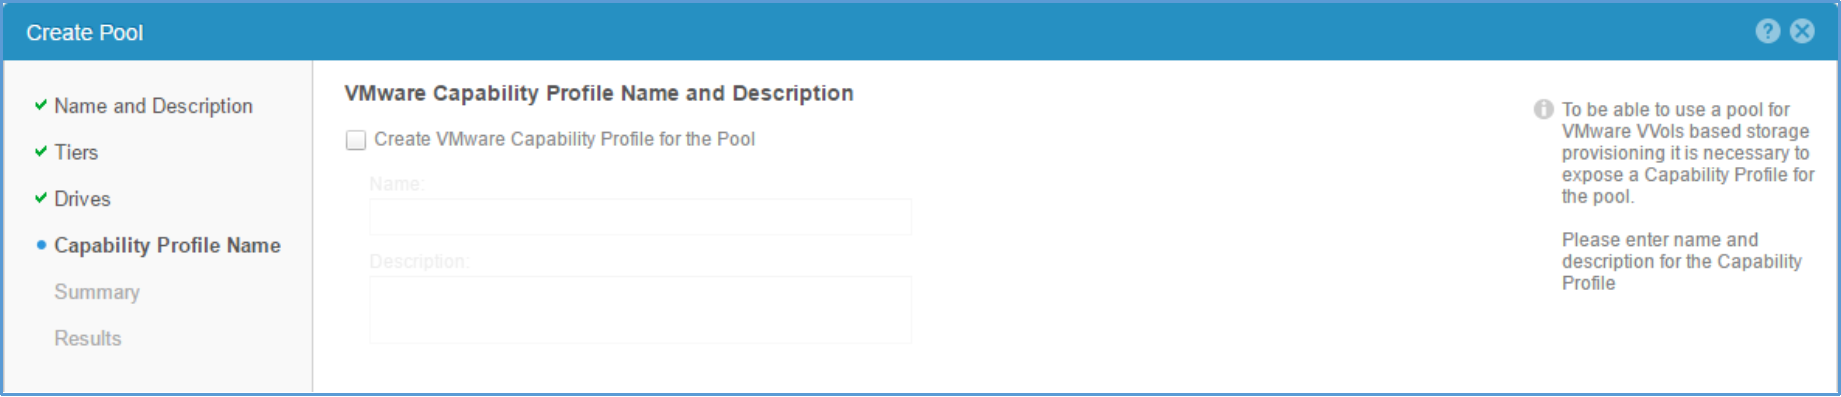
Figure 24 Create Pool wizard > Capability Profile Name
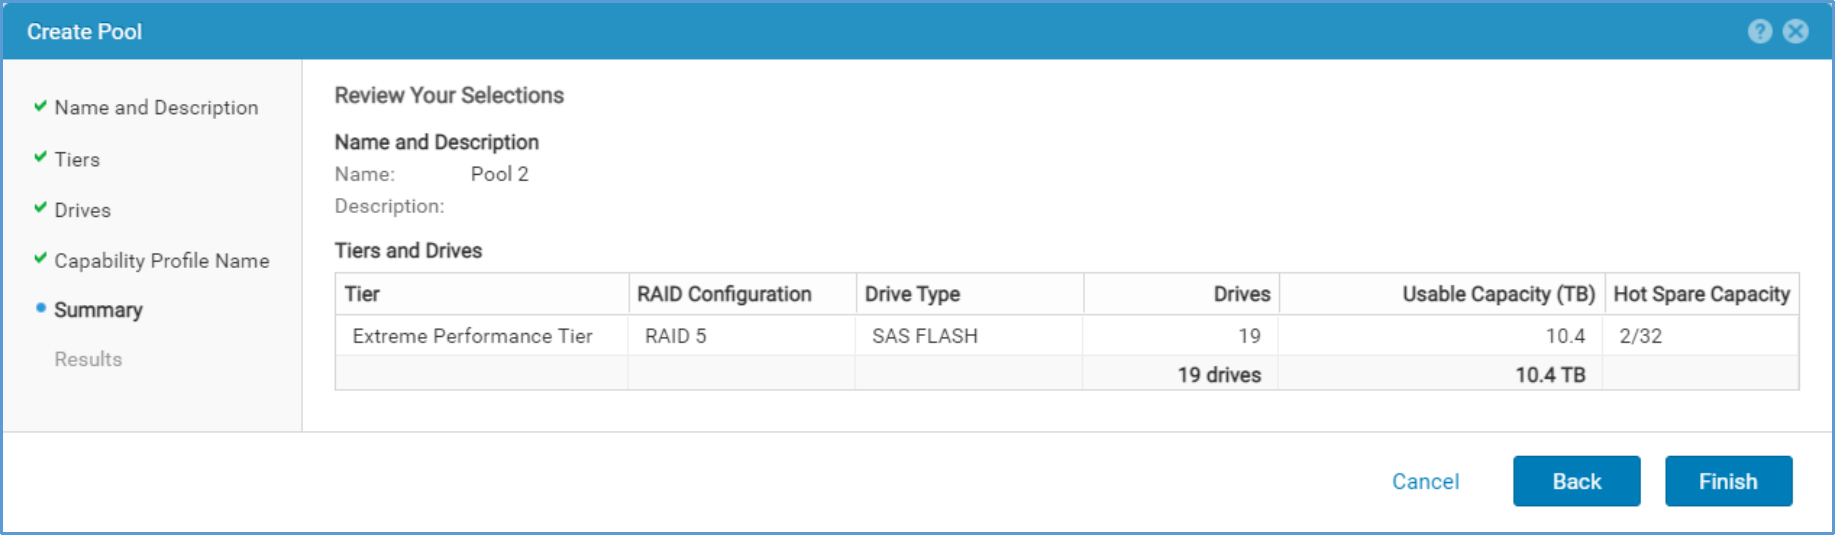 The last step within the Create Pool wizard is the Summary step. This step summarizes the choices made within the previous steps. As shown in Figure 25, the Name, Description, Tier, RAID Configuration, Drive Type, Drives, Usable Capacity, and Hot Spare Capacity based on the previous selections are shown. If any information needs to be changed, click Back to correct a choice. Otherwise, select Finish to create the dynamic pool.
Figure 25 Create Pool wizard > Summary
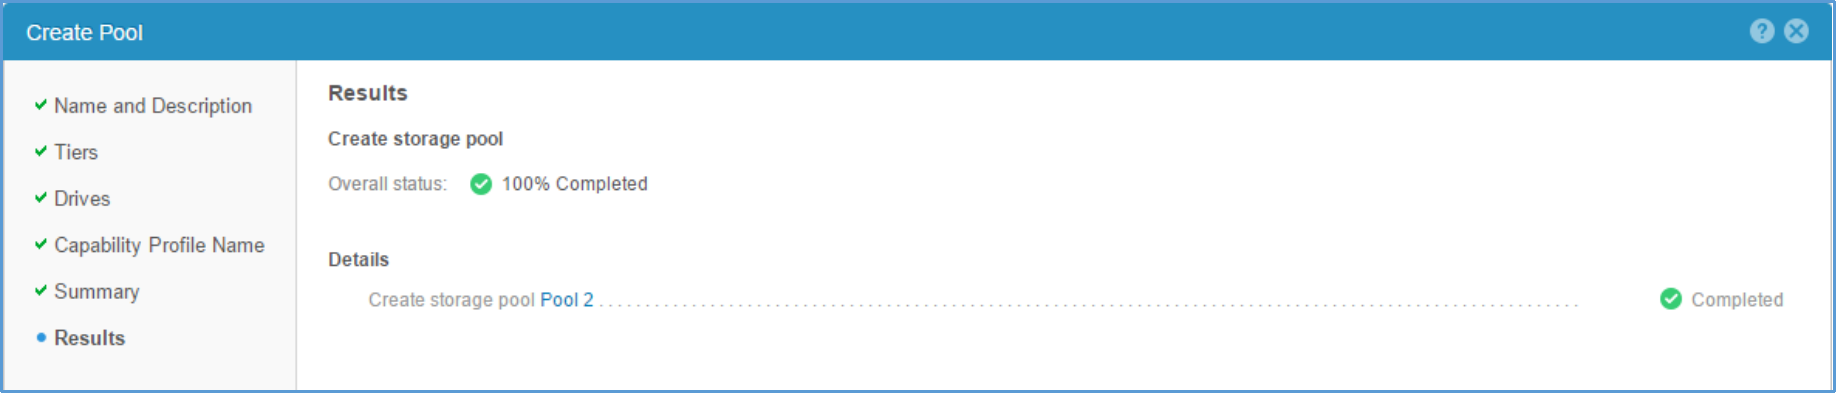 The last page within the Create Pool wizard is the Results page. Once the pool creation occurs, a background task is started and this wizard can be closed. In this window, the Overall Status of the background task is displayed, as well as Details for each step in the process. Figure 26 shows an example of the Results page when the pool creation is allowed to complete.
Figure 26 Create Pool wizard > Results