
Resolve Preferences
Resolve Preferences
-
Application Preferences are accessed using the DaVinci Resolve application menu in the upper left of the main DaVinci Resolve window. Within this window there are two tabs, System and User.
Preferences, System, Memory and GPU
The options in the Memory and GPU submenu sets the maximum amount of available RAM that Resolve and Fusion will be permitted to consume. The user is invited to reserve an amount of available RAM for use by all other applications that are running on the workstation.
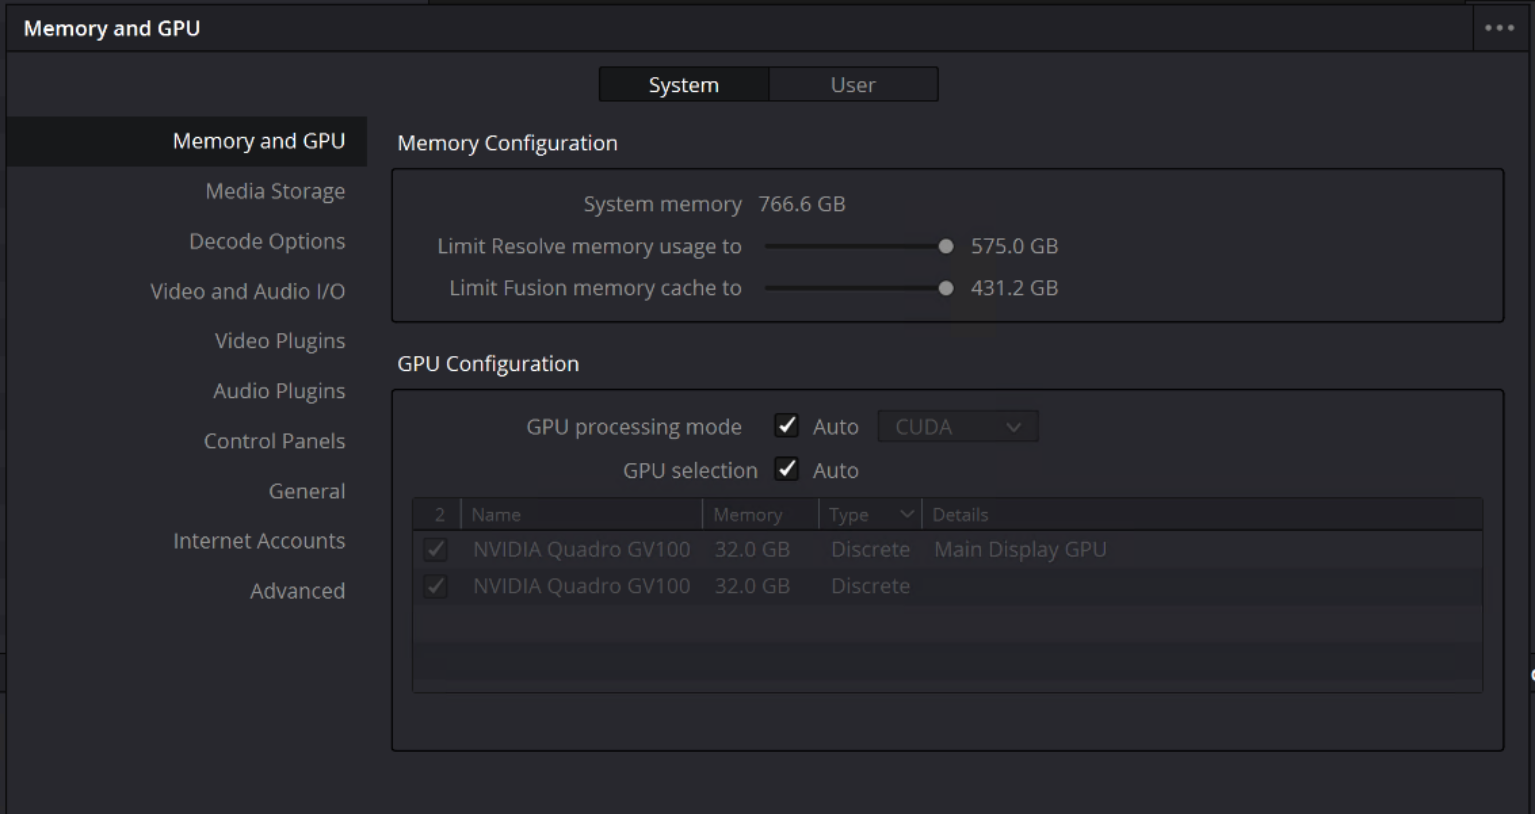
Figure 1 Memory and GPU preferences
Where the workstation is used only to support DaVinci Resolve, it may make sense to reserve only a small amount of RAM for other applications. If other applications are required to be active simultaneously, then it may make sense to experiment with different settings.
Preferences, System, Media Storage

Figure 2 Media Storage preferences
These settings are critical when working in collaborative environments, especially with workstations running multiple operating systems, for instance macOS and Windows.
Obviously, the PowerScale storage that holds the media files that Resolve will use should be added as a destination. Order matters here. The first storage location listed will be the default location for Resolve’s cache and gallery locations (though these defaults can be overridden using Project Settings, described later.) Resolve cache and gallery should be on the workstation’s local drive.
The Cache location in DaVinci Resolve is used to store media clips with resource-intensive processes destructively applied to them. This cache allows for playback of material that otherwise would not be possible on that particular workstation or environment. The DaVinci Resolve manual goes into detail about how and when files get created in the cache location.
The other critical setting in this window is the Mapped Mount column. In environments with multiple operating systems, Resolve can map between several different locations. In the screen capture above (taken from a Windows workstation) the Windows Z:\ drive is mapped to the macOS /Volumes/f900/ location. For collaboration to work properly, storage locations must be mapped coherently between workstations of differing operating systems. Each workstation must have at least read access to the media storage locations.
Resolve only allows for a single Mapped Mount location. This limitation can pose a challenge when in an environment that needs to share projects between macOS, Windows, and Linux. In these situations, the recommendation is to use the mapped mount capabilities to translate between the Windows drive letter and the macOS path. Then mount the PowerScale on the Linux workstation at /Volumes/<mount point> to mirror the mount path of macOS.
The last column is a check box for Direct I/O. This option is enabled by default. Direct I/O bypasses some of the operating system level caching between Resolve and the storage target. In general, Direct I/O should be cleared when using PowerScale storage with Resolve. That said, test results with and without Direct I/O enabled were inconsistent. For some workloads with heavy simultaneous read and write operations, enabling Direct I/O resulting in marginally better performance. As always, testing is critical in terms of real-world performance differences between platforms.
Preferences…, System, Advanced
The Advanced pane allows users to change some of the underlying threading and prefetch behavior of Resolve. In general, there is no need to make any changes here. However, in certain circumstances, such as playing back stereo 8K image sequences from a PowerScale F900, increasing these defaults can make a positive impact.
The following text strings can be entered into this pane to increase the thread and prefetch behavior:
Local.DtManager.1.Threads = 6
System.Playback.Lookahead = 20

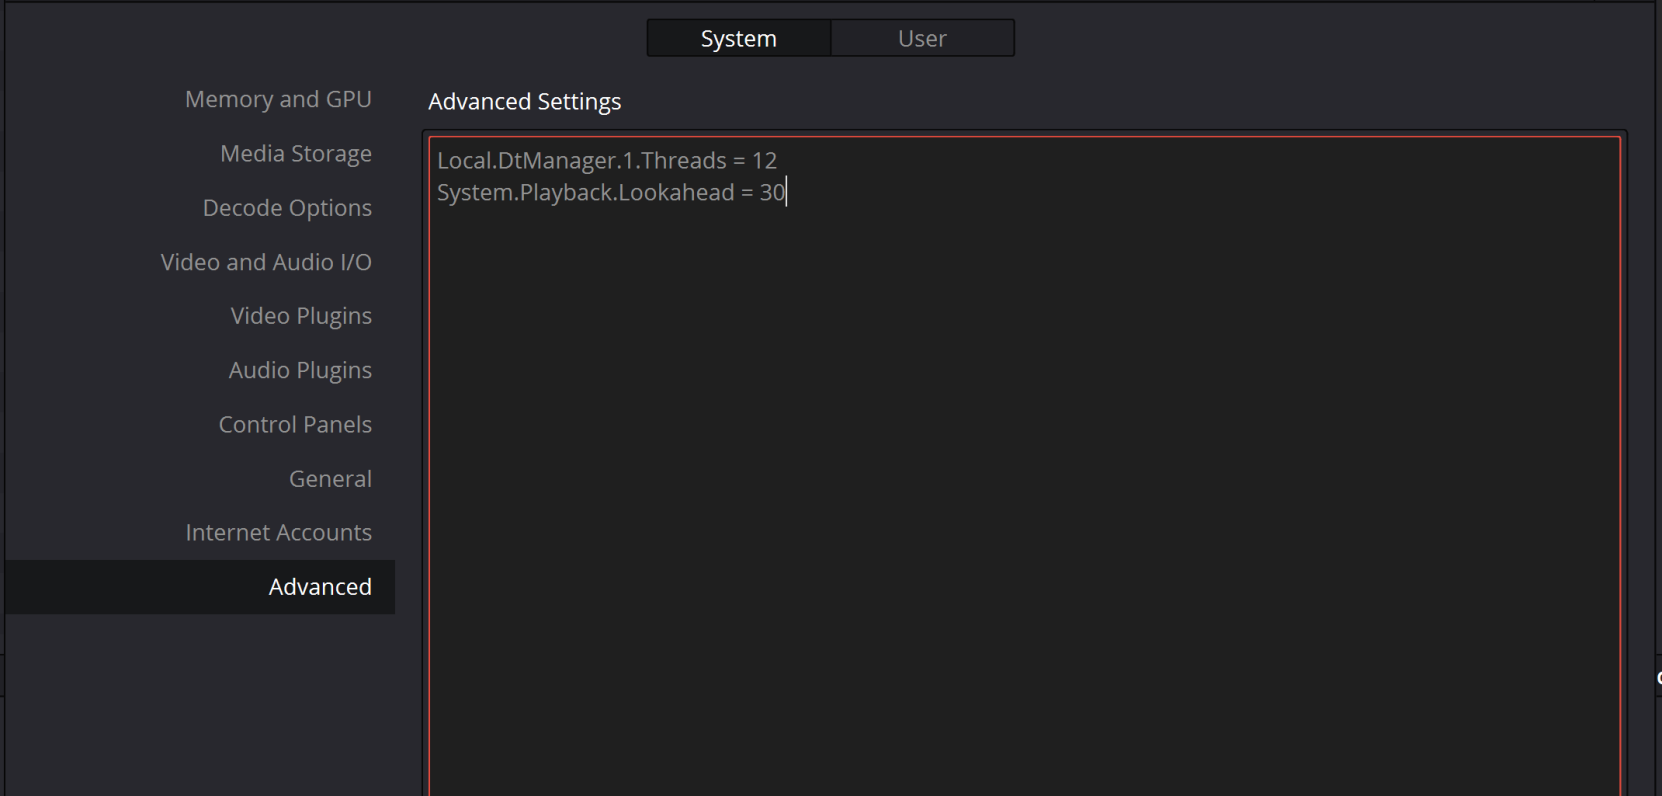
Resolve defaults to 6 threads and 20 frame read ahead. In the Linux variant of Resolve, increasing the thread count to equal or half the nconnect nfs mount option (such as 6, 12, or 16), and increasing the lookahead value to 30 (or even as high as 40) was useful for doing extremely high throughput workloads.Preferences, User, Project Save and Load
Under Save Settings, there is an option to enable automatic project backups and an option to select the location of these project backups. Accessing and restoring these project backups is done using the Project Manager and is covered in the Resolve manual.
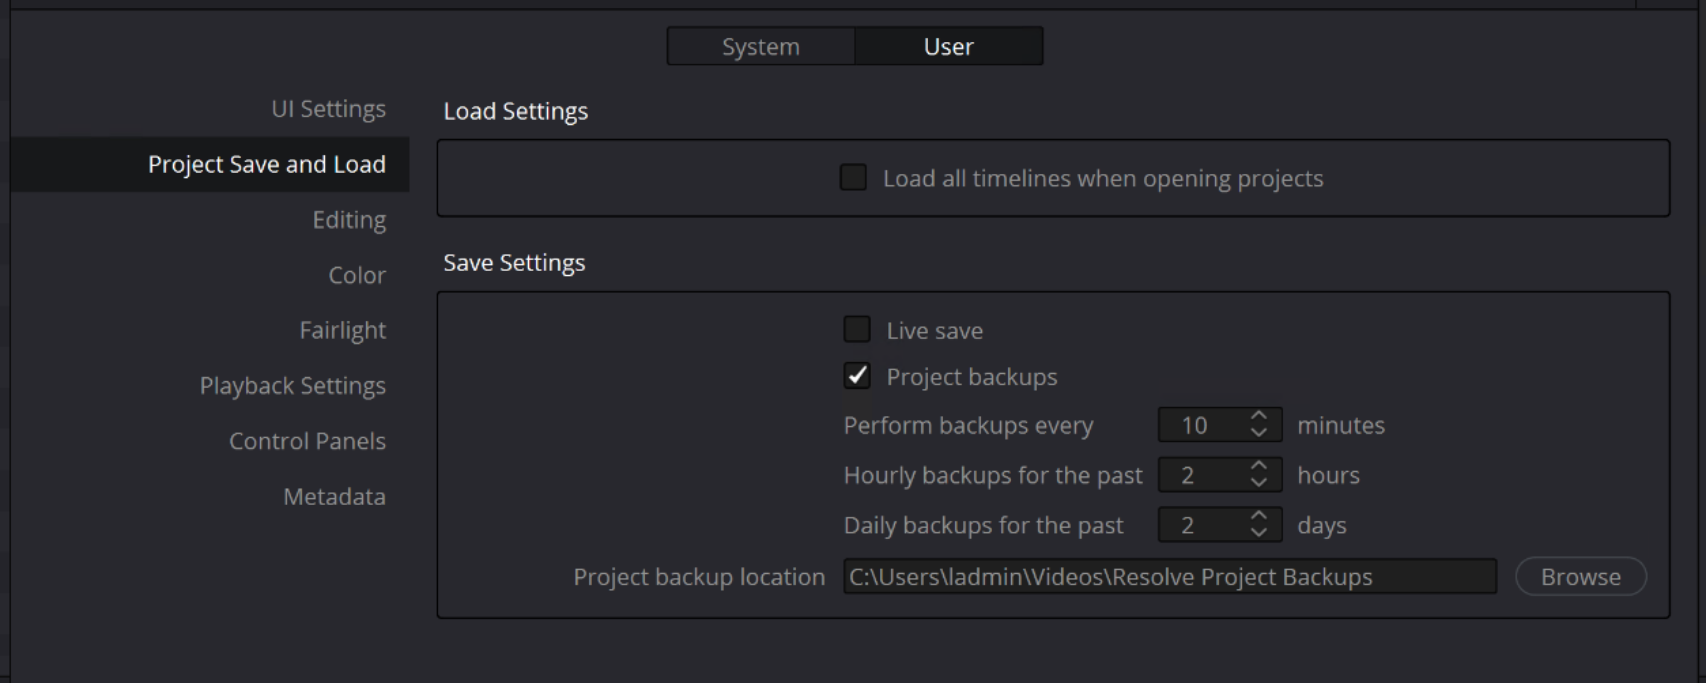
Figure 4 Project Save and Load preferences
It is recommended to leave this location at the default location on the local workstation and not point it to the PowerScale storage.
There are performance implications if project backups are stored on the PowerScale storage. The first time a project backup is created, Resolve creates the project database file and will copy gallery stills. In cases where the project is complex this save could take some time. The Resolve application will pause during the backup process. Subsequent project backups should be fast as Resolve only has to update this database and new gallery stills.
Project backups are only available to the individual workstation that made those backups. Storing project backups on the PowerScale storage is of limited utility. Given the possible performance implications of backing up complex projects, keeping project backups pointed at local workstation storage is going to be the best choice in most circumstances.