
Data-in-Place (DIP) upgrades
Data-in-Place (DIP) upgrades
-
PowerStoreOS 3.6 enabled customers to be able to perform Data-in-Place (DIP) upgrades to convert from a PowerStore x000T to a PowerStore x200T appliance. With the release of PowerStoreOS 4.0 and later, support has been added for converting PowerStore x200T models to a higher PowerStore x200T model. This is an online process, and no downtime is required. While one node is being upgraded, the peer node continues to service host IO.
The following table shows the supported DIP upgrade paths.
Table 11. Supported DIP upgrade paths for x000T to x200T
Source
Target
PowerStore 1000T
PowerStore 1200T
PowerStore 3200T
PowerStore 3000T
PowerStore 3200T
PowerStore 5200T
PowerStore 5000T
PowerStore 5200T
PowerStore 9200T
PowerStore 7000T
PowerStore 9200T
PowerStore 9000T (Block-Optimized only)
PowerStore 9200T (Block-Optimized Only)
Table 12. Supported DIP upgrade paths for x200T to x200T
Source
Target
PowerStore 1200T
PowerStore 3200T
PowerStore 3200T
PowerStore 5200T
PowerStore 5200T
PowerStore 9200T
When upgrading from a 3000T or 3200T to a 5200T, additional NVRAM drives are required. The 3000T and 3200T uses two NVRAM drives while the 5200T requires four NVRAM drives. Two additional NVRAM drives must be inserted into DPE spots 21 and 22 before starting the DIP. The drives that are inserted in slots 21 and 22 must be the same FIPS type as the drives in slots 23 and 24.
When upgrading to a 9200T, the 1800W power supplies must be replaced with 2100W power supplies before starting the DIP.
Data-In-Place upgrades can be started from the PowerStore Manager’s Hardware view (Figure 38). When preforming a Data-In-Place upgrade, the Alerts and Jobs pages in PowerStore Manager are used to indicate to the administrator the status, next steps, and when the system is ready to proceed. Consult the PowerStore Installation and Service Guide throughout the upgrade for detailed step-by-step instructions for the DIP process.
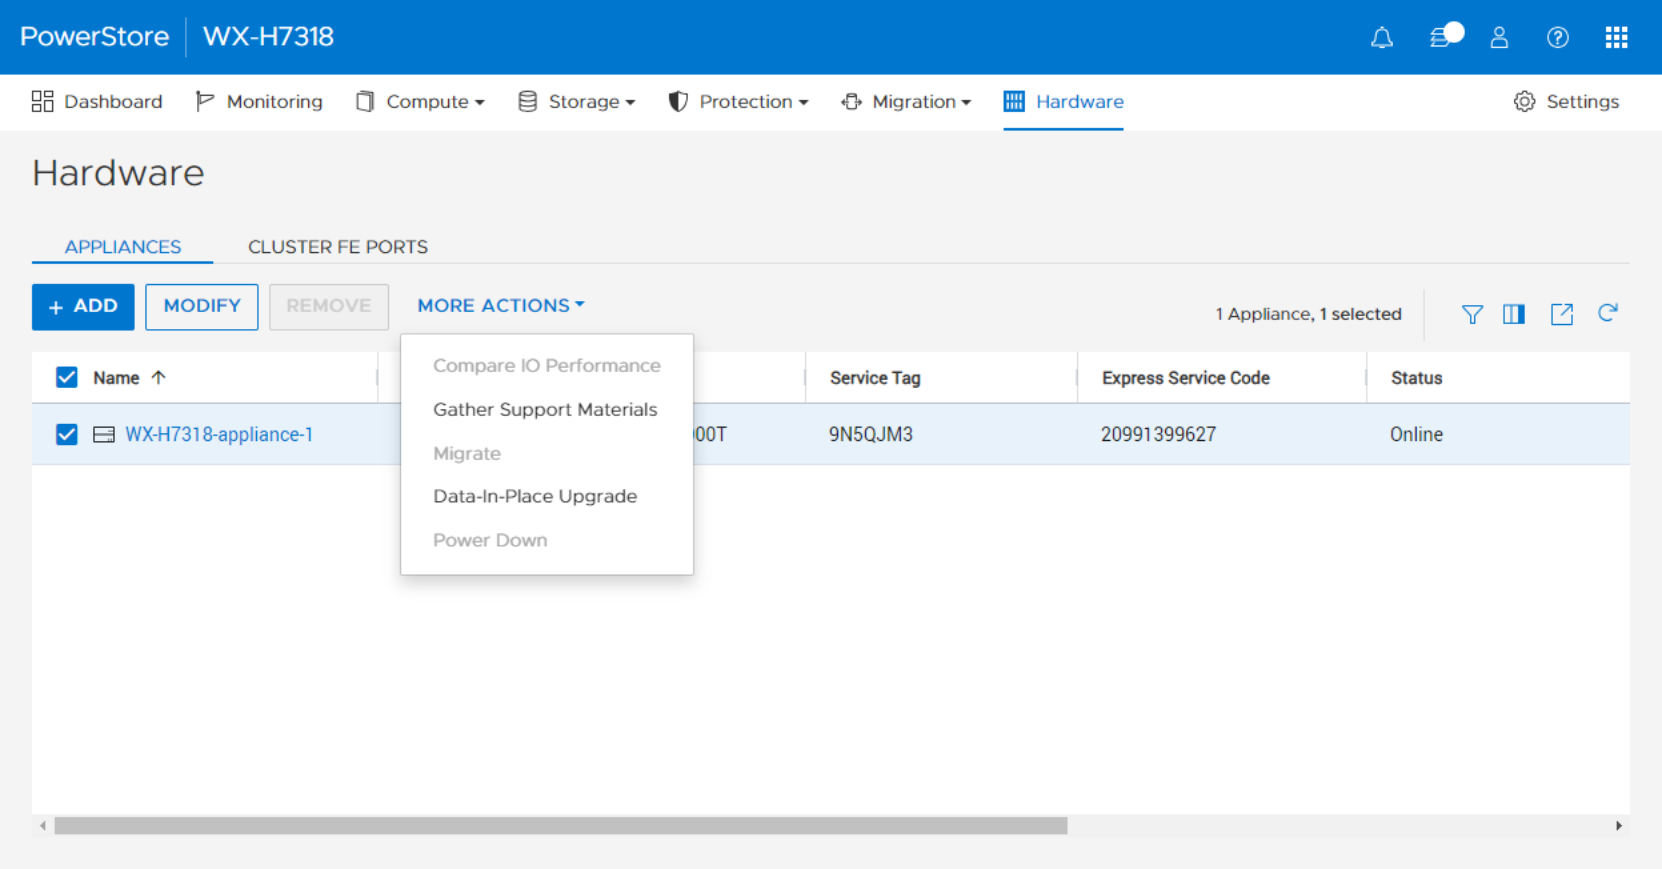
Figure 38. Data-in-Place Upgrade
The data-in-place conversion kit includes two new nodes that are pre-populated with CPUs, DIMMs, and fan modules. You must move the M.2 boot module adaptor, BBU, embedded modules, IO modules, and power supplies from the current nodes to the new nodes. Insert the hardware into the same location on the target node. For example, place the IO module that is removed from slot 0 on the old node in slot 0 on the new node. All the drives, data, and configuration remain in place and no data migration is required.
The DIP upgrade can be cancelled at any time if neither node has committed its upgrade. This can be done by rebooting the node without making any hardware changes. After one node is upgraded, it is no longer possible to cancel, and the second node must be upgraded to proceed. When the upgrade fully completes, it is not possible to roll back to the previous model. At this point, the system behaves as the higher model going forward. The performance capabilities and scaling limits of the higher model are available.
It is important not to make any system changes during the data-in-place upgrade process. This includes operations such as adding or changing hardware and code upgrades. If needed, these can be done either before or after the DIP process. Normal management operations such as snapshots, replication, backups can continue to run during the DIP process.
Only one appliance in a cluster can be upgraded at a time. When a DIP upgrade is initiated, Resource Balancer disables placing new storage resources on the appliance until the DIP upgrade completes. If the primary appliance in a multi-appliance cluster is being upgraded, the role of primary may be transferred to another appliance in the cluster. If a non-primary appliance in a multi-appliance cluster is being upgraded, the appliance is prevented from being elected as primary until the upgrade completes.
A DIP upgrade does not change the appliance type or configuration. An appliance that is block-optimized remains block-optimized after the upgrade completes.
For more details about how to perform a Data-in-Place upgrade, see the PowerStore Installation and Service Guide on Dell.com/powerstoredocs.