
Install Rancher
Install Rancher
-
On the local workstation, perform the following steps to install Rancher:
- Create a new namespace called cattle-system for Rancher in the cluster.
kubectl create namespace cattle-system
- Install a cert-manager in a new namespace called cert-manager in the cluster.
You can find the recent release version at https://github.com/cert-manager/cert-manager/releases.
kubectl apply -f \
https://github.com/cert-manager/cert-manager/releases/download/v1.13.0/cert-manager.crds.yaml
helm repo add jetstack https://charts.jetstack.io
helm repo update
helm install cert-manager jetstack/cert-manager \
--namespace cert-manager \
--create-namespace \
--version v1.13.0- Install the latest Rancher in the cattle-system namespace.
helm repo add rancher-latest \
https://releases.rancher.com/server-charts/latest
helm repo update
helm install rancher rancher-latest/rancher \
--namespace cattle-system \
--create-namespace \
--set hostname={RKE2 server node hostname/ip or fixed registration address} \
--set replicas=1 \
--set bootstrapPassword={rancher-admin-password}
Note: The rancher-admin-password must be at least 12 characters long.
After installing Rancher, you can now access its UI by navigating to the server node address or the fixed registration address in a web browser. Log in with the admin account and the rancher-admin-password you set during installation.
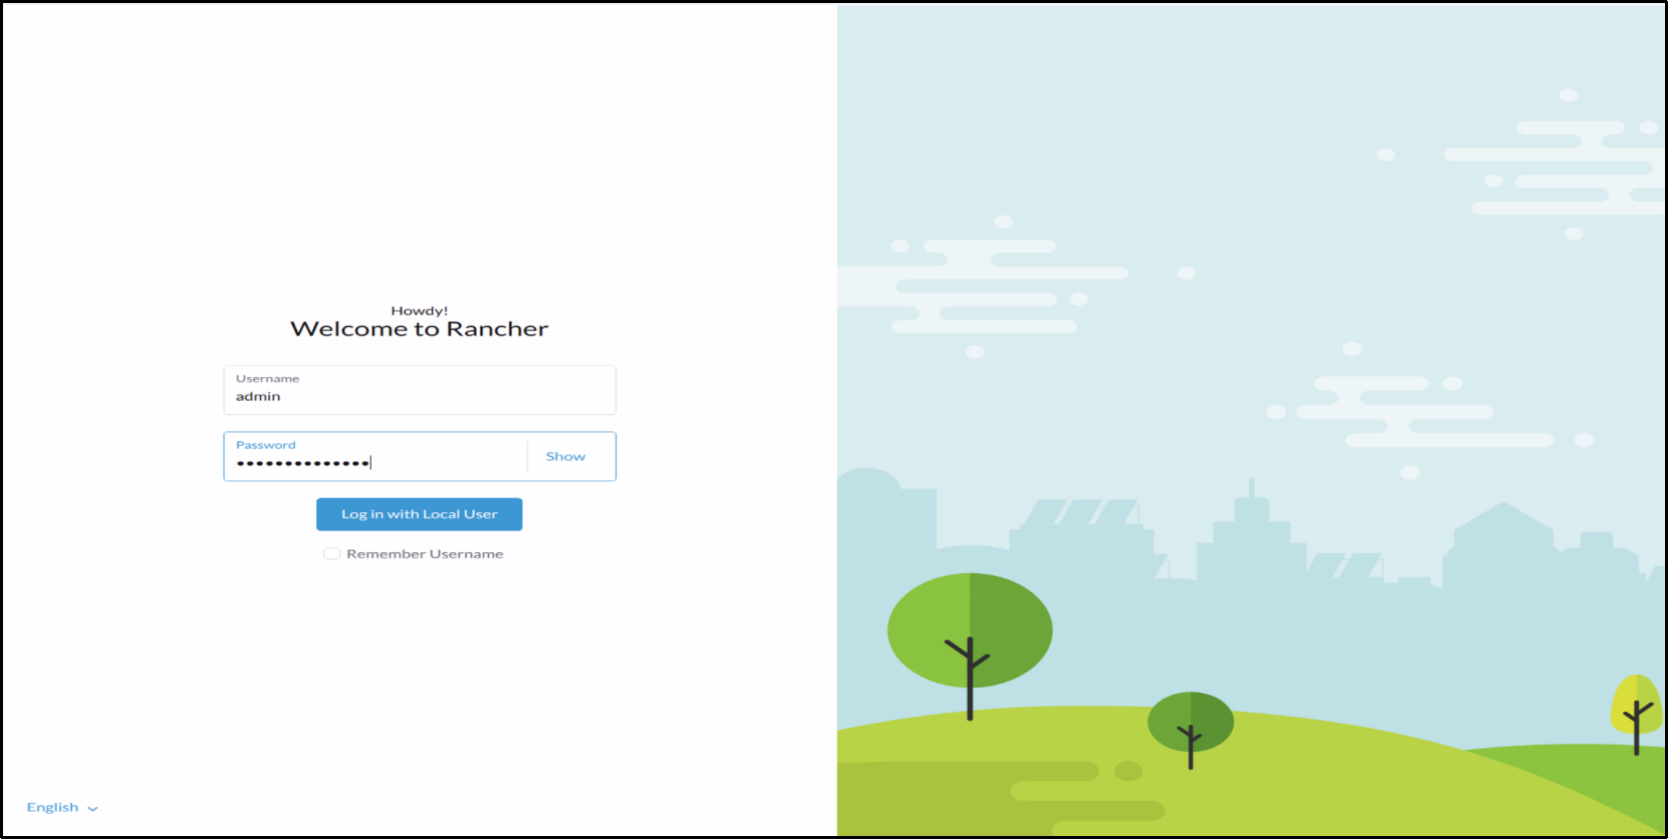
Figure 2. Rancher login page
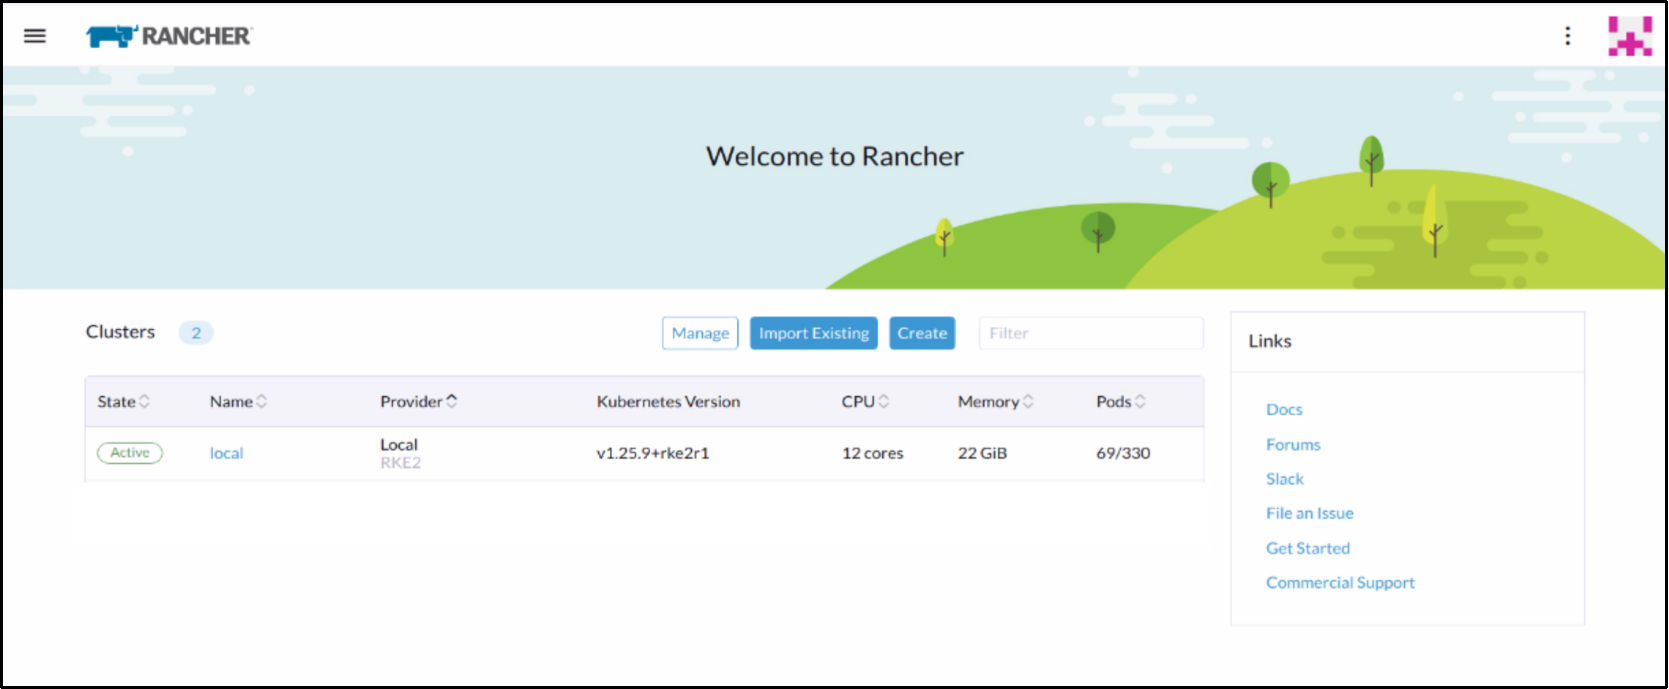
Figure 3. Rancher home page
For further details about Rancher installation using the Helm CLI, see the official Rancher documentation.