
Dell PowerFlex File Replication using Datadobi StorageMAP
None
None
-
The following steps show how to create the PowerFlex file server at Site-A. Similar steps need to be performed at Site-B.
- Log in to PowerFlex Manager UI and click File > NAS Servers as shown in the following figure:
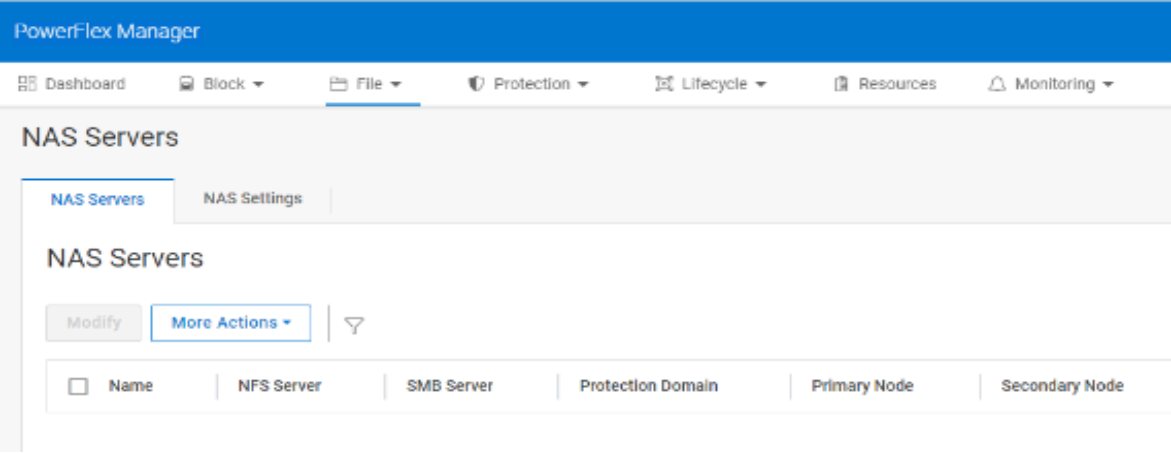
Figure 8. NAS Servers option in PowerFlex Manager UI
- Click Create NAS Server. Enter NAS Server Name, IP Address and select the NAS protection domain as shown in the following figure:
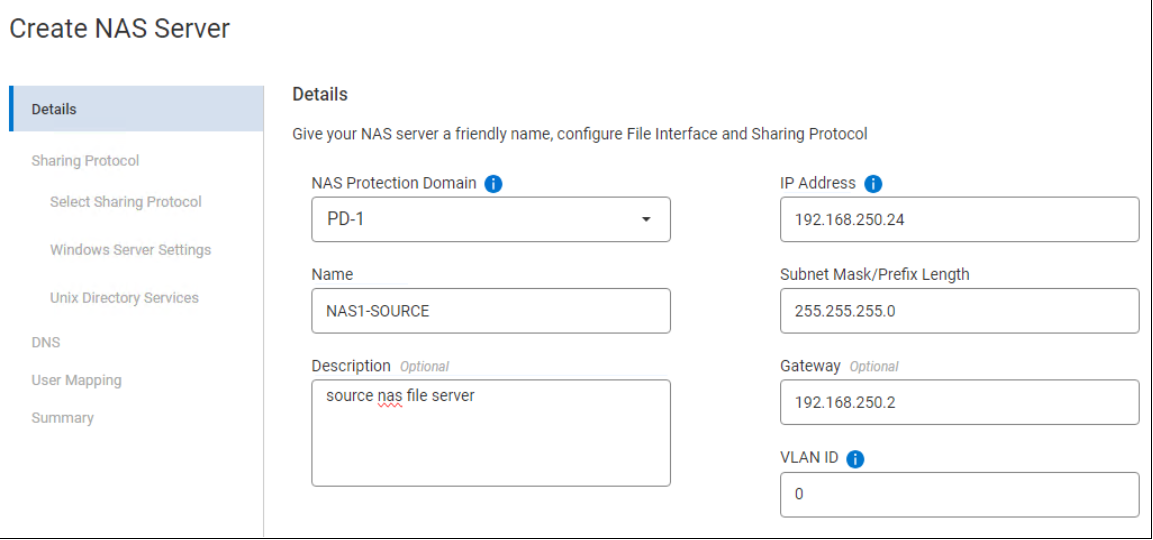
Figure 9. Create NAS Server
- Select the Sharing Protocol type: SMB, NFSv3, or NFSv4 as shown in the following figure:
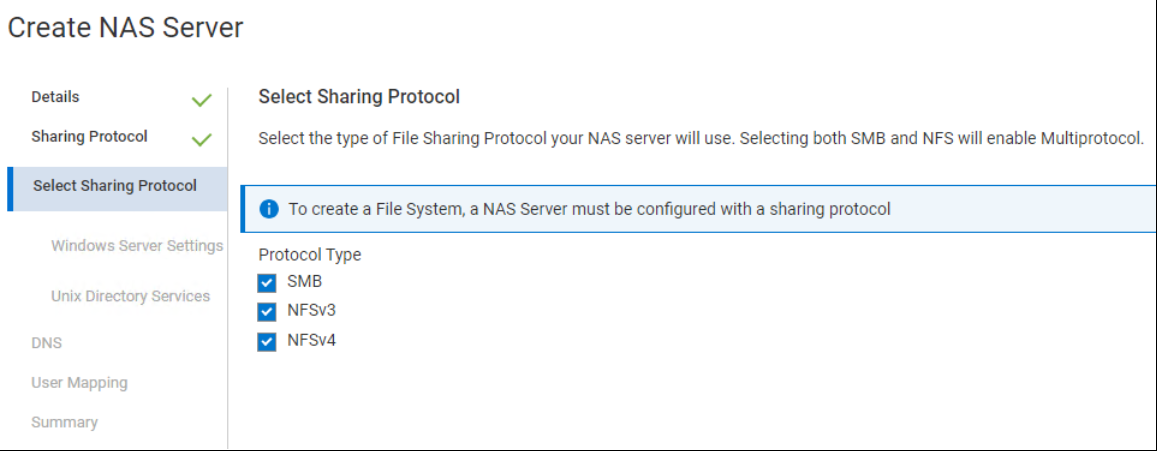
Figure 10. Select Sharing Protocol
- On Windows Server Settings, select Join to the Active Directory Domain and complete the Active Directory details. Click Next as shown in the following image,
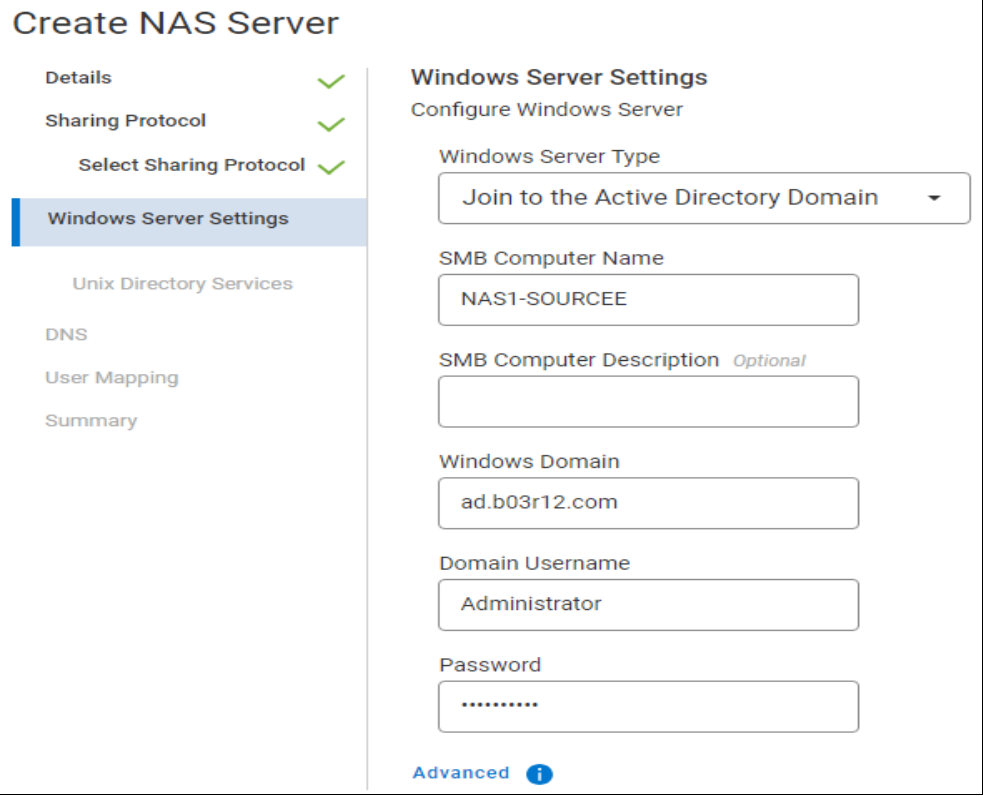
Figure 11. Windows Server Settings
- Enter DNS IP address and click Add. And then click Next.
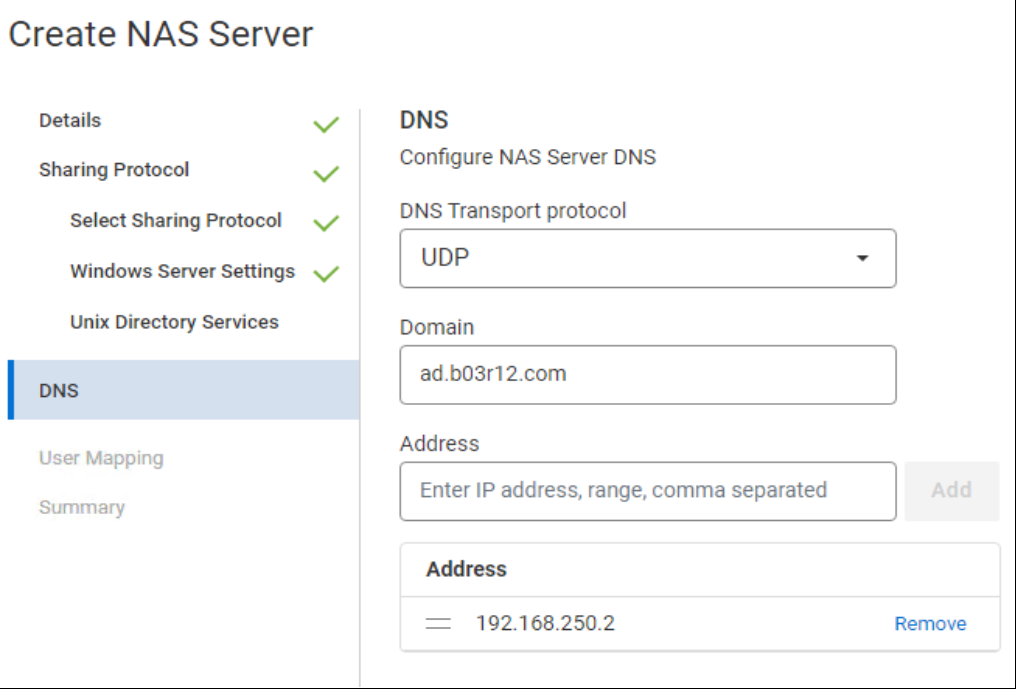
Figure 12. DNS details
- Click Create NAS Server as follows:
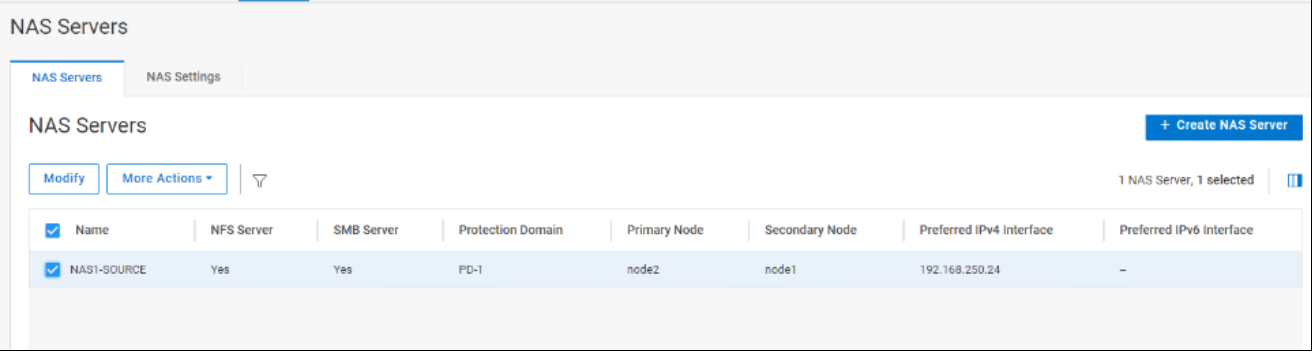
Figure 13. NAS File Server created
- Go to File > File Systems > Create File System as follows:
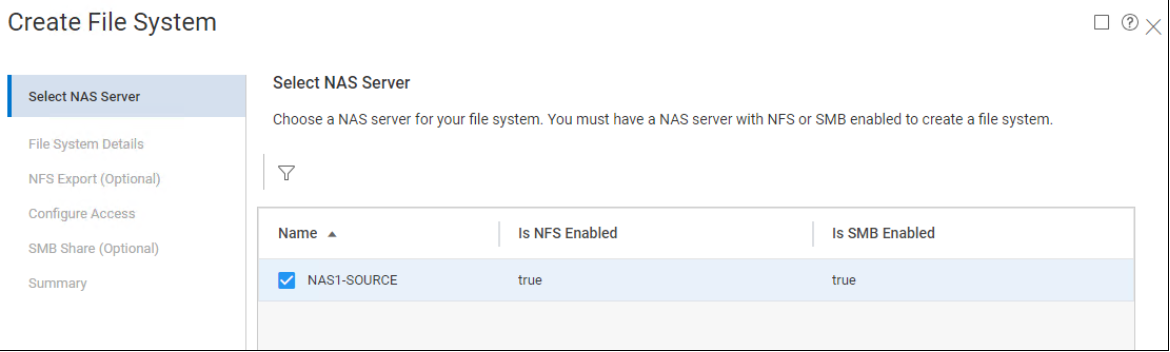
Figure 14. Create File System
- Select the Storage pool and enter the file system name and size. Click Next.
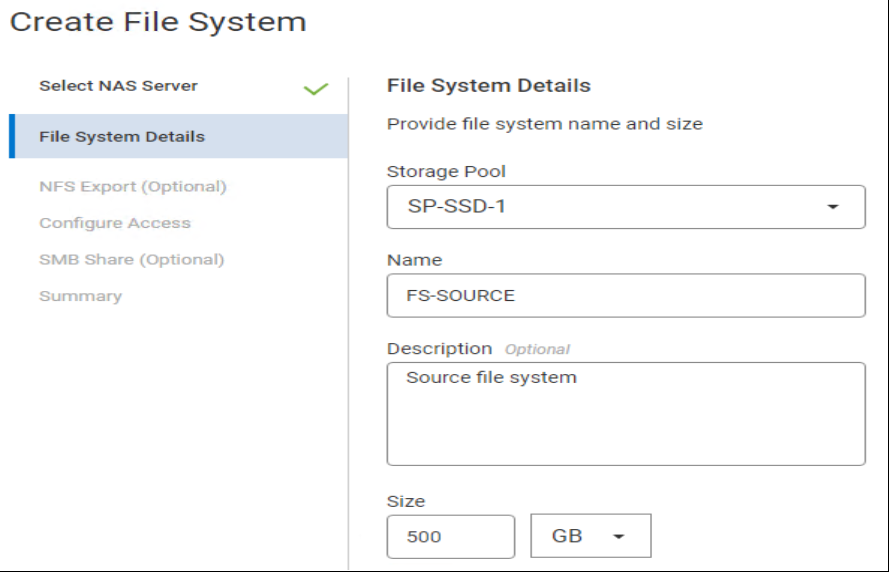
Figure 15. File System Details
- Enter the NFS Export details.
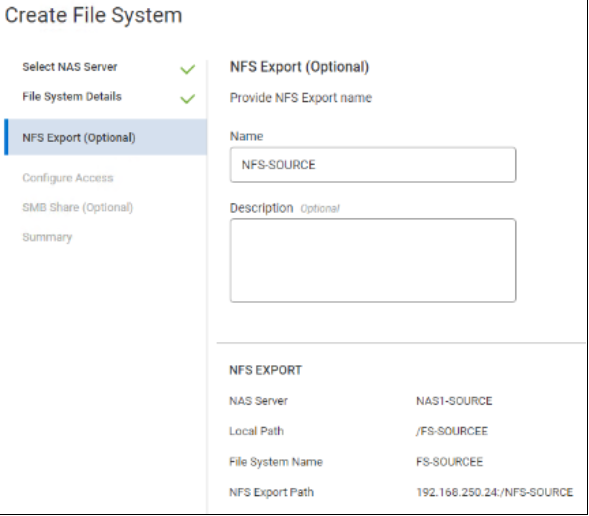
Figure 16. NFS Export Details
- Configure Access and select the default access to Read/Write, allow root as follows:
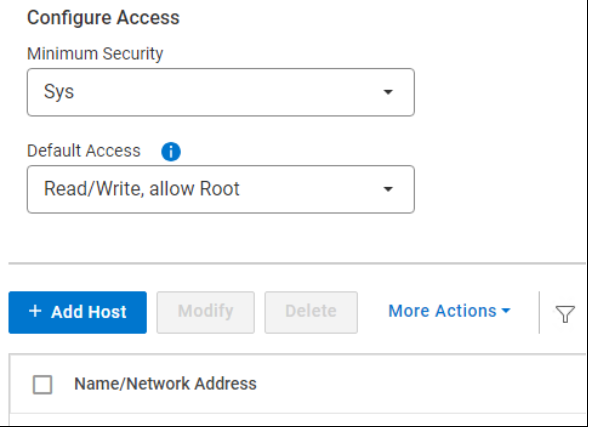
Figure 17. Configure Access
- Enter SMB Share details and click Create File System.
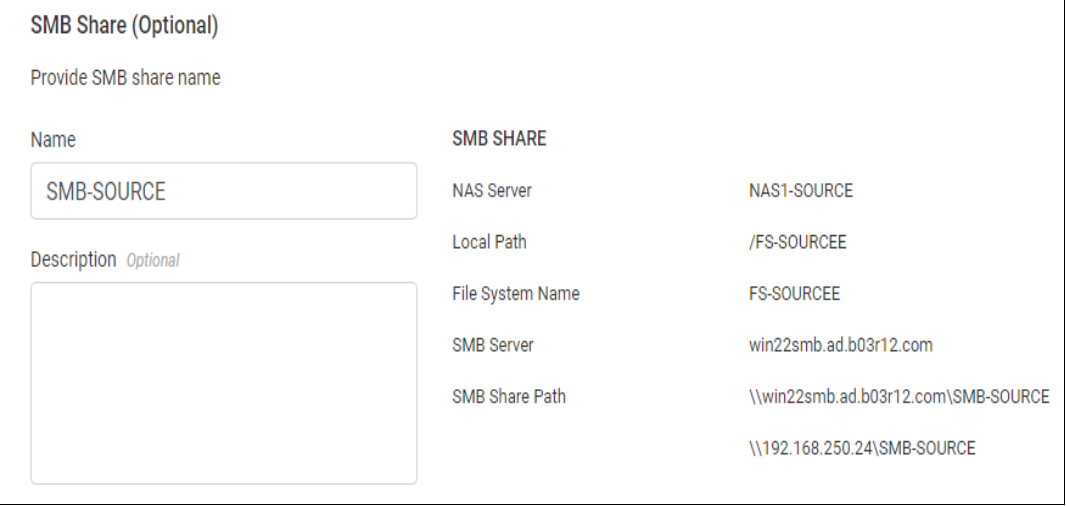
Figure 18. SMB Share details