
Dell APEX Block Storage for Public Cloud: Microsoft SQL Server Multi-Subnet Failover Clustering Deployment
None
None
-
Initialize and format the Disks
The following steps describe how to initialize and format the disks. You can launch the tool from the Server Manager dashboard, under Tools and select Computer Management.
- Expand Storage and select Disk Management.
- Right-click any of the disks that you want to configure and select Online. Once the disk is brought online, it is now marked as Not Initialized.
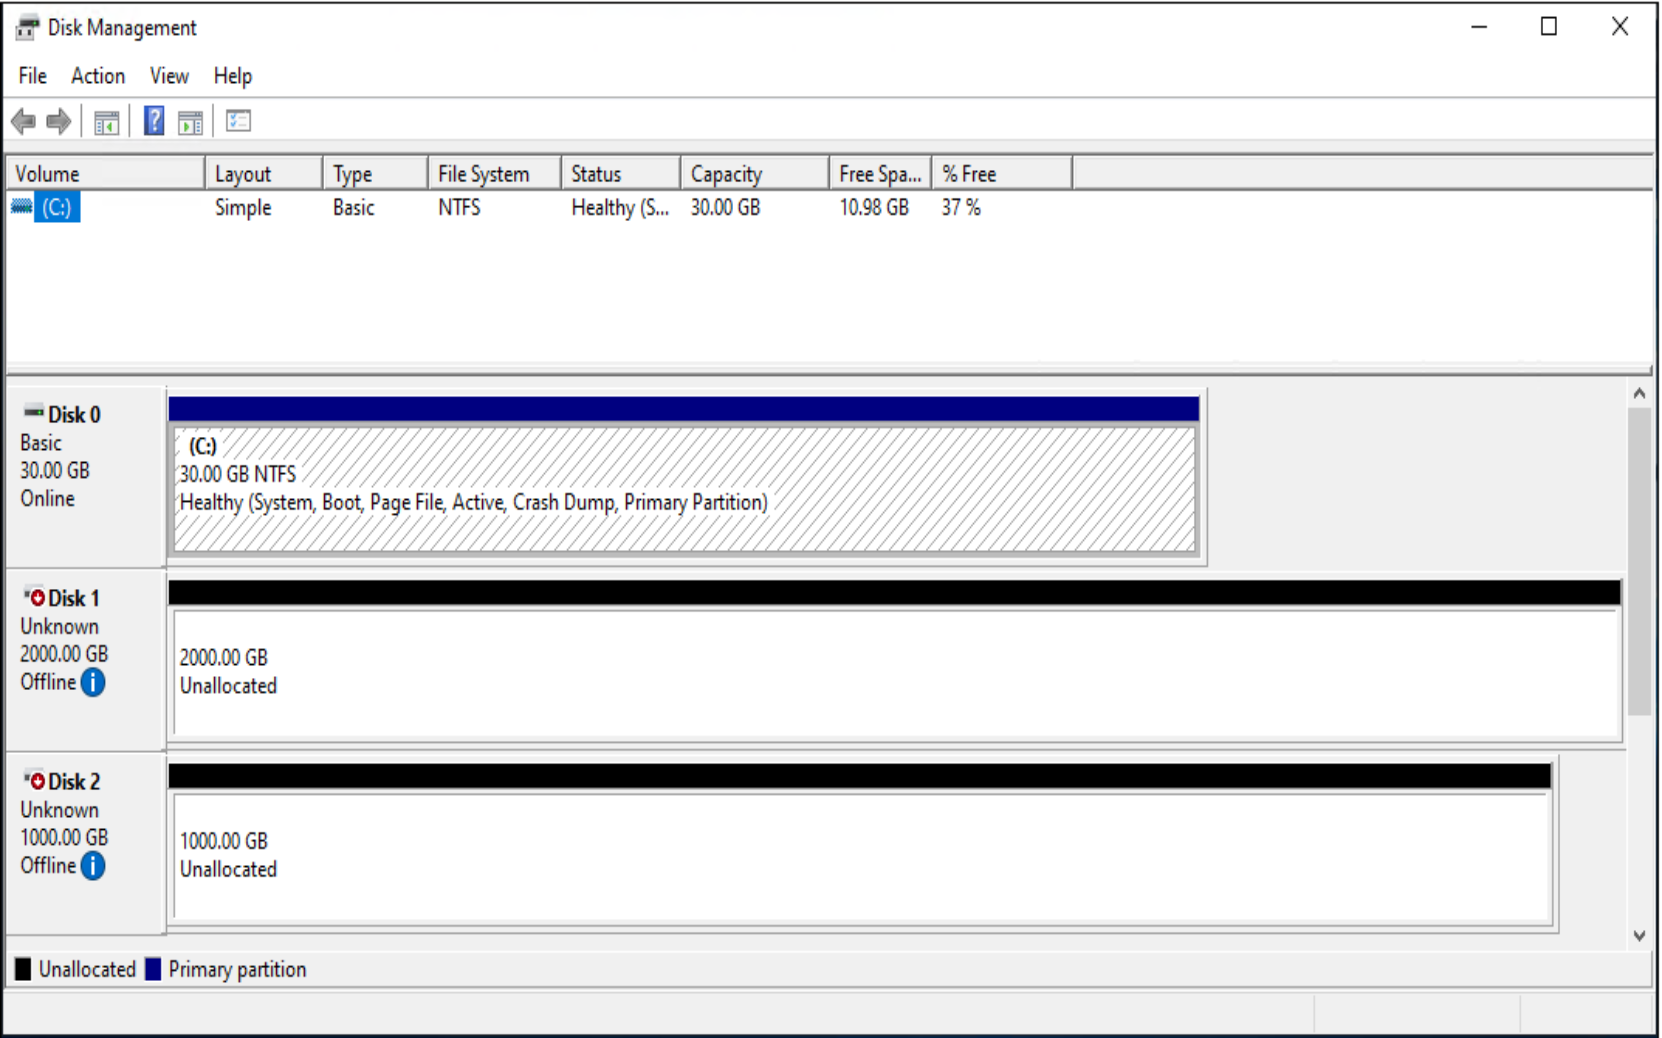
- To initialize, right-click the disk and select Initialize Disk. The Initialize Disk dialog box appears.
- In the Initialize Disk dialog box, make sure that the correct disk is selected for initialization and then choose whether to initialize the disk using the MBR or GPT partition styles Click OK.
- To create a disk partition, right-click the unallocated space and select New Simple Volume.
- In the Welcome to the New Simple Volume Wizard dialog box, click Next.
- In the Specify Volume Size dialog box, enter the volume size and click Next.
- In the Assign Drive Letter or Path dialog box, if using drive letters for the deployment specify the drive letter that you would like to use. Alternatively, select a mount-point for the volume, or do not assign either a mount-point or drive-letter if you plan to use the volume as CSV. Click Next.
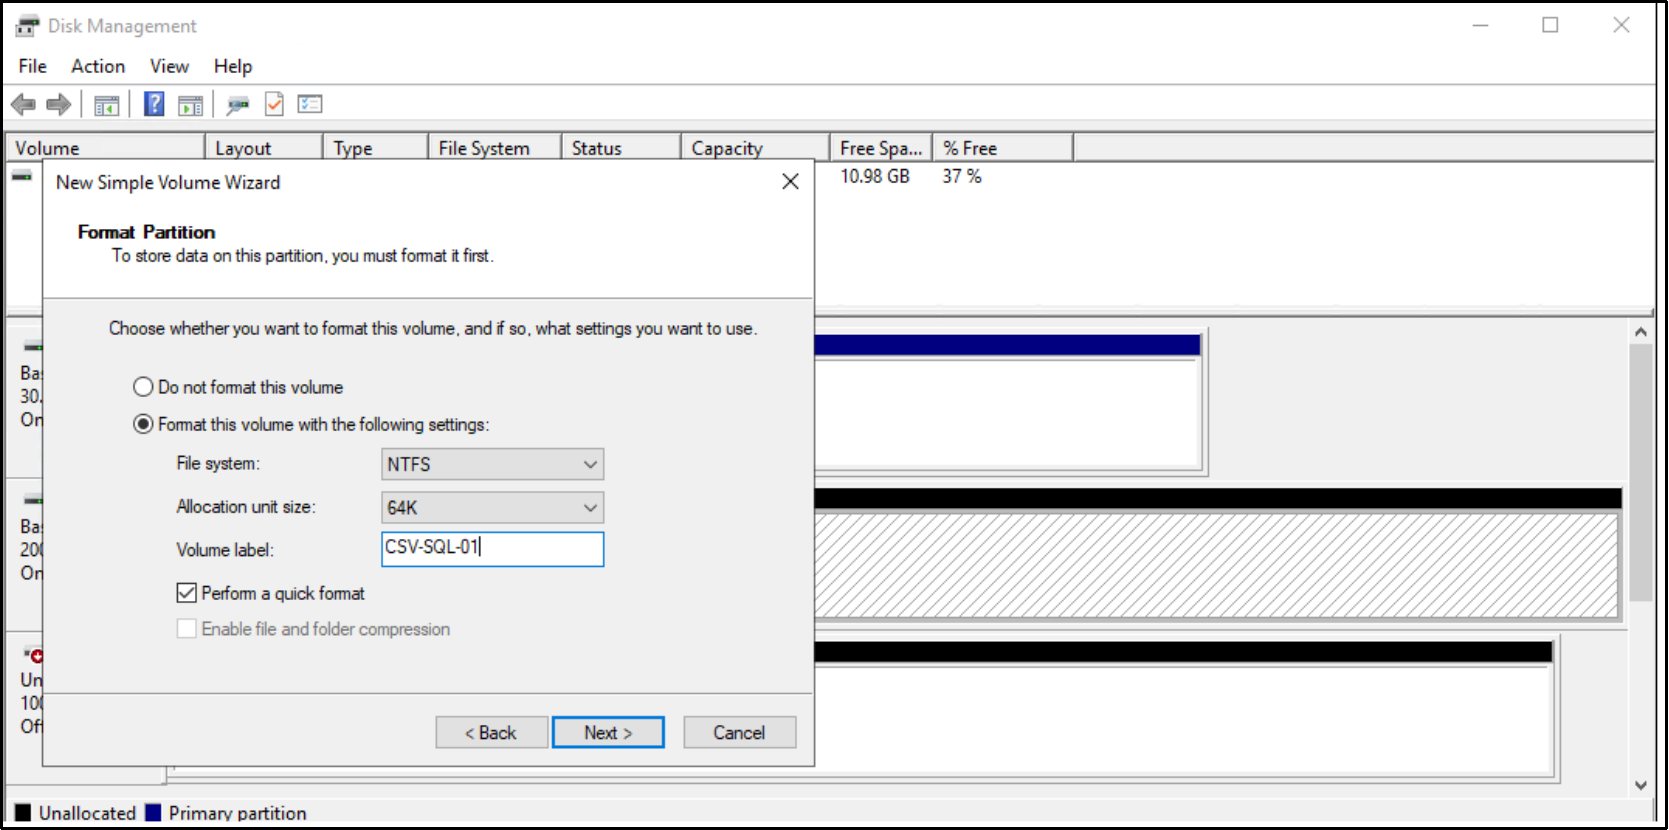
- In the Format Partition dialog box
- Make sure that the file system selected is NTFS.
- To follow Microsoft best practices on allocation unit size, select 64 K.
- In the Volume label: Text box, enter the appropriate name.
- Click Next.
- In the New Simple Volume Wizard dialog box, review the settings that you have made, click Next and then click Finish.