
Dell APEX Block Storage for Azure: Protecting SQL Server Data with Dell APEX Protection Storage
None
None
-
Configure Azure Hot Blob storage
Steps to configure Azure Hot Blob storage and create a file system:
1. Log in to the DD System Manager with the sysadmin credentials.
2. Accept the End User License Agreement (EULA). The Configuration wizard opens.
- To replace licenses, select Licenses and click Yes as shown in the following figures: (otherwise, the pre-installed 500-GB evaluation license is used.)
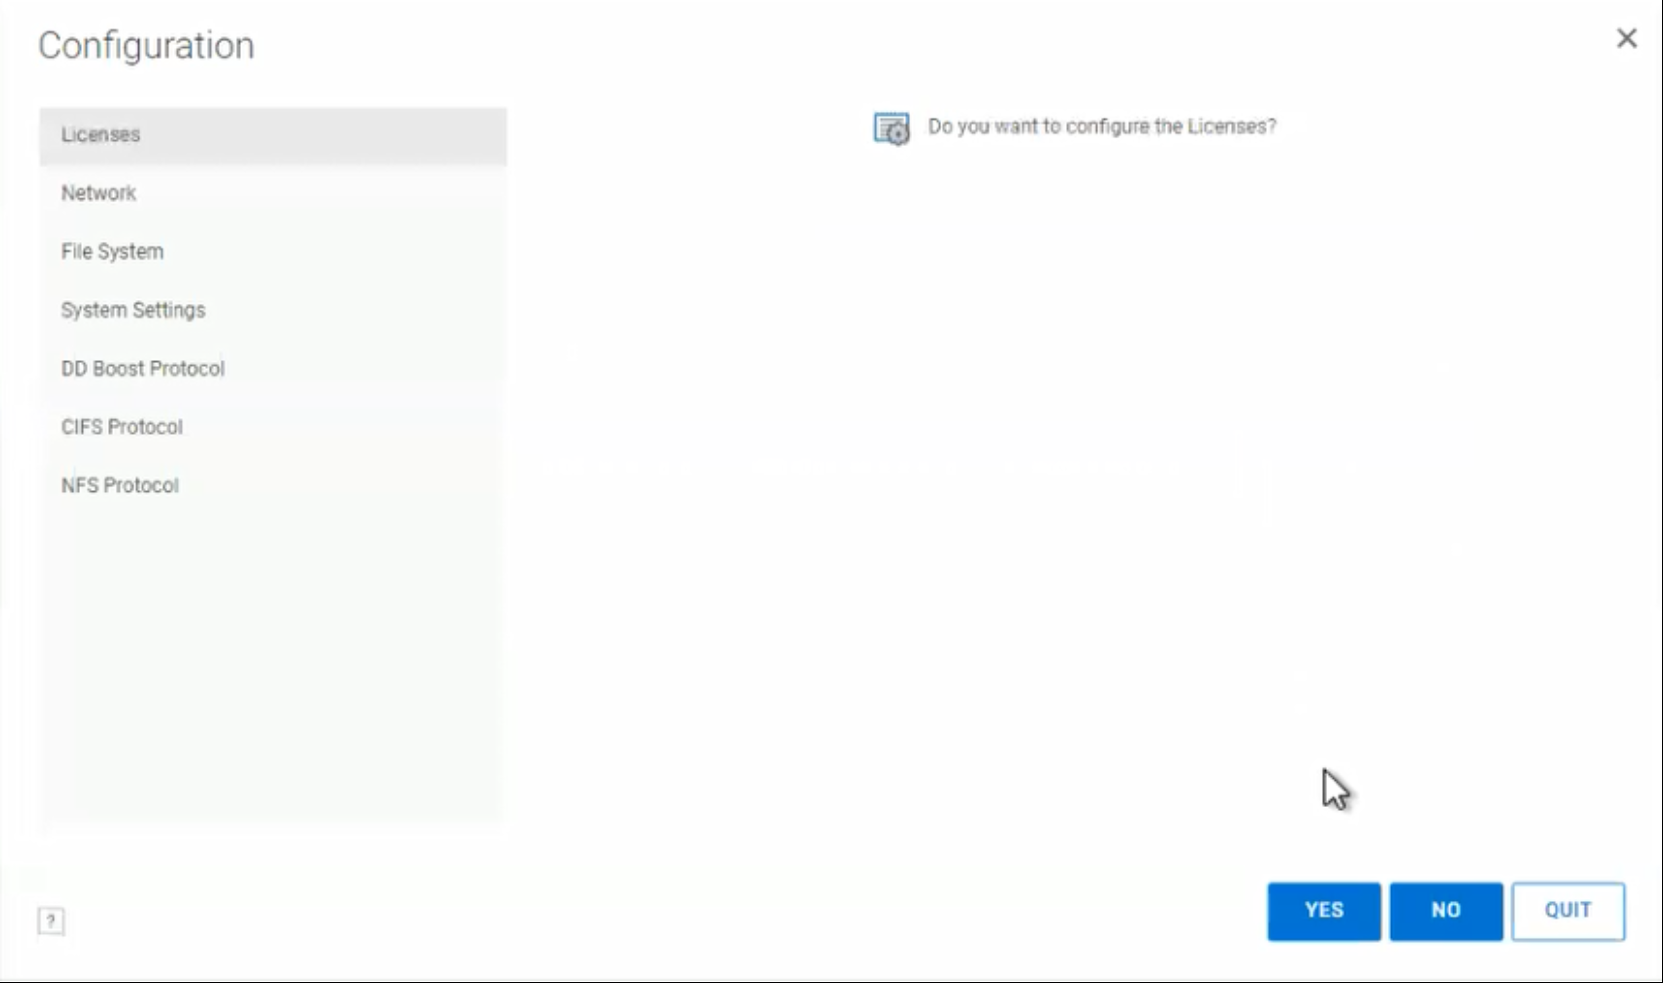
Figure 5. Before License update
The following figure shows the window after the license update:
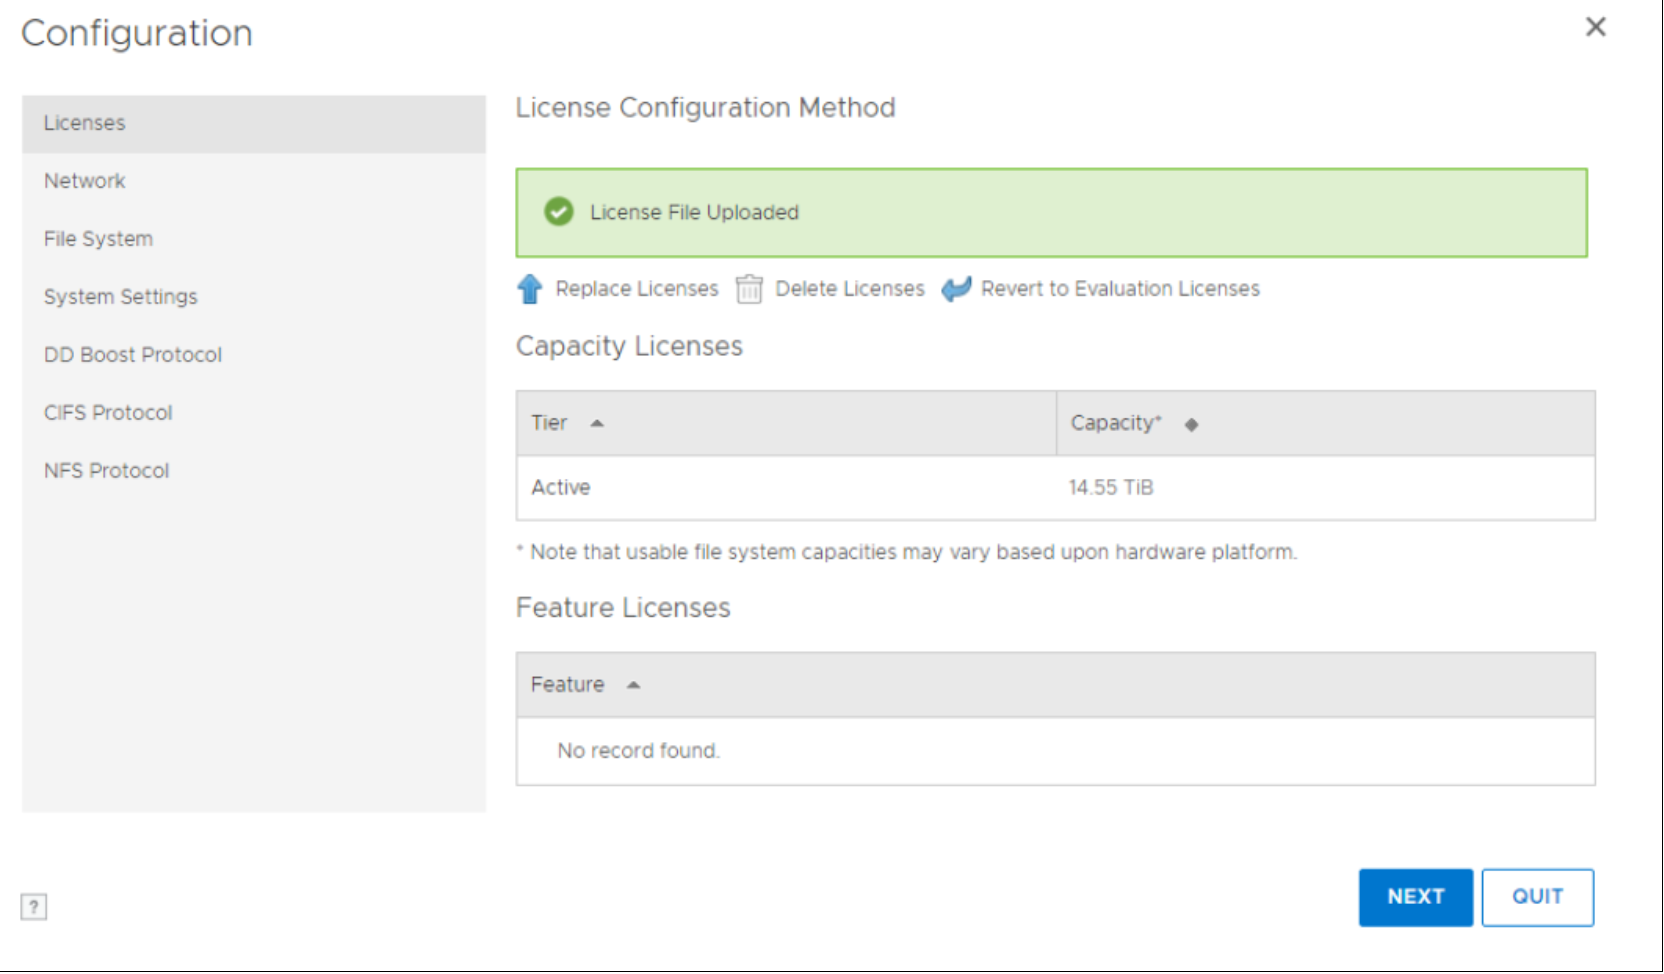
Figure 6. After License update
- Update the following details to update the license as shown in the following figure:
- Select File System and click Yes.
- Select Configure Active Tier > Enable Object Store to configure the Azure Hot Blob storage.
- Enter the container name, storage account name, key (not required if using OAuth 2.0), and passphrase.
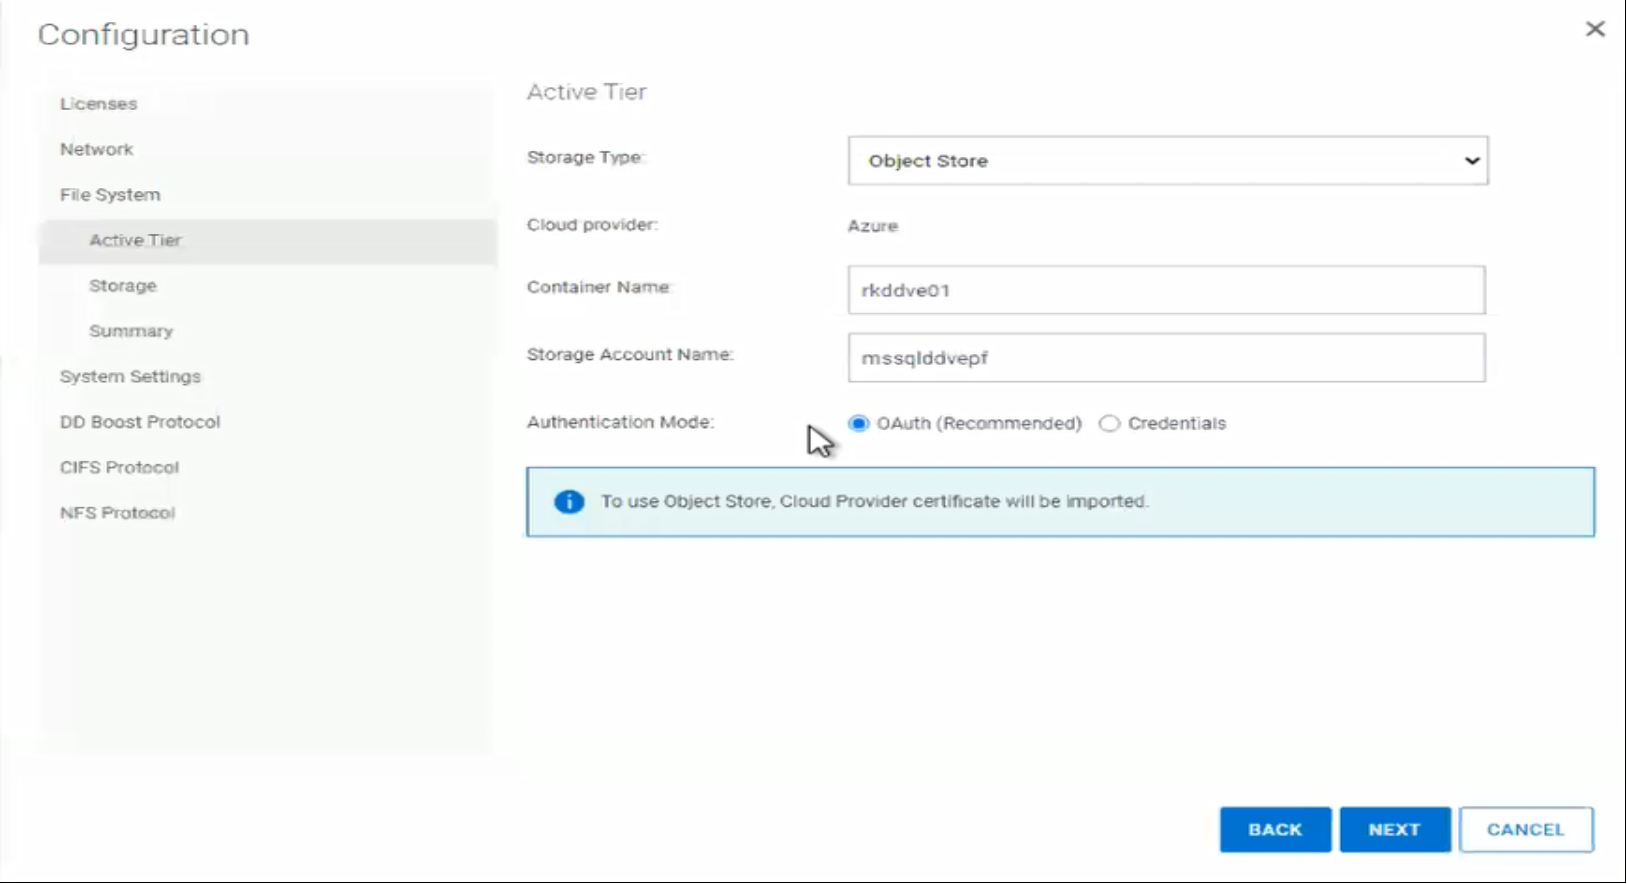
Figure 7. Active Tier configuration
- Optionally Import the Baltimore CyberTrust Root certificate to communicate with the Azure Object Store.
- Add the metadata storage, as shown in the following figure:

Figure 8. Metadata Storage configuration
- Review the summary and click Submit to create the file system and enable it as shown in the following figure:
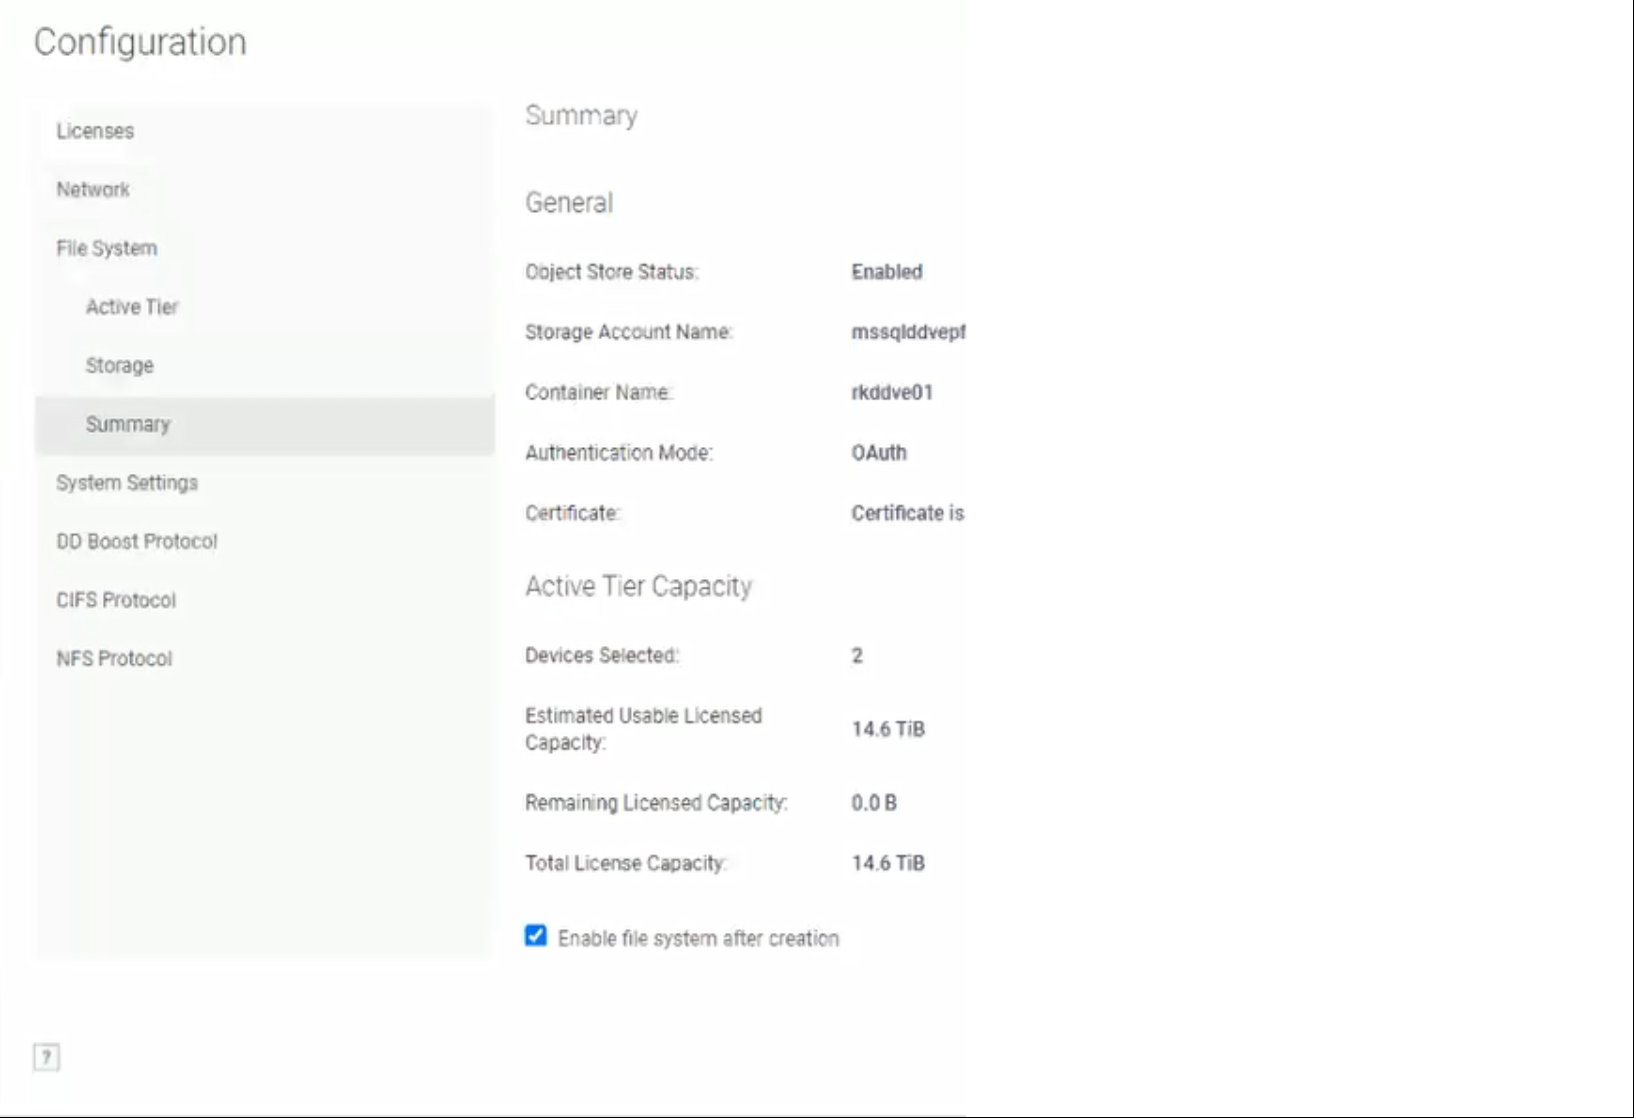
Figure 9. Summary of File System creation
- Review the File System creation complete list and click OK. The following figure shows the list of completed tasks:
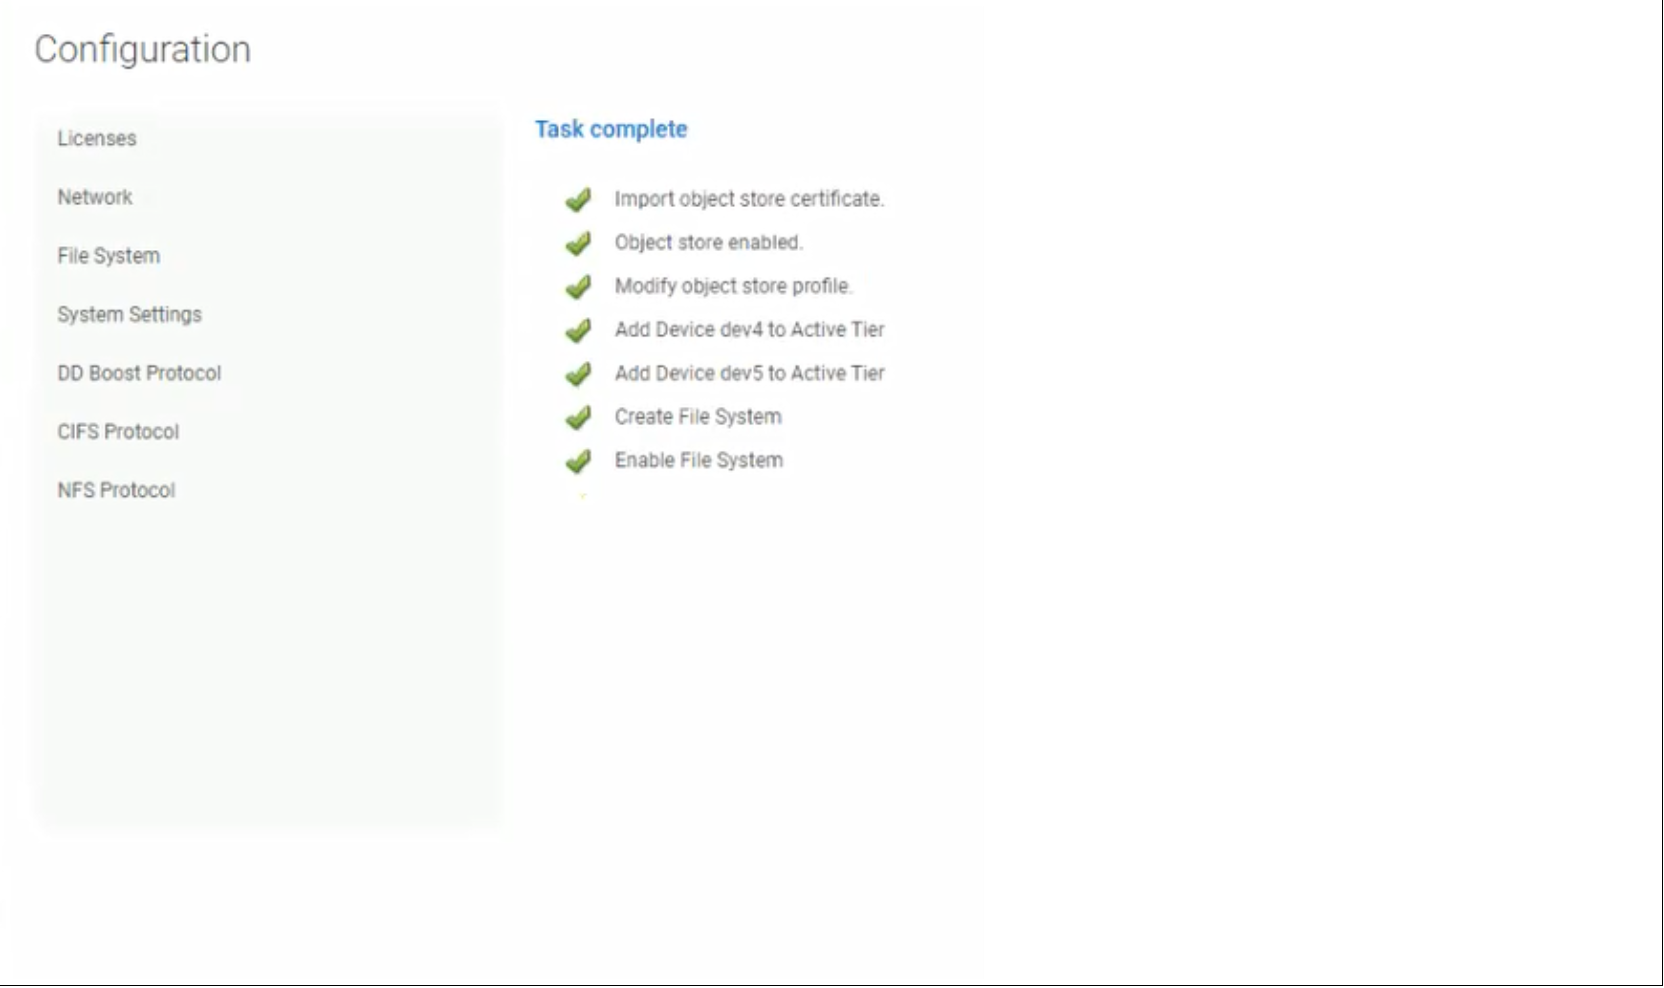
Figure 10. File System creation
- Read about new components that are available in different releases, then click Close.
- Select Data Management > File System to view space usage and availability details for the Hot Blob storage and the local.
- To configure or update e-Licenses on DDVE, select Licenses > Replace licenses.
- To relaunch the configuration wizard, select Maintenance > System > Configure System.